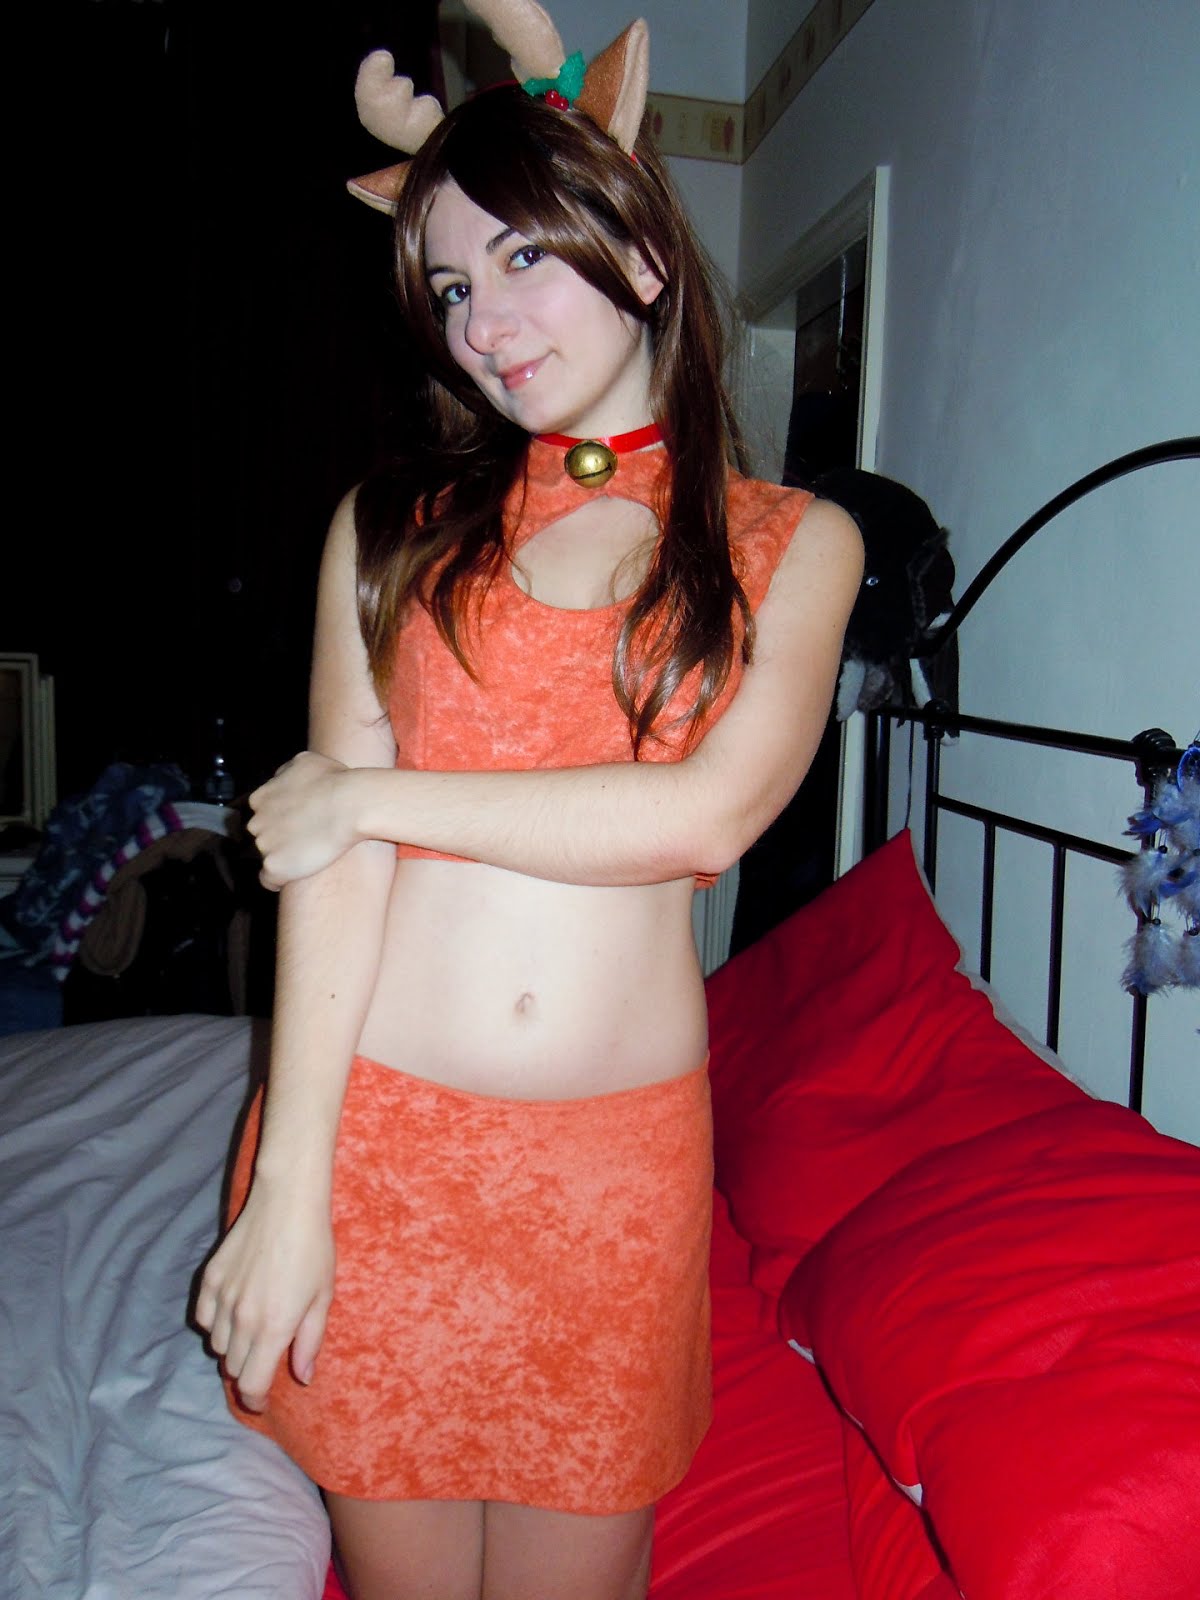

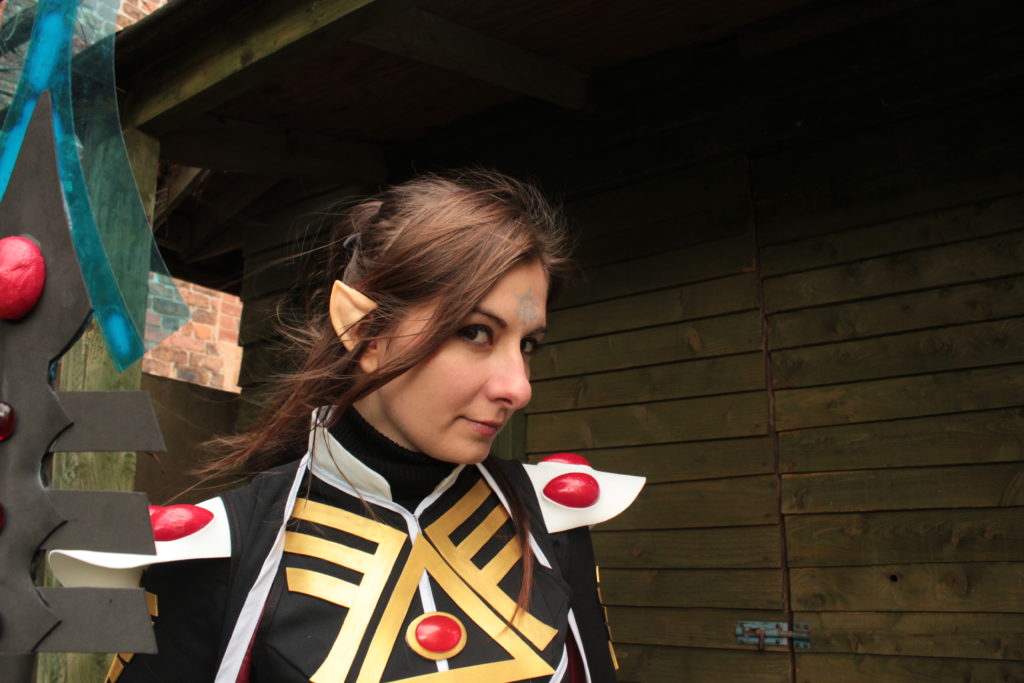
Happy New Year!! Well, this was the real last cosplay of the year 2013 for me, last year Santa Claus (Luka Megurine) went to my boyfriend’s house to handle the presents, he wasn’t this lucky this year and he got a reindeer instead. I wonder if he didn’t behave well… I got many presents and even more today which is the Epiphany of the WiseMen.
Feliz Año Nuevo!! Bueno, este fue de verdad el último cosplay del año 2013 para mi, el año pasado Santa Claus (Luka Megurine) fue a casa de mi novio para entregar los regalos, no tuvo tanta suerte este año y sólo ha venido el reno. Me pregunto si se ha portado mal…Yo tuve muchos regalos y aun más hoy que han venido los Reyes Magos.
 |
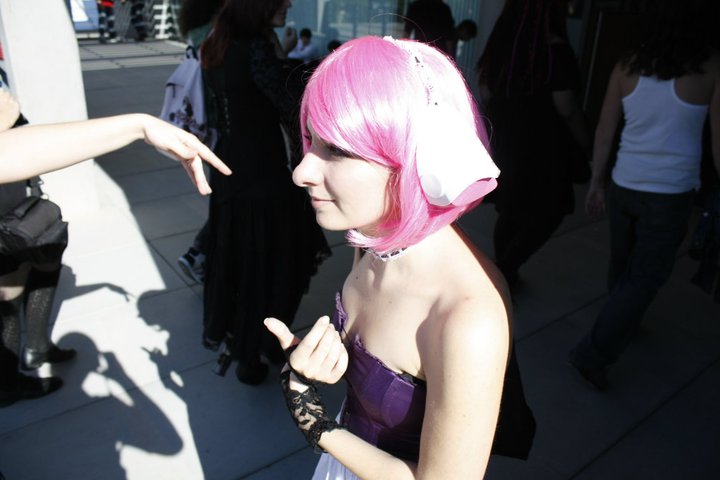
| Erm…no comments about this pic |
Anyway this is briefly how the dress was done. I know that the colours aren’t a perfect match, but honestly, for a total cost of 5 euros that I spent (yes, 5) I didn’t care and I wasn’t entering any competitions with this. By the way, about Mikuru’s bra size … I think Playboy magazine is next blog :p
En cualquier caso aquí tenéis brevemente como hice el vestido. Se que los colores no son perfectos, pero la verdad, por un coste total de 5 euros que me gasté (si, 5) me daba igual, y no iba a competir en ningún sitio con esto. Por cierto, acerca de la talla de sujetador de Mikuru … creo que el blog de Playboy es el siguiente :p
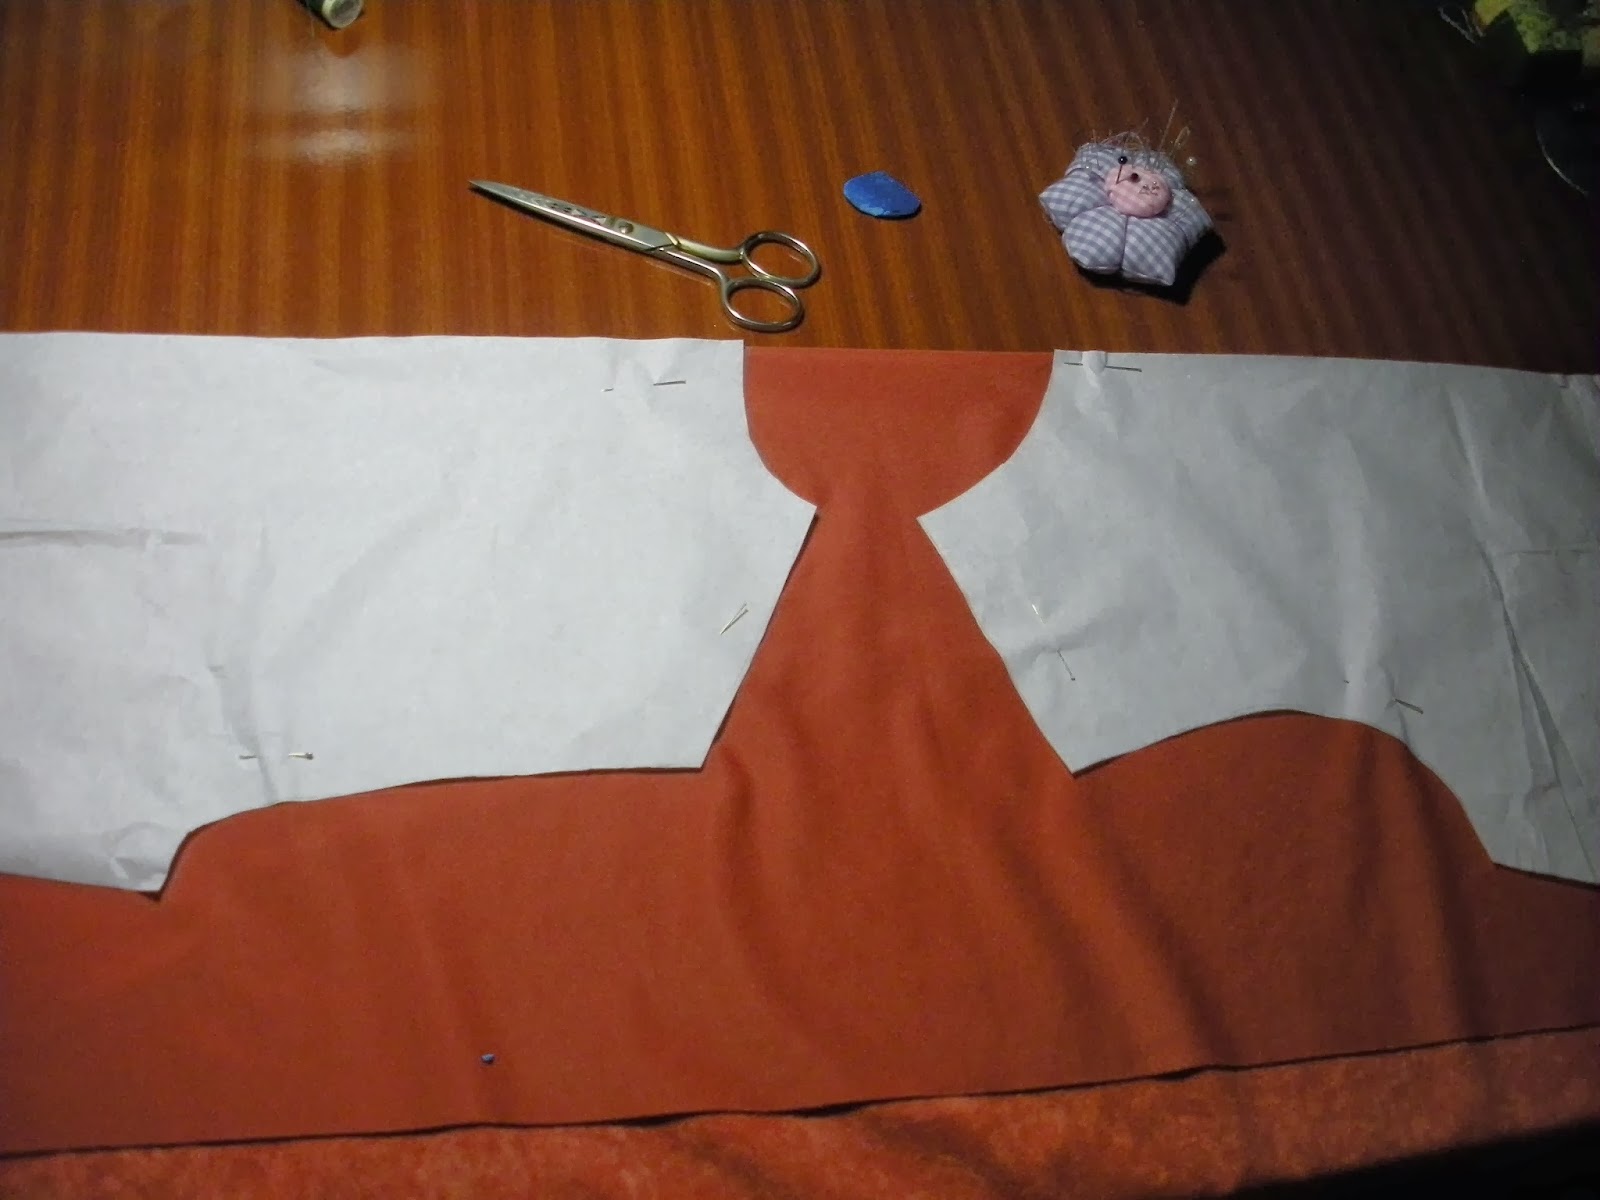
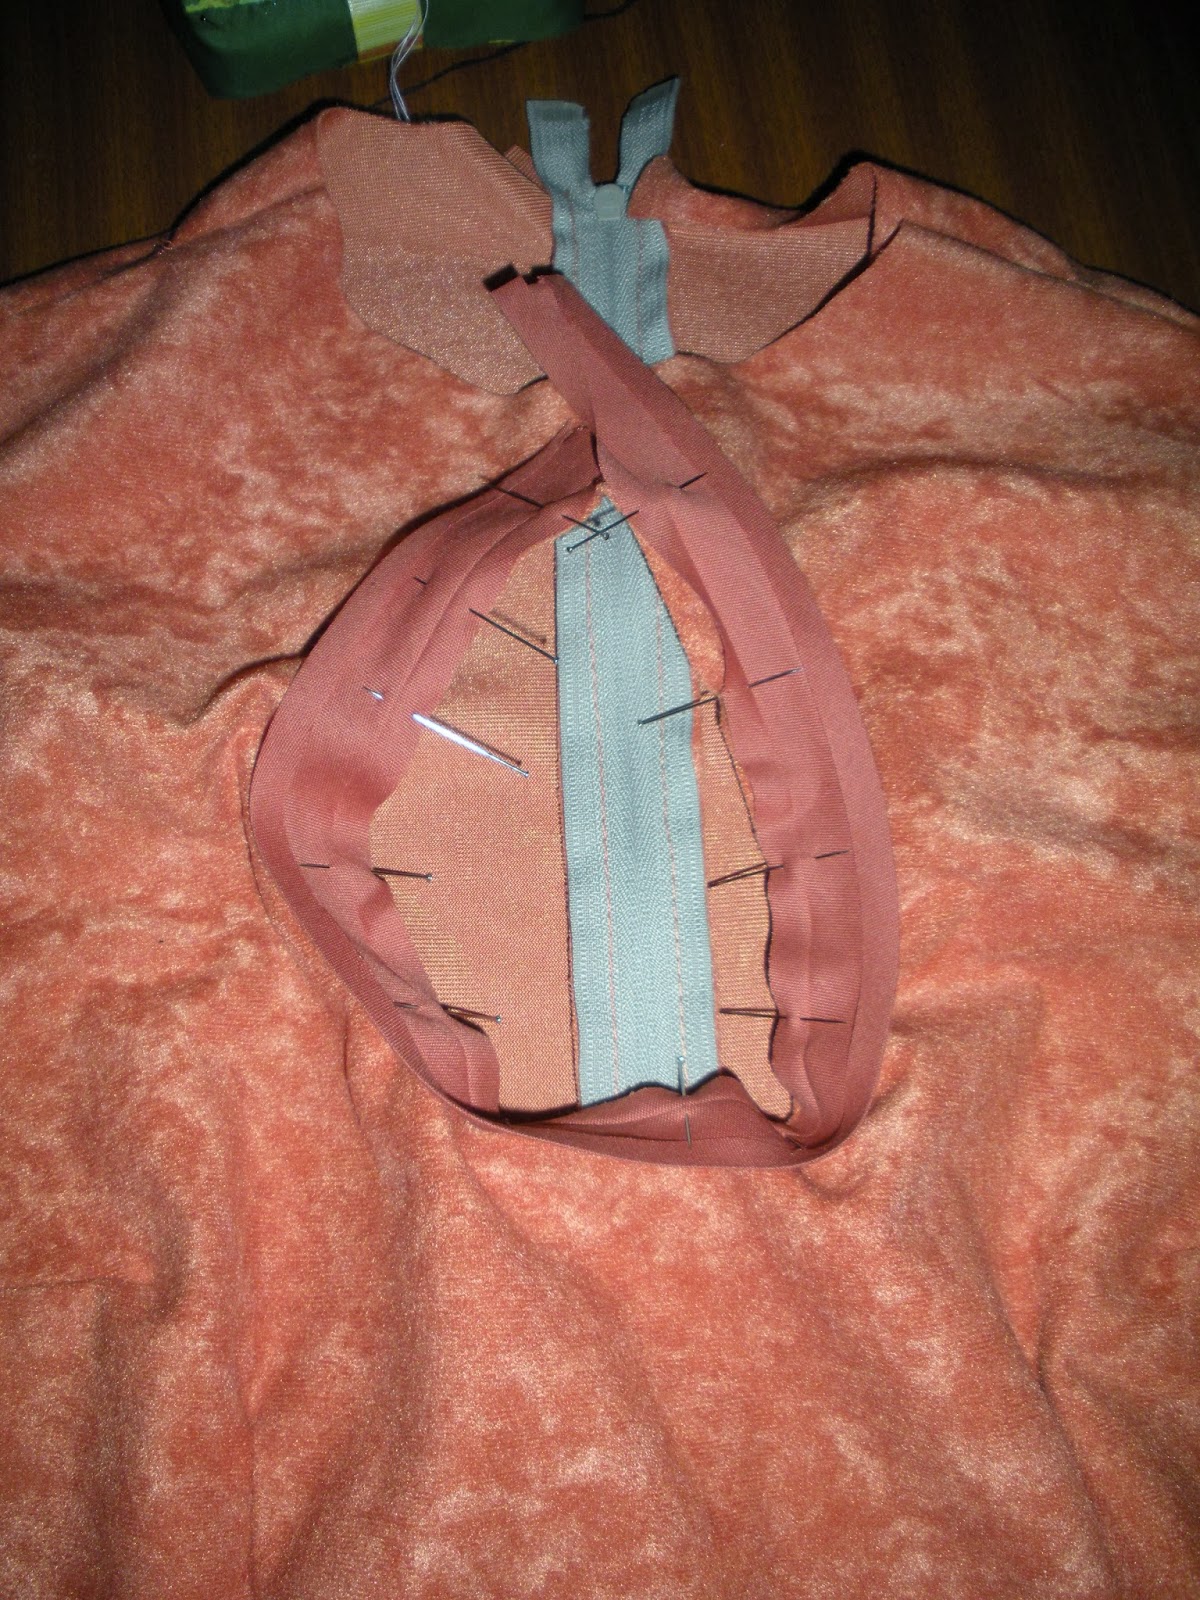
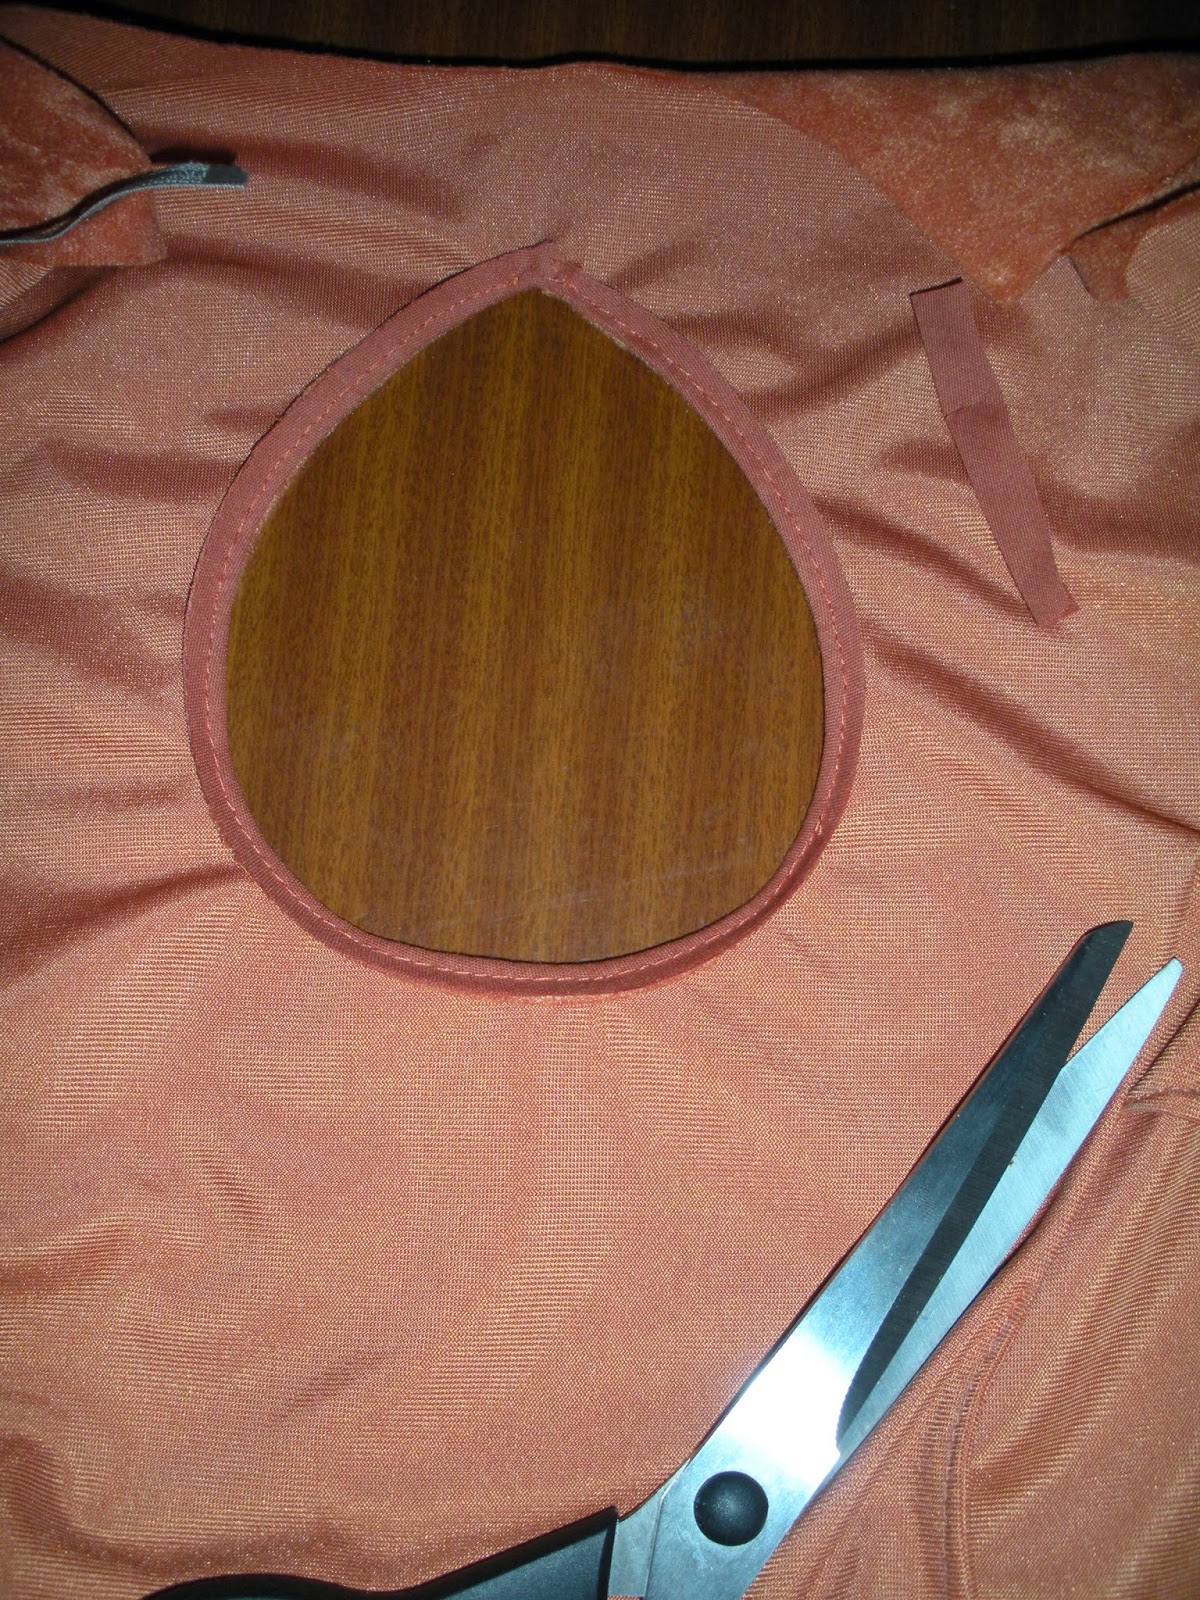
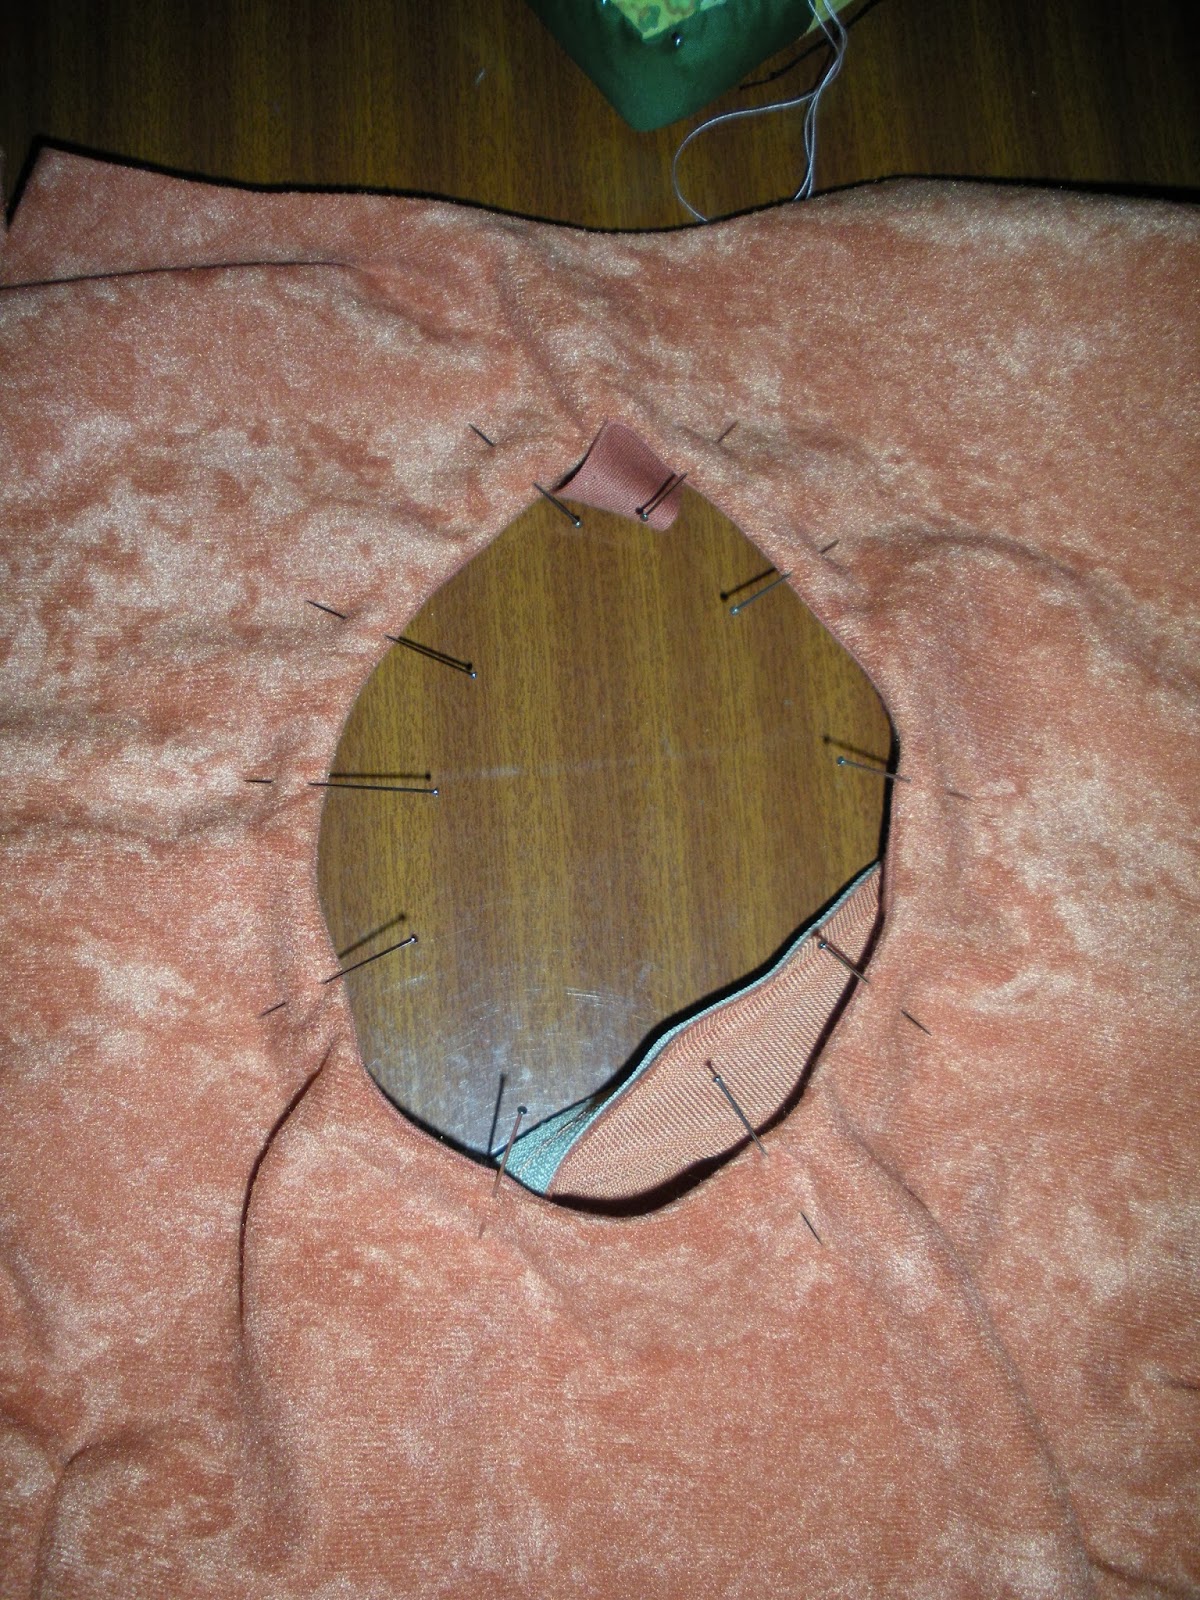
Do you think the hole in the chest is easy to do? Well, it is if you know how to and here is the trick. Use some bias tape on the edge of your opening. Now turn it completely to the inside (may need to do some cuts to your fabric to make it easier) and top stitch along the edge. Cut the excess and iron it for a perfect outcome.
Creéis que el agujero del pecho es fácil de hacer? Bueno, lo es si sabes hacerlo y aquí está el truco. Usa cinta al bies en el filo de la abertura. Después girala completamente hacia el interior (posiblemente necesiteis darle algun corte a la tela para que sea más fácil girarla) hasta que no se vea y pasad un pespunte por el borde. Corta lo que sobre de bies y plánchalo para que quede perfecto.

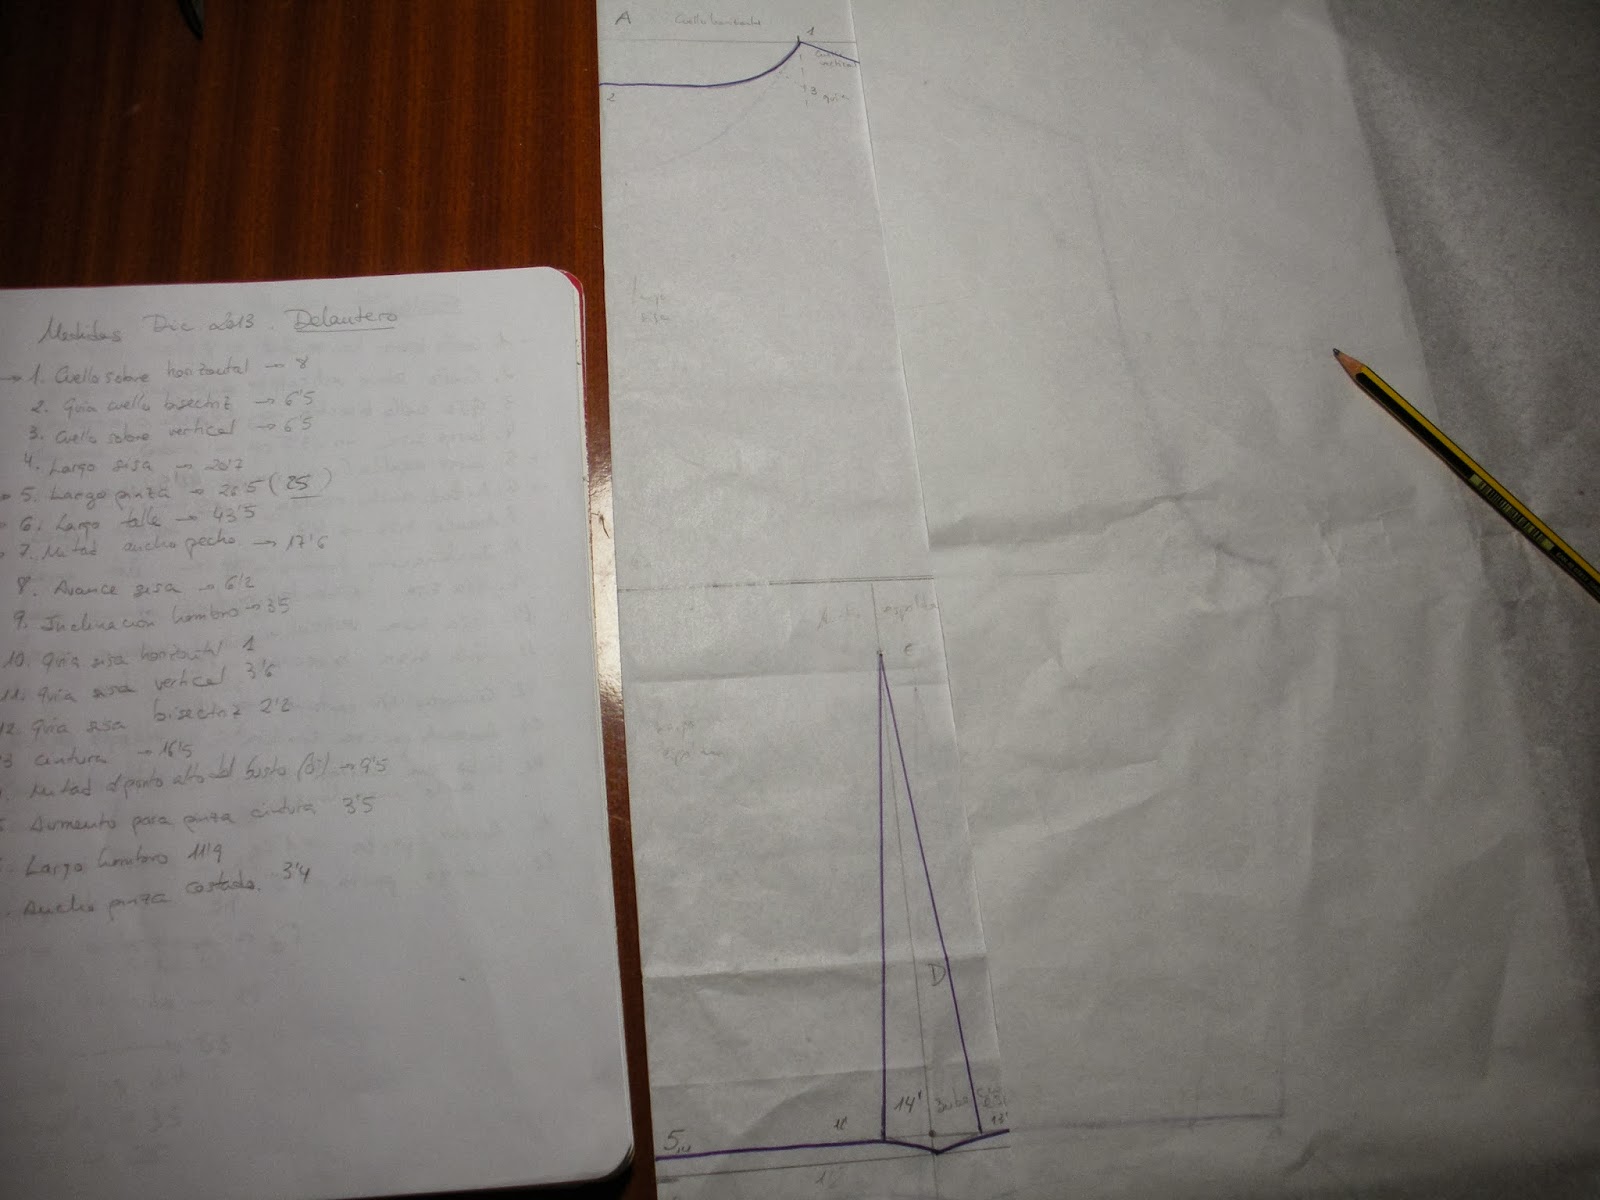
The skirt…honestly I made it up slightly. I made a rectangle/trapezoid or whatever considering my waist and my hips. Then I raised those lines in a curve which is what gave the skirt that little bit of flare. It adjusts on the hips but opens slightly in the hips.
La falda…la verdad me la inventé un poco. Hice un rectángulo/trapezoide o lo que sea teniendo en cuenta mi cintura y mis caderas. Después subí esas lineas haciendo una curva que es lo que la hace tener ese pequeño vuelo. Se ajusta a la cintura pero se abre ligeramente en la cadera
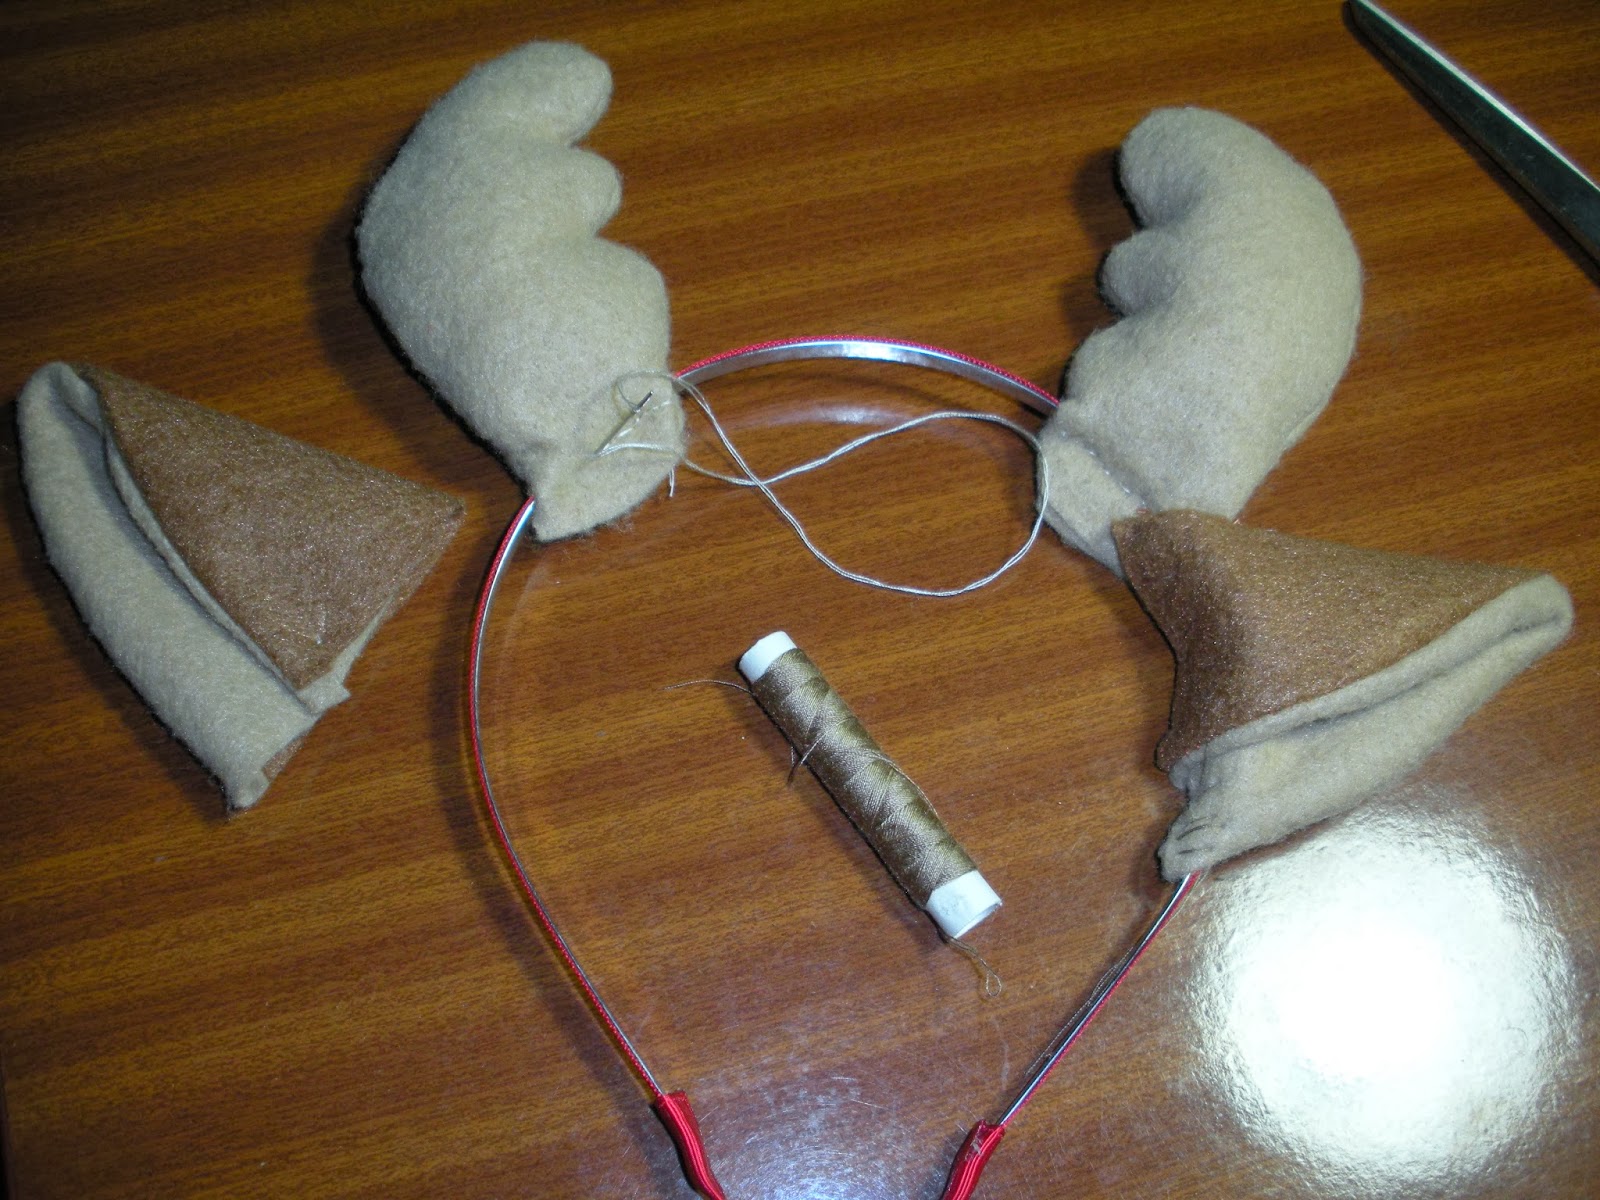
The horns have their own tutorial HERE
Los cuernos tienen su propio tutorial AQUÍ
