Let me guess, you have spent hundreds of hours finishing an amazing cosplay. Then you have gone to a convention hoping that you will get some good pictures taken. You posed for a dozen photographers and in the end you only got back one photo in a crowded space with a wheelie bin as background and a giant Hello Kitty in the corner. The best picture of your cosplay ends up being the blurry one your mum took before you left. Not ideal right? If you can’t or don’t want to invest on a photoshoot you may consider taking cosplay photos at home.
Best equipment to take photos at home?
If you want to make this short, the best equipment you can use for your photos is the equipment you already have! I know, I am not helping much, but it is true. You should try first and improve on your cosplay poses before you invest a lot of money on things you may not really need. I put a list together with the equipment on a budget that you may or may not need to take your photos at home, you may not use them all but they will definetely help.
1. The only essential equipment
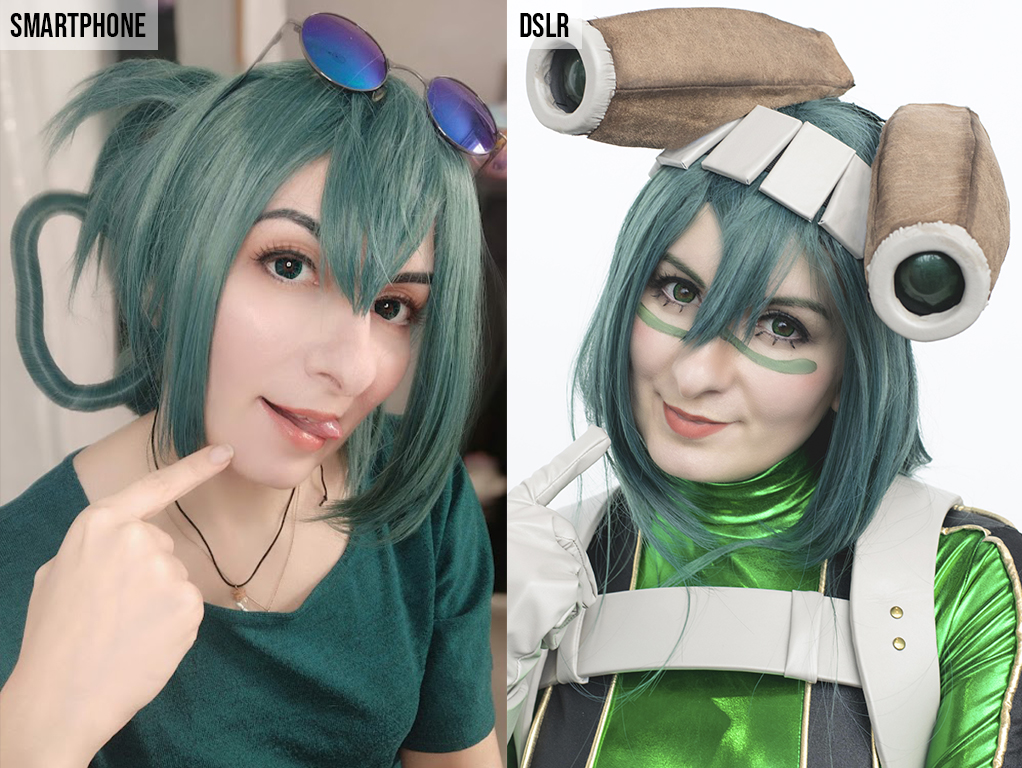
Fairly obvious, you need a camera. If you don’t have a camera you can’t take a picture. The end. However, do you need to spend a lot of money on it? Yes and no. Now a days most smartphones come with super advanced cameras. They are certainly much better than some old compact cameras I have used in the past. If you can’t afford a new camera do not worry, you can still get some cool images from your phone. They will work very well on social media. However, if you want to offer digital downloads or prints you may want to invest on a DSLR or a mirrorless camera.
DSLRs and mirrorless cameras are the big cameras your favourite photographer brings to the convention. Many people think these cameras are super expensive. And they can be. I would recommend you to get a starter camera on a budget and upgrade later on. Think second hand too, perhaps you can borrow one. I didn’t have my own camera for many years and I was lucky enough to borrow my brother’s.
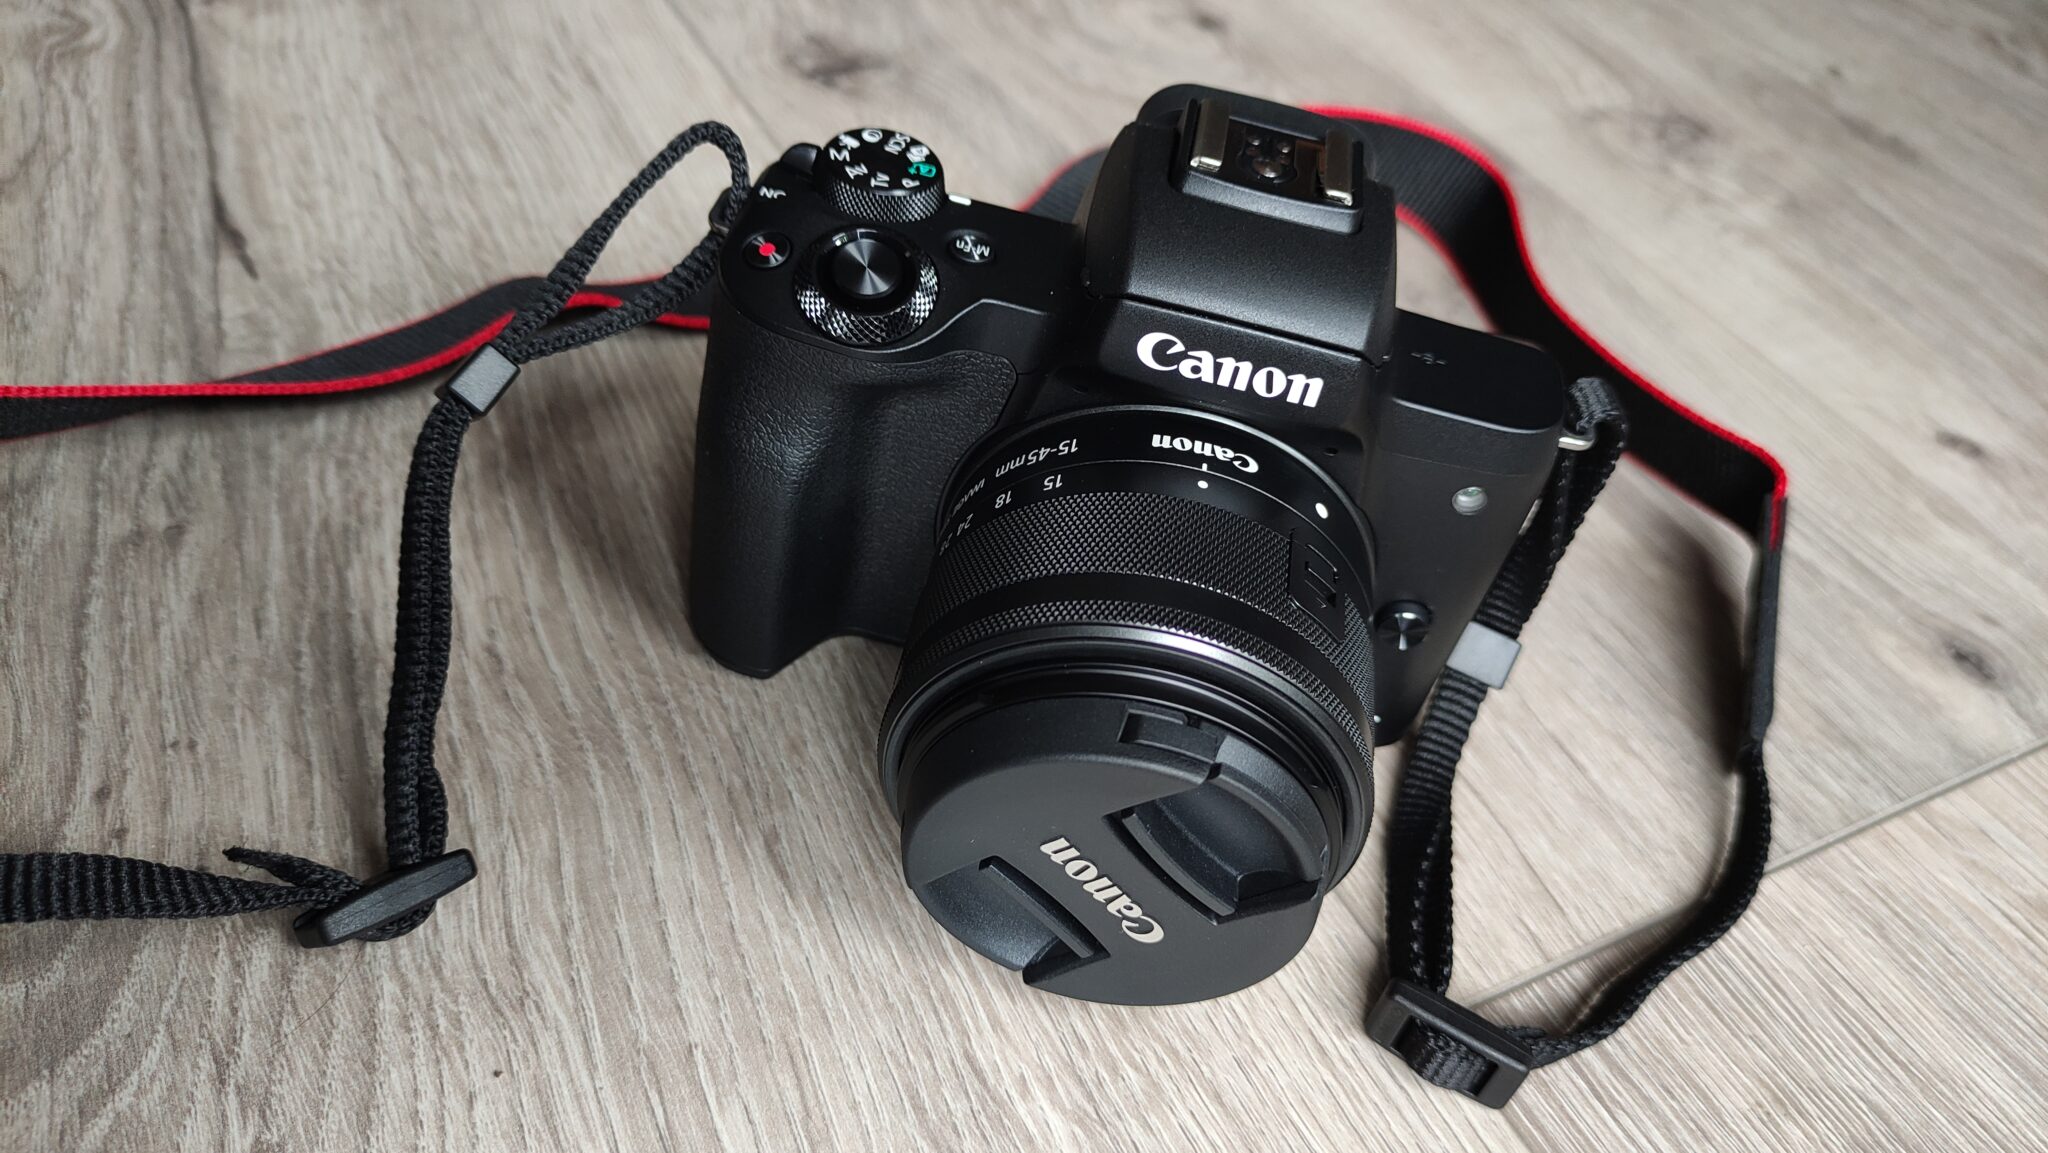
DSLR and mirrorless cameras do have a learning curve. Although you can shoot in automatic, I recommend you to learn how to use the manual mode as soon as possible, once you learn how to use it you will achieve better photos. I have taken most of my photos with my Nikon D3300, an entry level camera that you can get for about £350 (every photo below was taken with this camera). I have recently purchased my second (more expensive) camera, a Canon M50 MKII, but I have yet to organise my first photoshoot with it.
2. The key to success
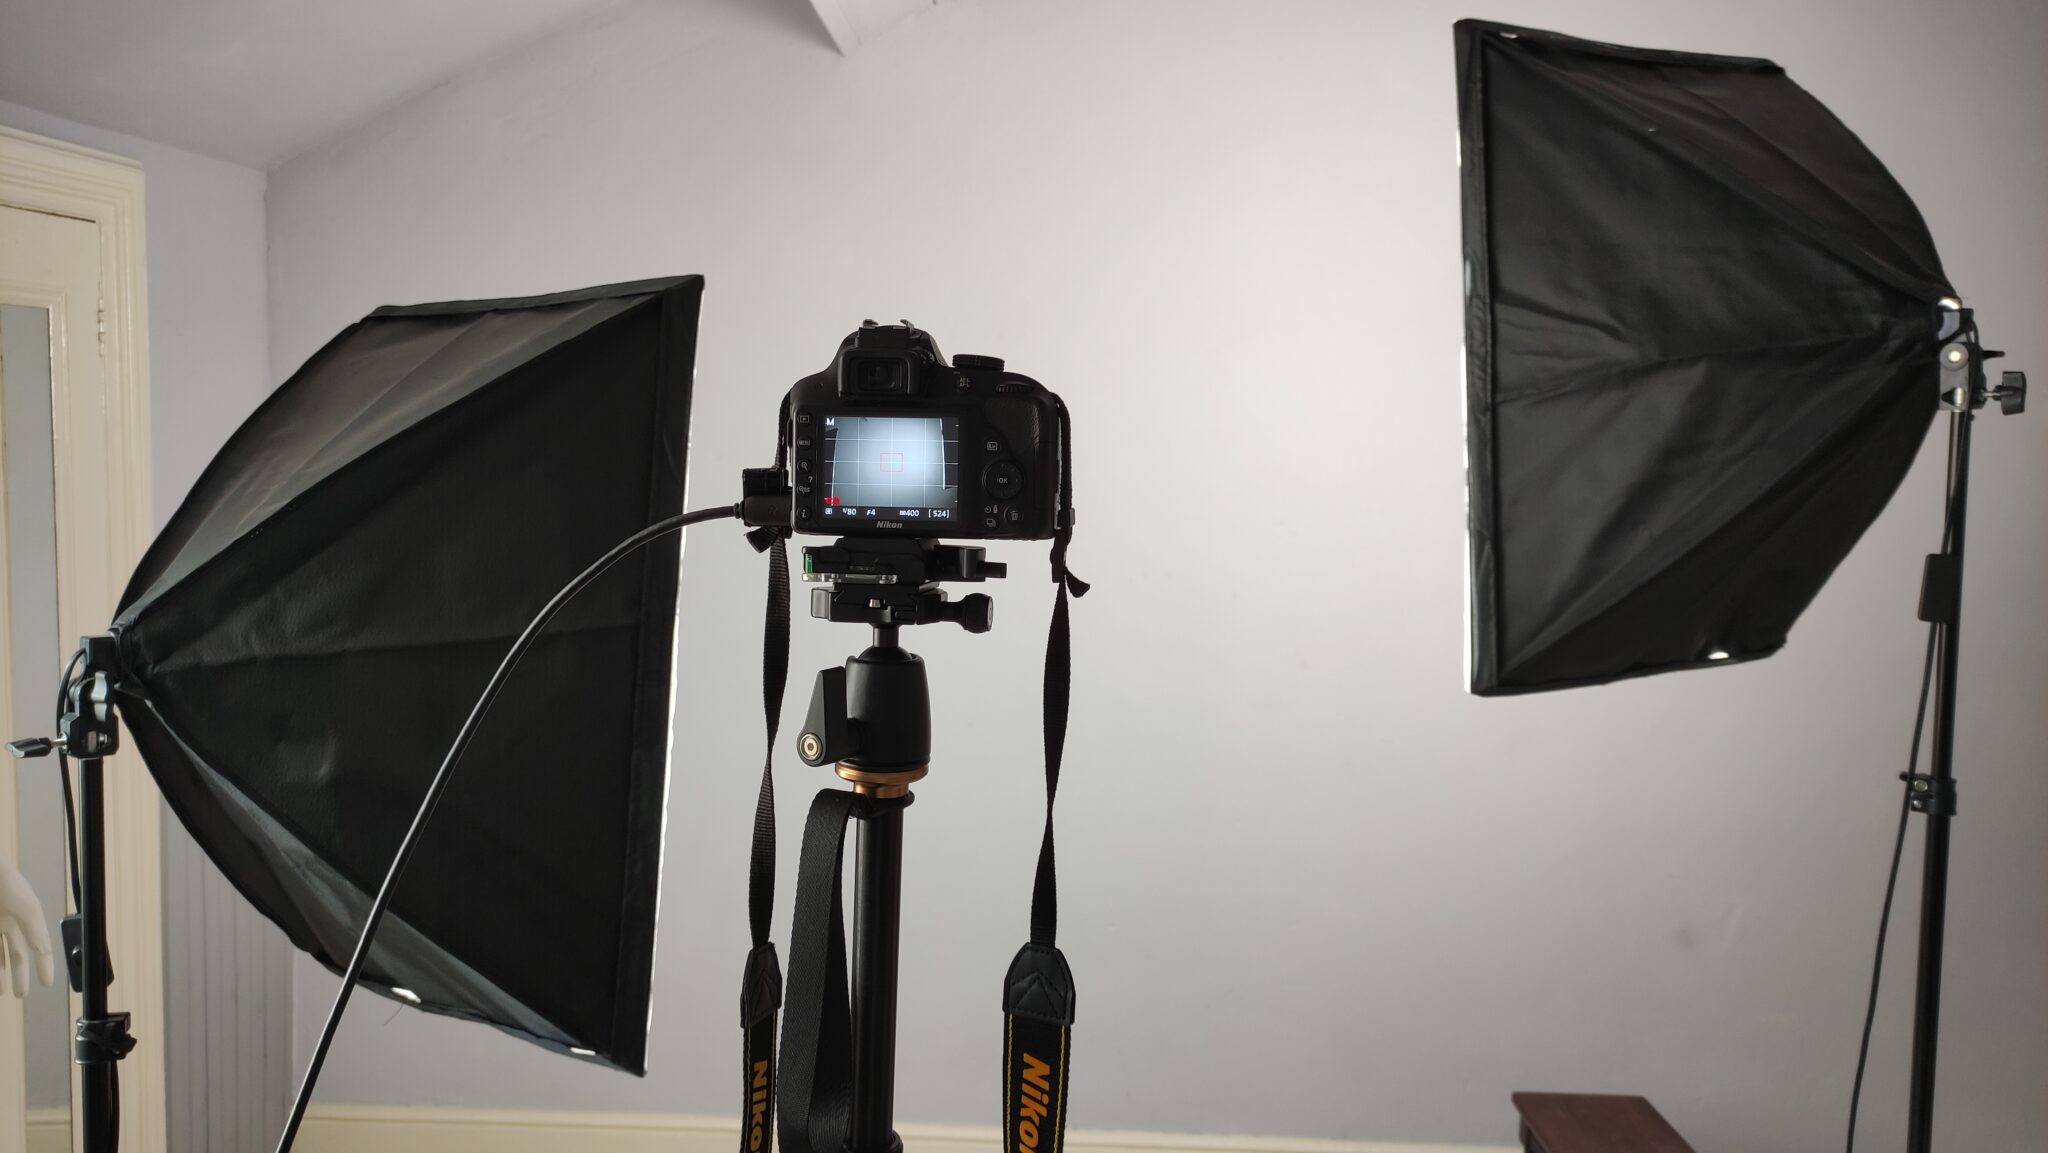
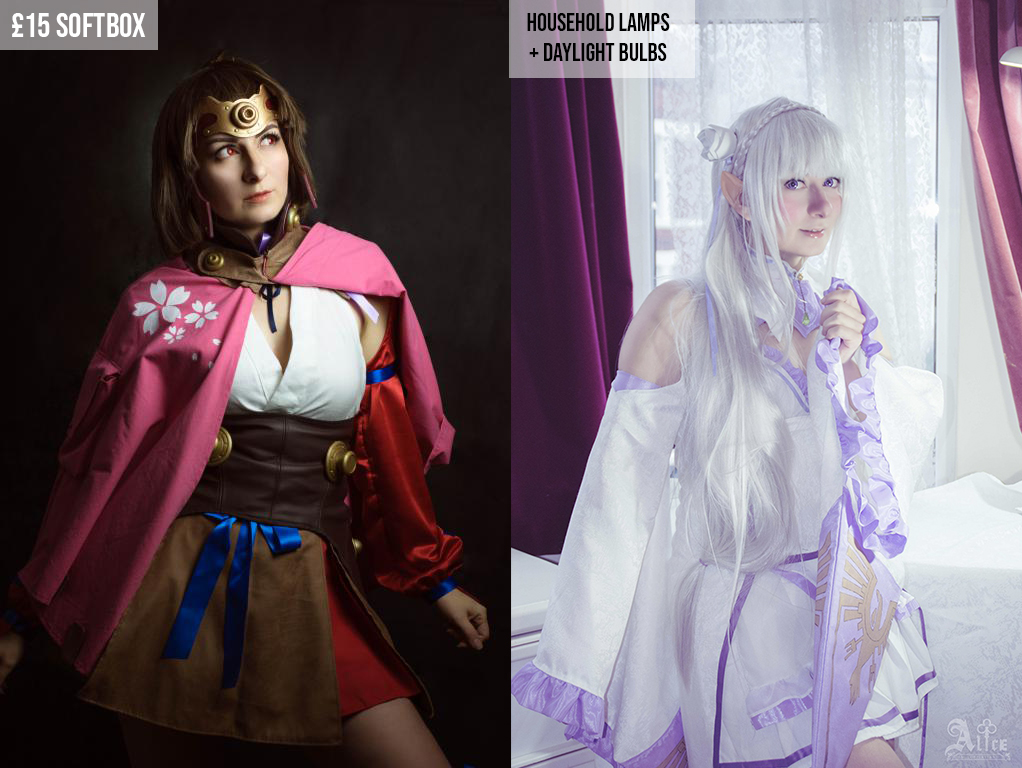
The key to a good photo is the light. The better the light, the better the photo. You don’t need to spend a lot of money on lights. In fact, you don’t need to spend money at all! Lights do not have to be expensive. You can just place yourself in front of a big window, buy some cheap softboxes for less than £30 or go all out with more professional strobes. I have used just lamps with daylight bulbs in the past (the regular bulbs have a yellow tone that may not look good on photos). Once you understand how to use light you can get more expensive equipment. And you can always combine it!
The important thing here is how you position yourself in regards to the light. Just at the very least, make sure your face is illuminated and there aren’t any unwanted shadows. Don’t be afraid to move yourself or move your light until you achieve the desired effect. Get near a window or go outdoors if you can’t afford lights.
Of course you can add multiple lights, play with coloured lights and intensity and mix and match things. This will take some trial and error but you can achieve some amazing photos with a bit of practice.
3. Hold it there
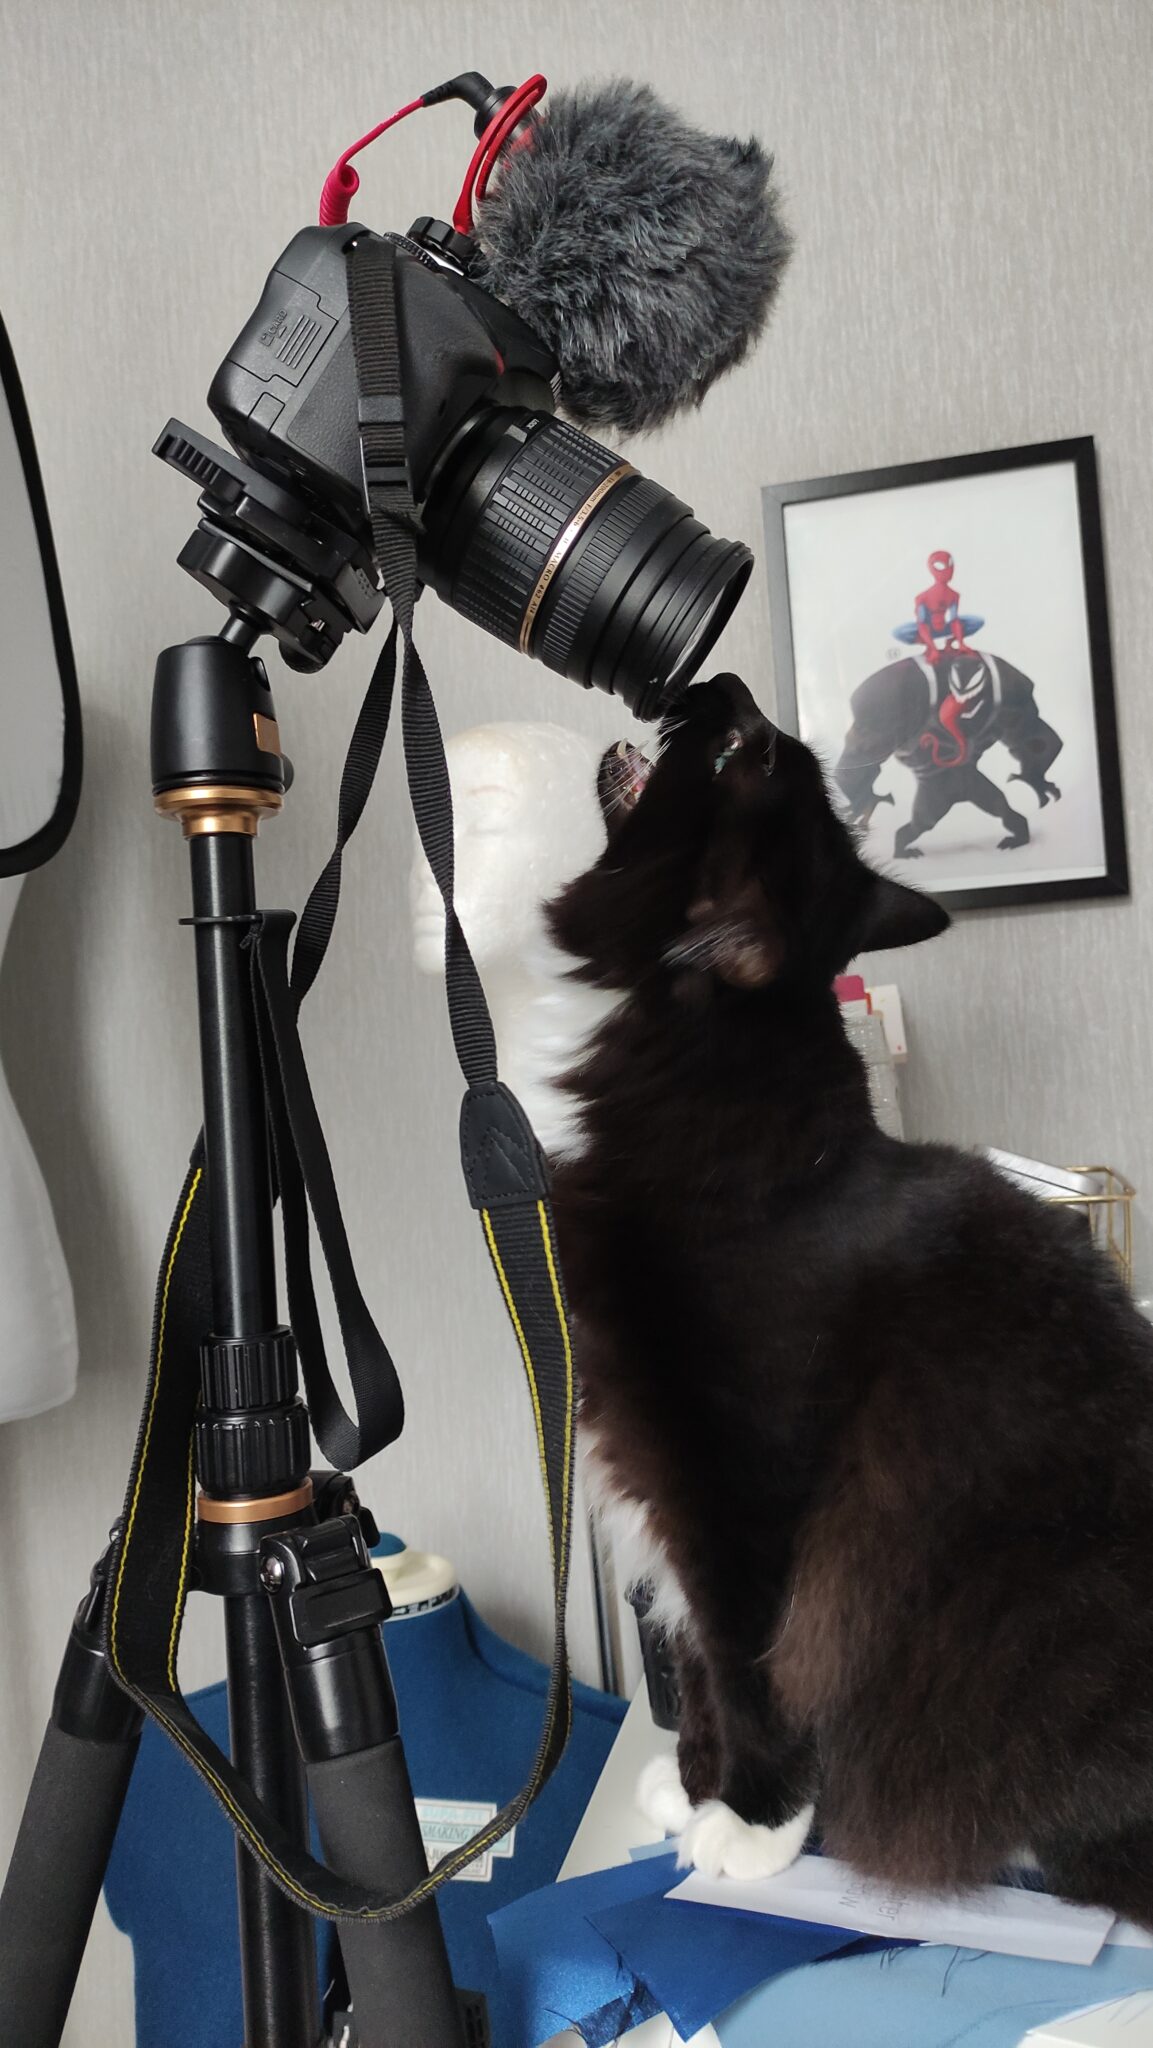
You have your camera and you have your lights. Is there someone willing to take the photos for you? If the answer is no you are going to need a tripod.
Keep in mind that cheap tripods are less stable and they may fall. I used to put weights on the feet of mine so they were more stable. However, it is well worth it to invest on a better tripod for your camera. You don’t want to be dropping your very expensive camera to the floor. You can get a basic but good enough tripod for less than £50.
Selfie sticks, clamps or a stack of books will also make the trick in a pinch. You just need a bit of imagination and maybe some duct tape if you are really really really on a tight budget.
4. A click away
You have your lights, your camera and all your tripods set up. But still noone to click those buttons for you (I know the feeling). Here you have two options. Of course you can use the timer on your camera, set it for a two seconds delay, run back to your position, strike a pose, discover that the photo was blurry and start all over again. Not fun.
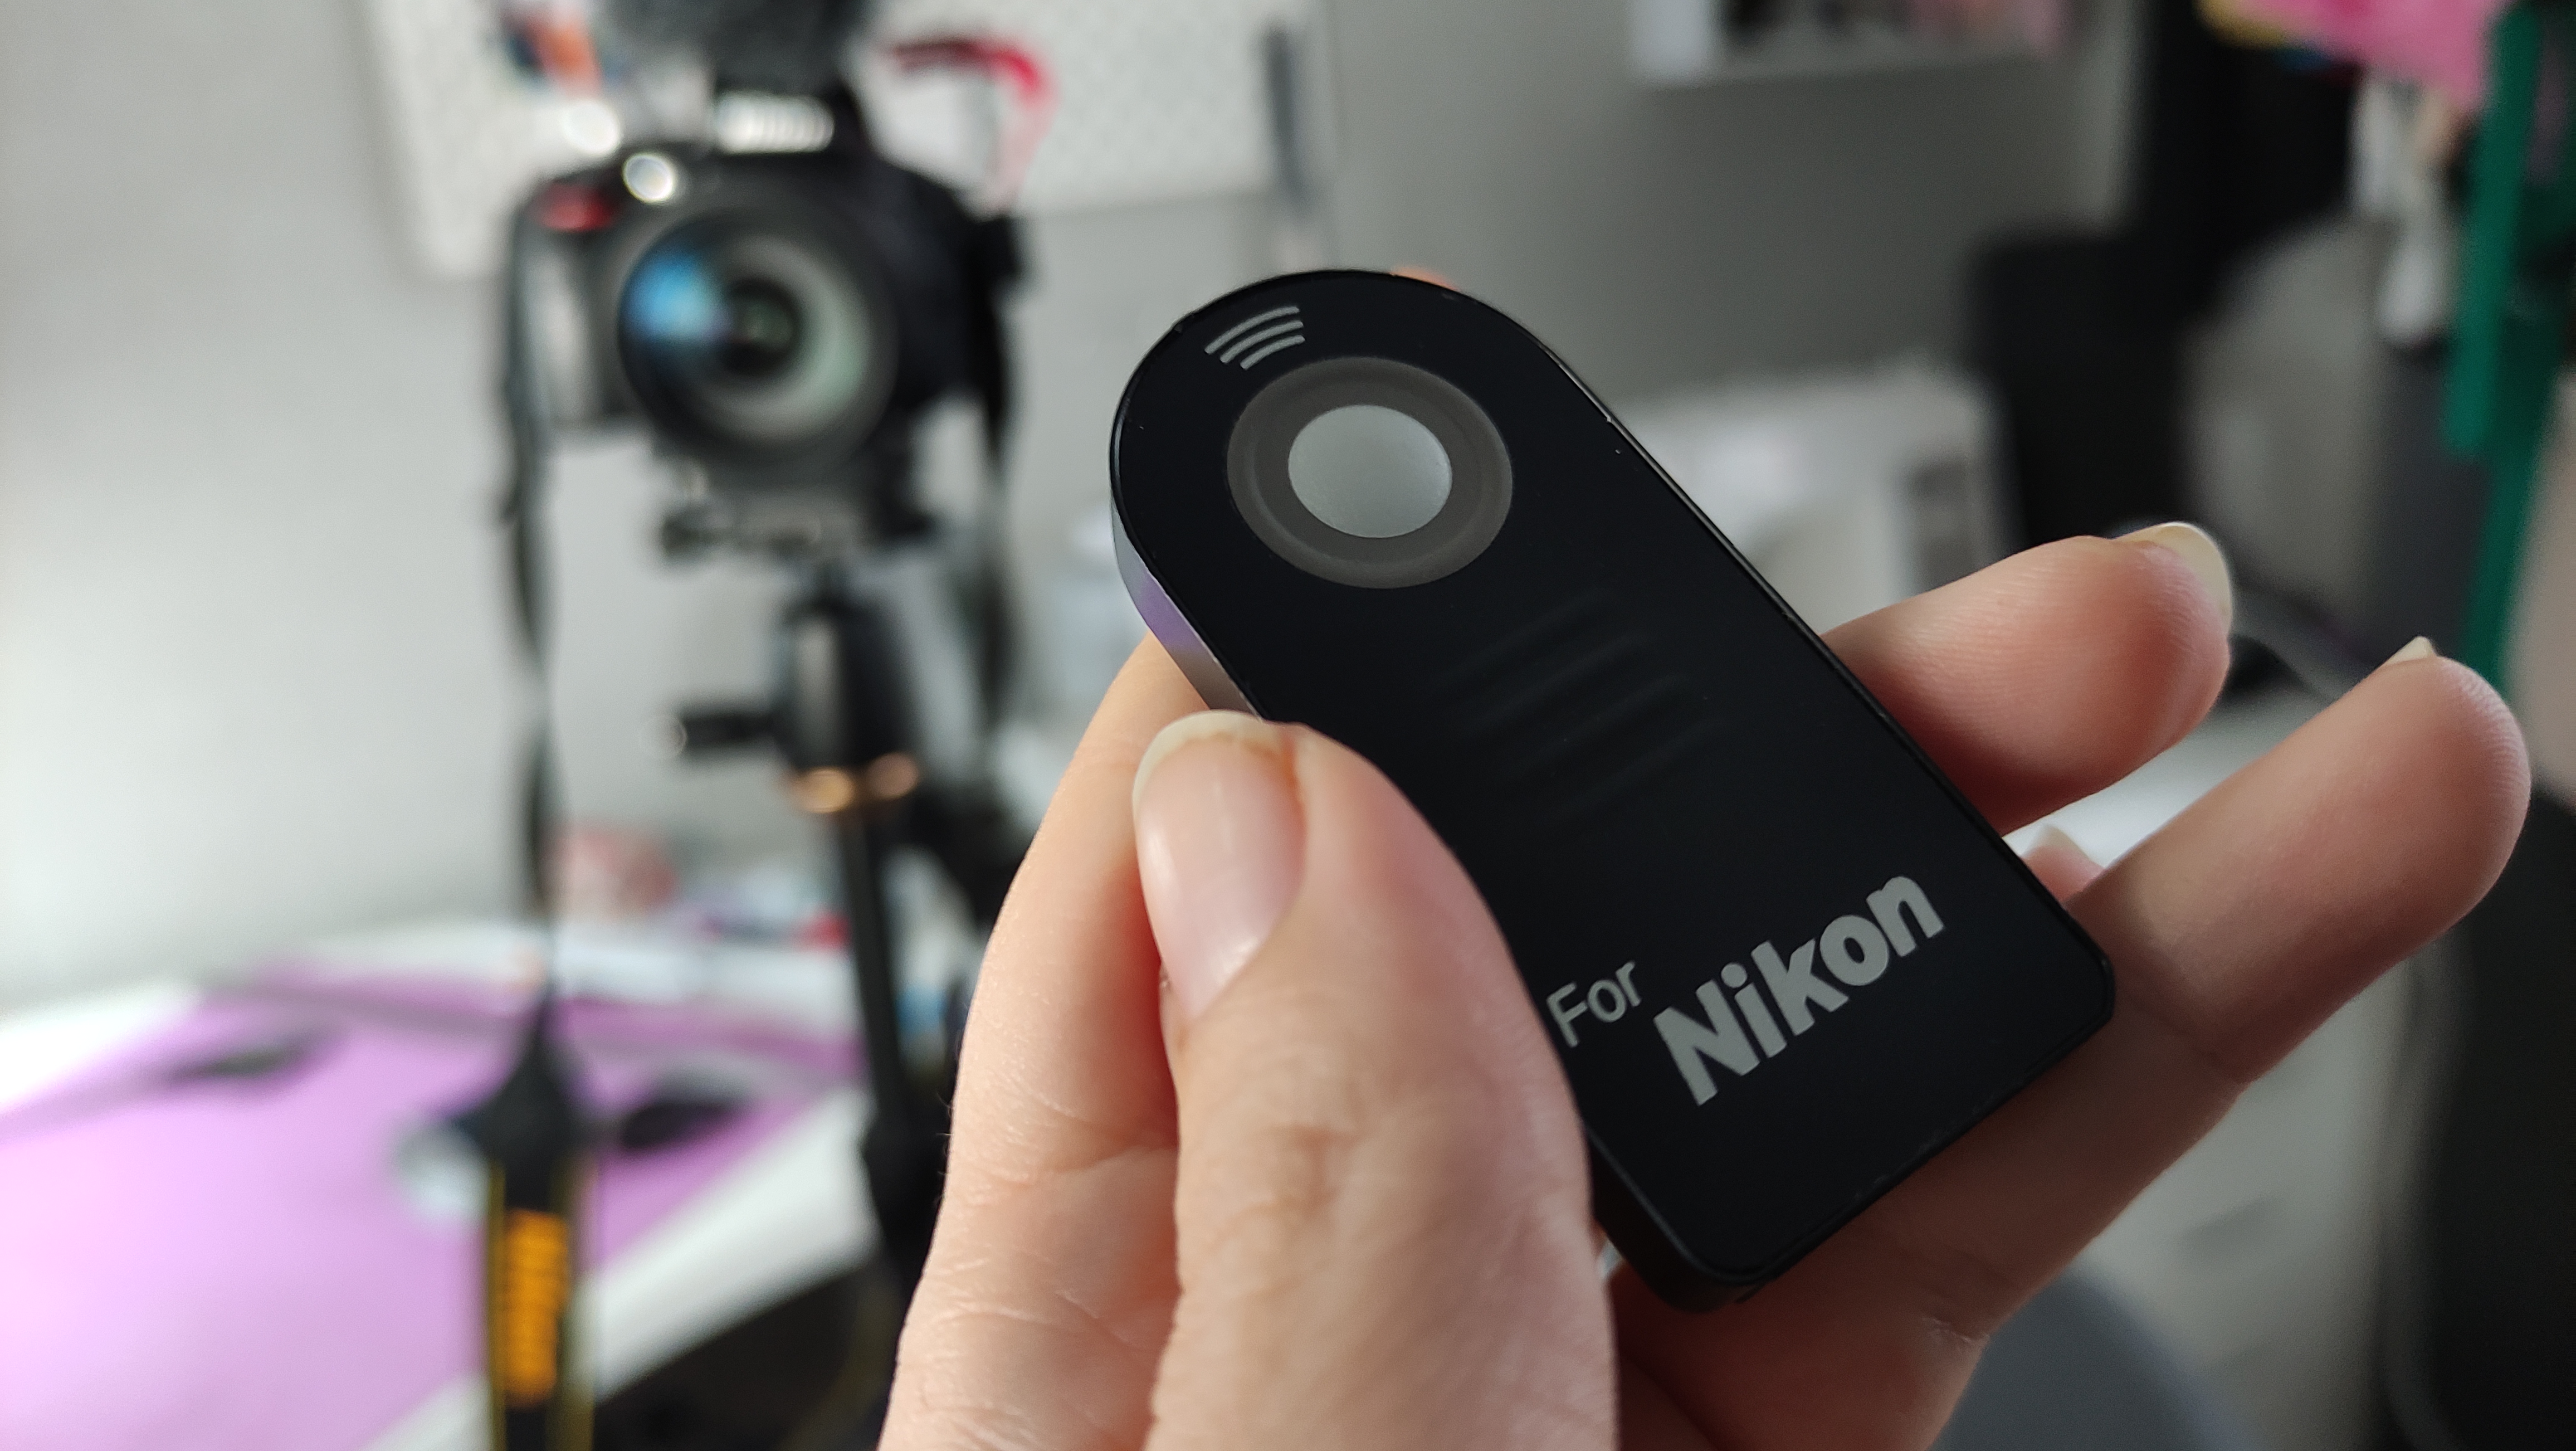
Or, you can buy a remote for less than £5 and take several photos in a row. Most cameras come with settings that allow you to use remotes. Choose a 2 second delay on your photo and quickly hide those remotes so they don’t appear in the frame. Noone will know. The newest cameras will come with an option to connect them directly to your phone, which is quite cool. And you can also use special cables to connect the camera to your TV or laptop, but that needs a longer explanation on how to take self portraits.
5. Make it cozy
It doesn’t matter how good your camera or your lights are if your setting is bad. Maybe you think you need an expensive backdrop and lots of space to take amazing photos but that is not necessarily true.
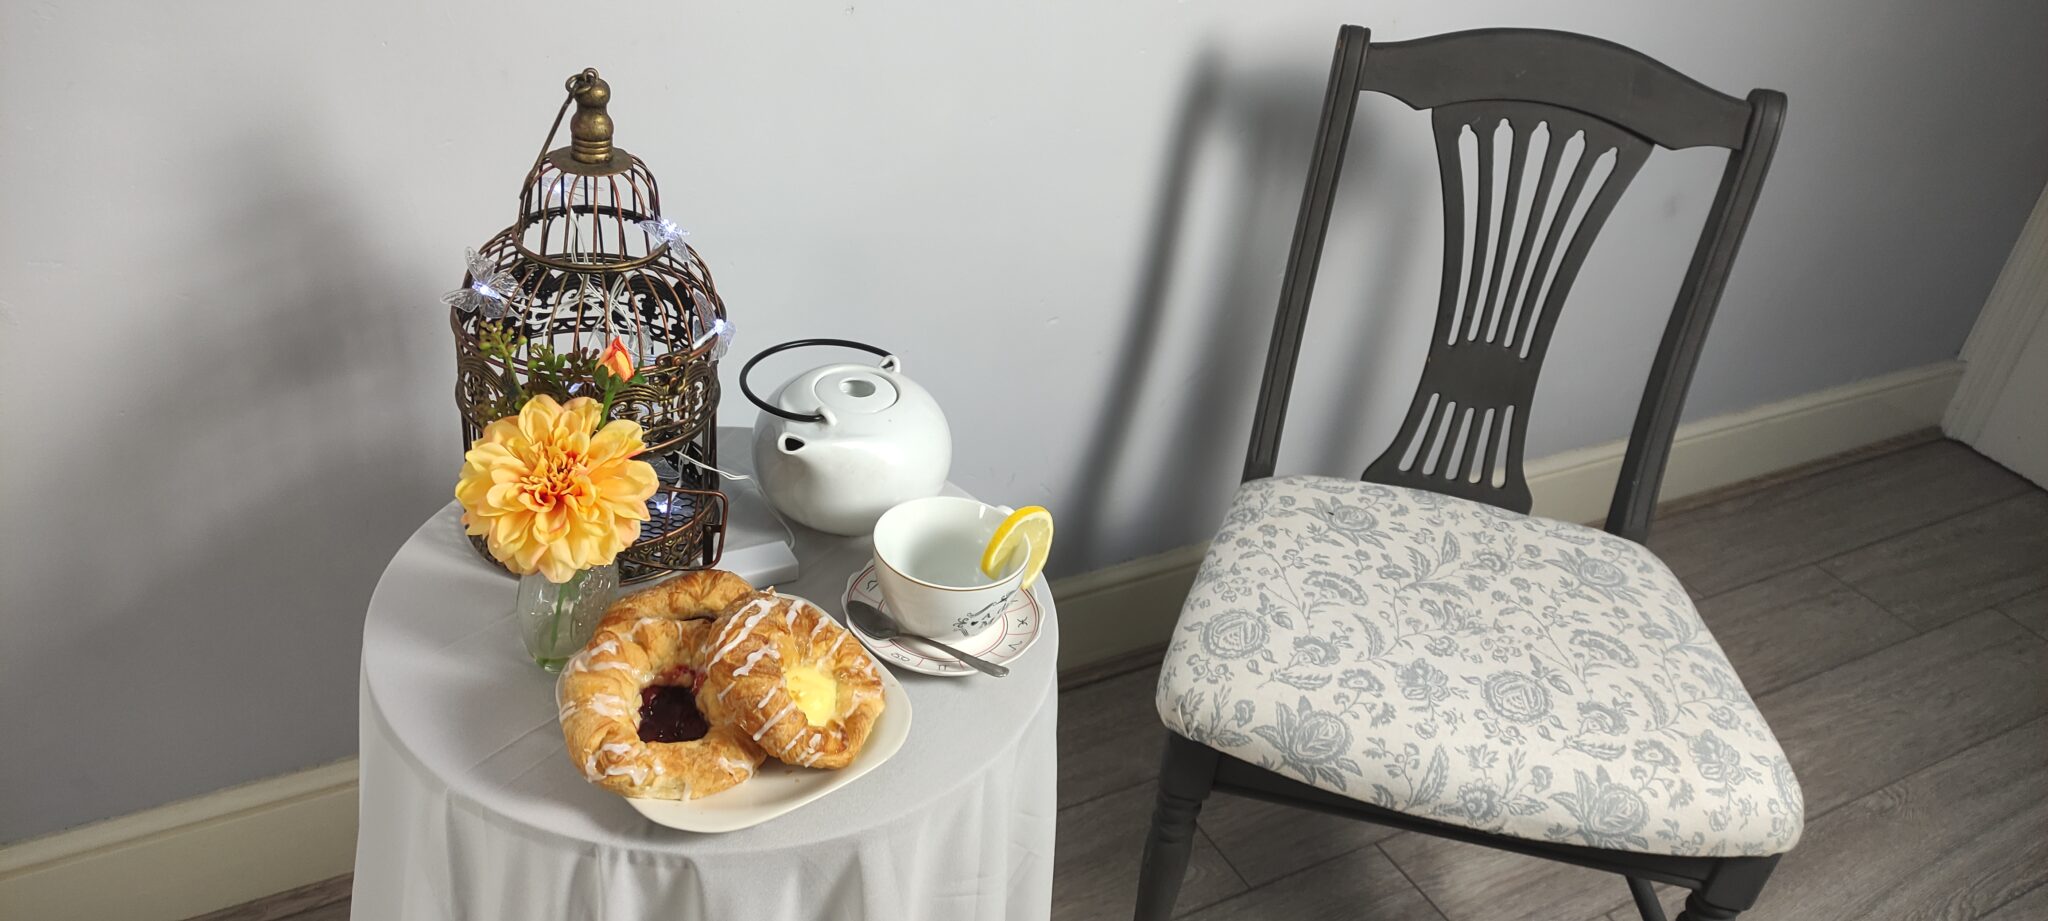
If you have the space and you can afford it, you can get a stand with several backdrops in different colours for as little as £30. But you don’t really need it. You can use any fabric or sheets hanging from a clothes rack or taped to your wall. Actually, do you have an empty wall? That will work too! Just make sure everything is as smooth as possible.

You know what? Forget about the backdrops, you can actually take the photos anywhere in your house or the garden! You just need a good spot and good framing. Just make sure there is no clutter or elements that don’t fit in the photo. Some of my best self photos were taken in some spots of my house.
6. The final touch
Postprocessing. This is the magic that makes a good photo great. If someone ever tells you that you don’t need to edit a photo, don’t listen to them. I say there is two reasons for them to say this, either they can’t be bothered or they have no idea of how to edit a photo (sorry not sorry).
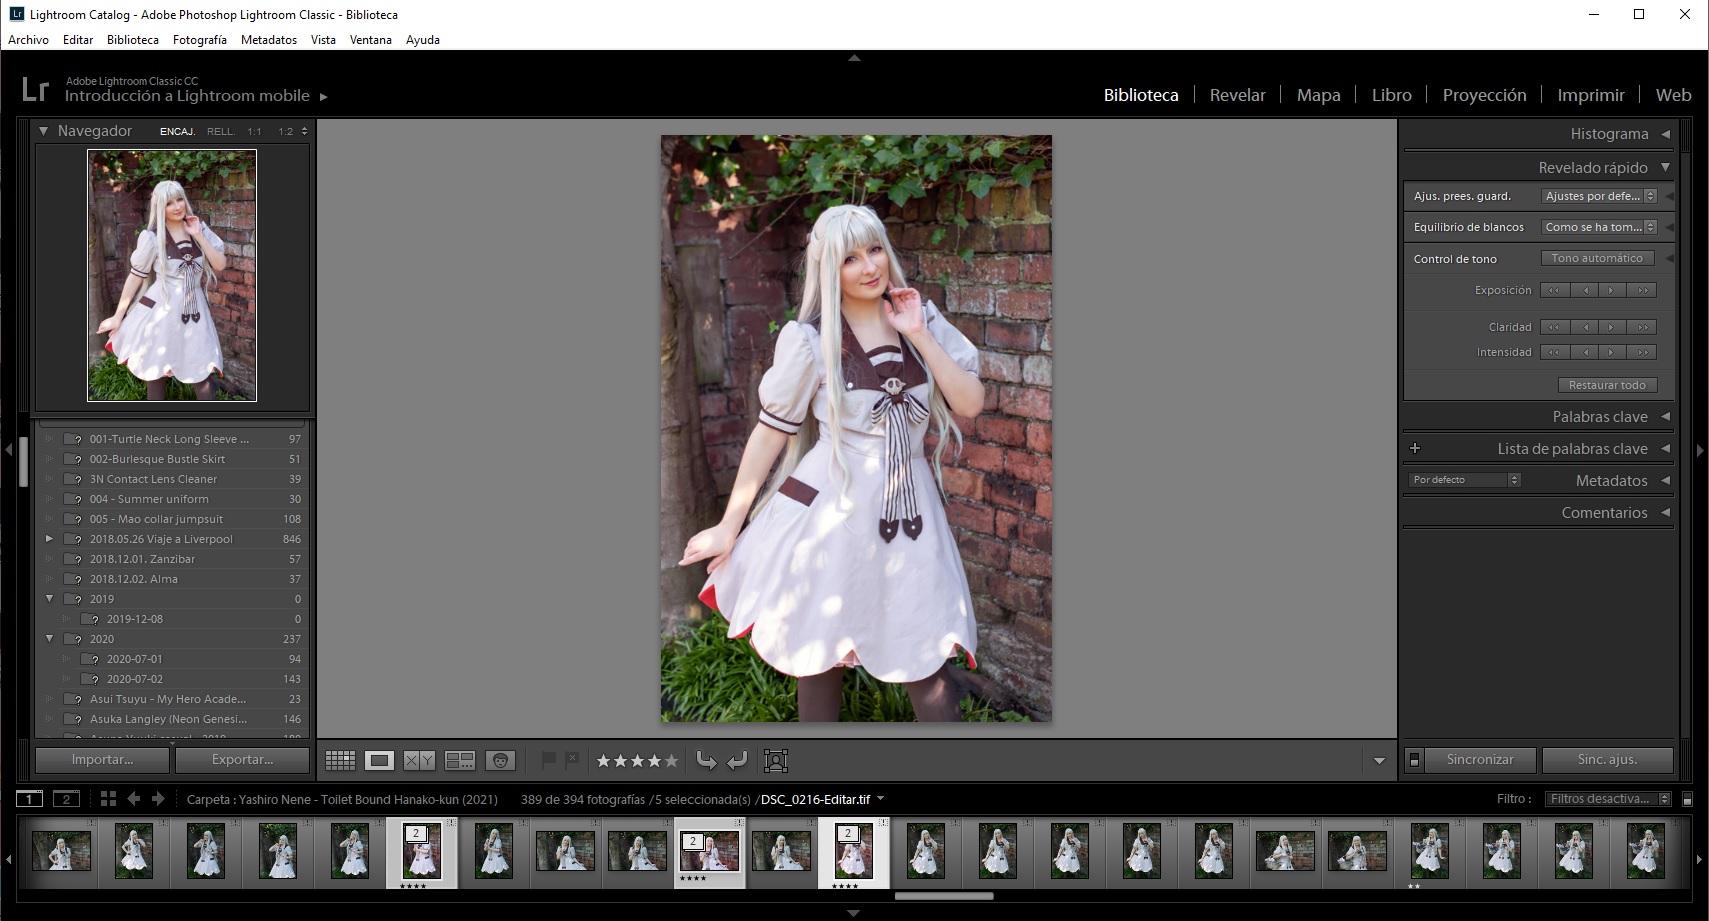
Even when I took photos manually with my brother’s very old Yashika I had to edit my photos! (yes, I learnt how to use one of those ancient machines with film inside! and procesed the photos myself). The good thing about digital photos is that you can correct (almost) anything. Maybe your photo was too dark or two light. Change the exposure. Bad skin that day? No worries, remove the pimples with the healing tool. Your background got crinkled? Smooth it out. You don’t need to add a flying dragon to the background (if you don’t want to), but you can definetely make it look a little bit nicer. I even edit the photos I have taken with my phone!
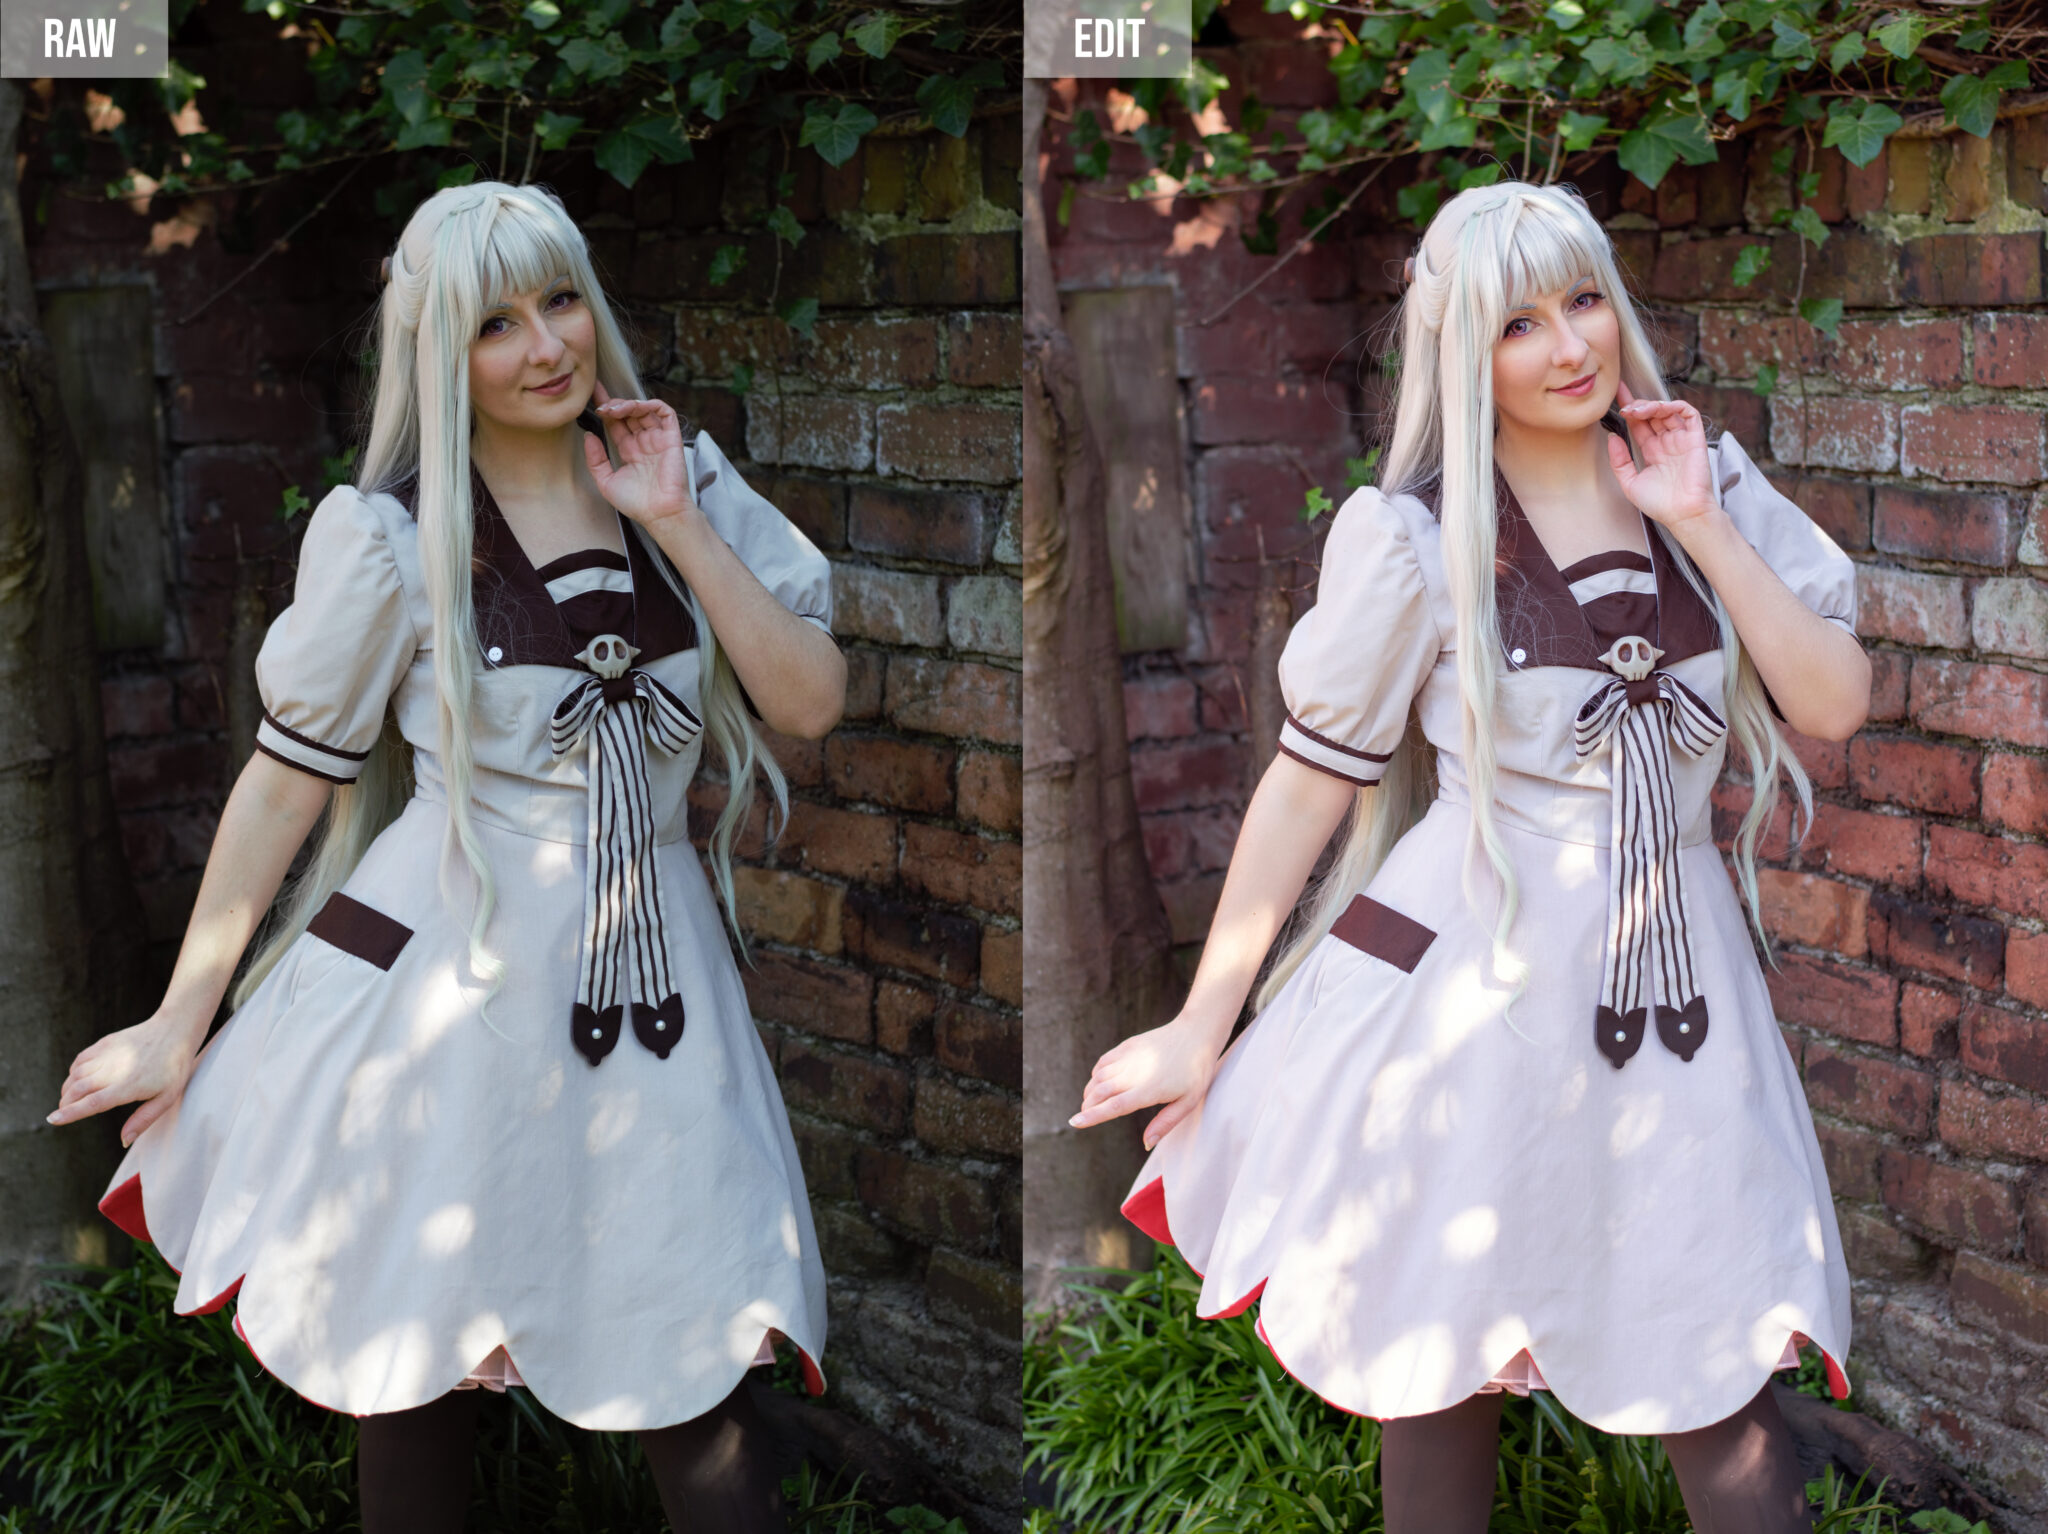
You can tell when someone has just not spent the time fixing those little things. You don’t need to go crazy, but it is totally worth it to play a bit with your photos. Nowadays you have software like Lightroom or Photoshop which make an amazing work. There are also many others for free, like Gimp. It is worth giving it a go. Go ahead and experiment, you may get something really cool.
So, are you a photographer yet?
Does this all mean that you will become an awesome photographer just by doing this? Absolutely not. Unfortunately there are a million things to learn in order to get really awesome pictures. But you can certainly get better if you keep practicing. I still will recommend you to go to a photoshoot with a professional to highlight your beautiful cosplay work. It is totally worth it. But at least now you will have some photos to show while you wait for that awesome photoshoot.
Do you like my posts? Remember you can support my blog in many ways, using my affiliate links, buying me a Ko-fi, or visiting my Cosplay Store! Following me on my Social Media and sharing my posts helps too! With your help I can create more cosplays, articles and tutorials to share with you!
