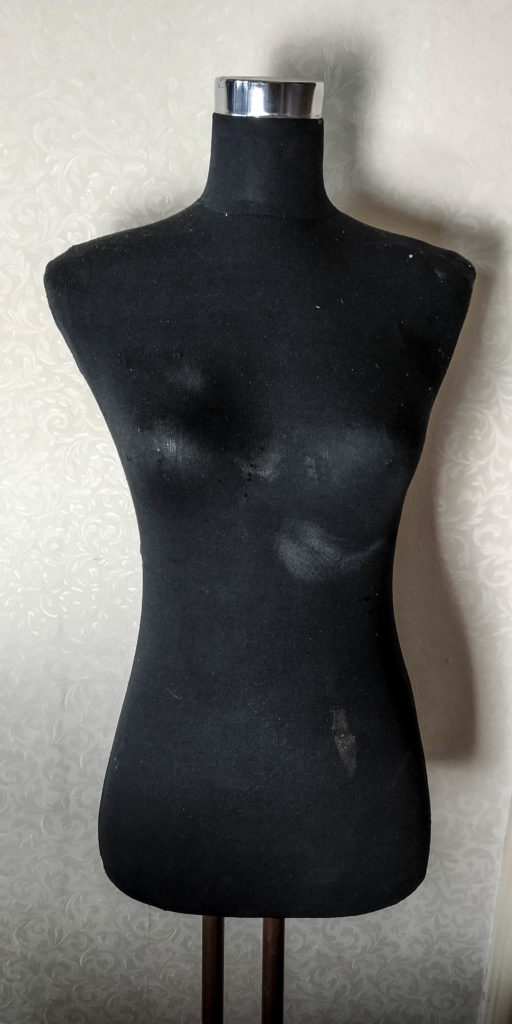
Revamping a mannequin isn’t difficult. I have a very old mannequin at home. When I bought it, it wasn’t in a good condition to begin with. It looked tattered and dirty and it had seen better days. The fabric that covered it was very thin and all my cosplay projects definately didn’t help to keep it good looking. It had holes and it was burnt in places. When I moved houses a couple of years ago I had to leave its foot behind. Having to keep it on top of a table and falling all the time didn’t help. I had given up and was thinking of getting a new one. But I didn’t.
A mannequin can be expensive. I didn’t want to spend over £100 on a professional one as I mainly do cosplays for me. The other cheap options that I found were polystyrene and I thought it wouldn’t be as durable as my fiberglass one. So I gave it a chance and I decided to revamp my mannequin.
First steps
The first thing I did was to get a new stand for my mannequin. My father in law cut a couple of copper pipes and attached them to a heavy wooden base. I painted the base and it was already looking much better. At least it was now functional but still very ugly.
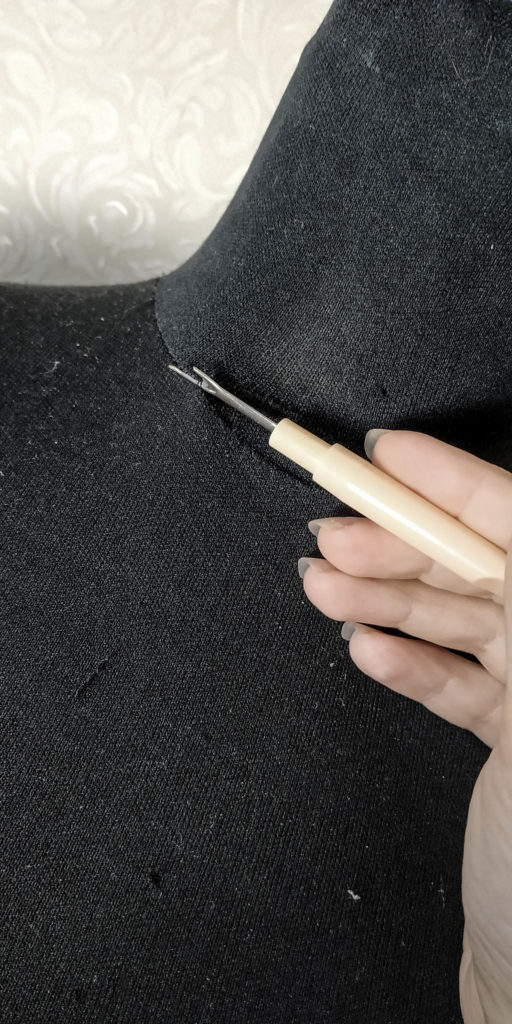
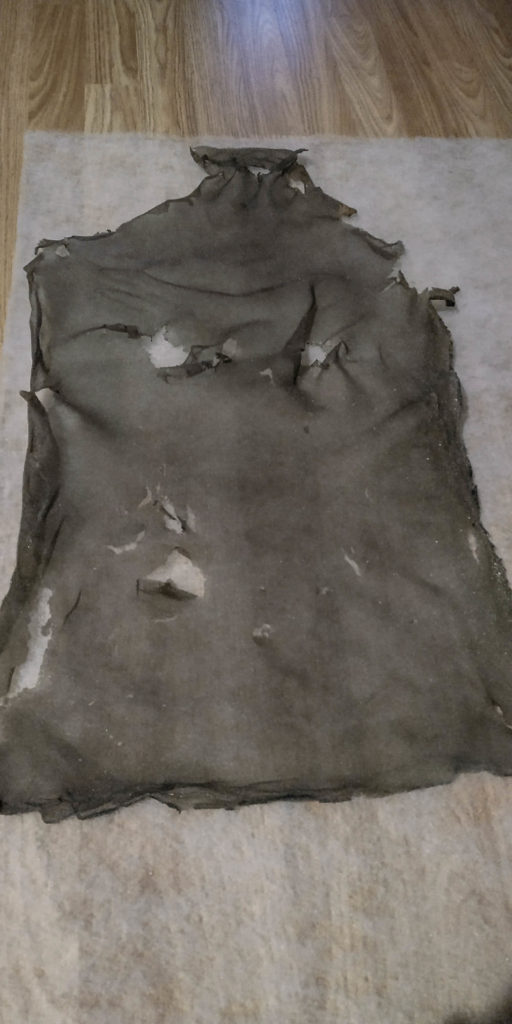
I decided to change the cover. Originally, I didn’t know what I would find underneath. I unpicked all the seams being careful not to reap the fabri. What I found underneath was even worse.
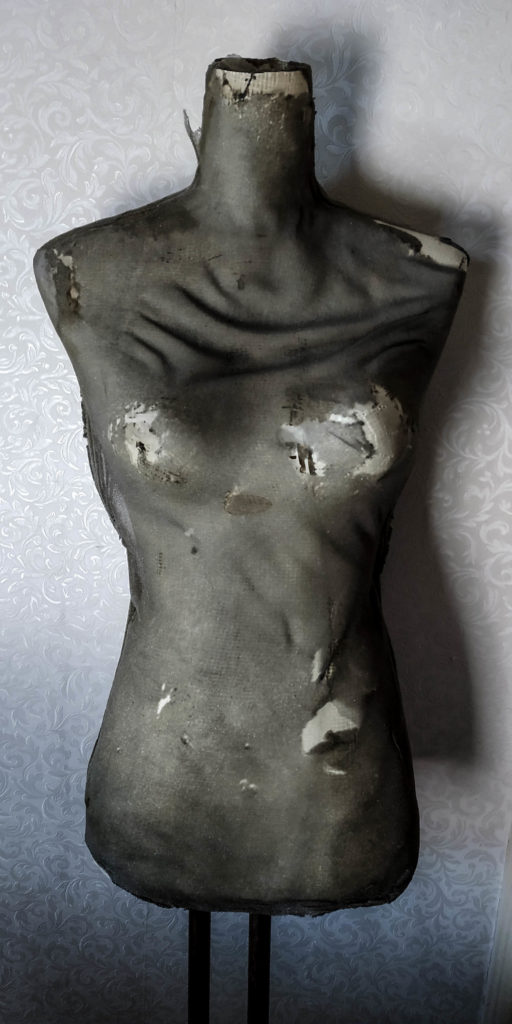
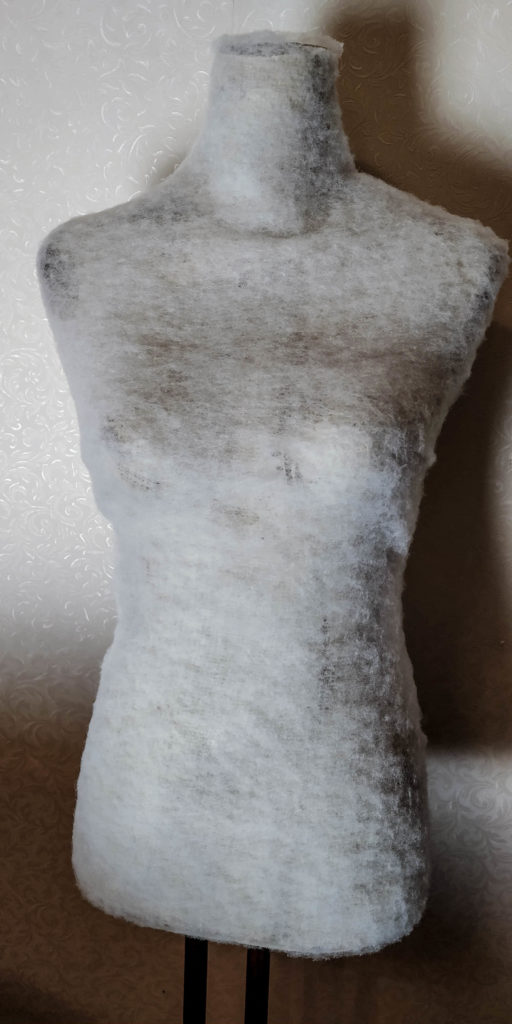
The soft padding underneath was completely destroyed and crumbling. It looked terrible and no wonder it was very difficult to pin any fabric to it. It was time to change not only the cover but the wadding as well.
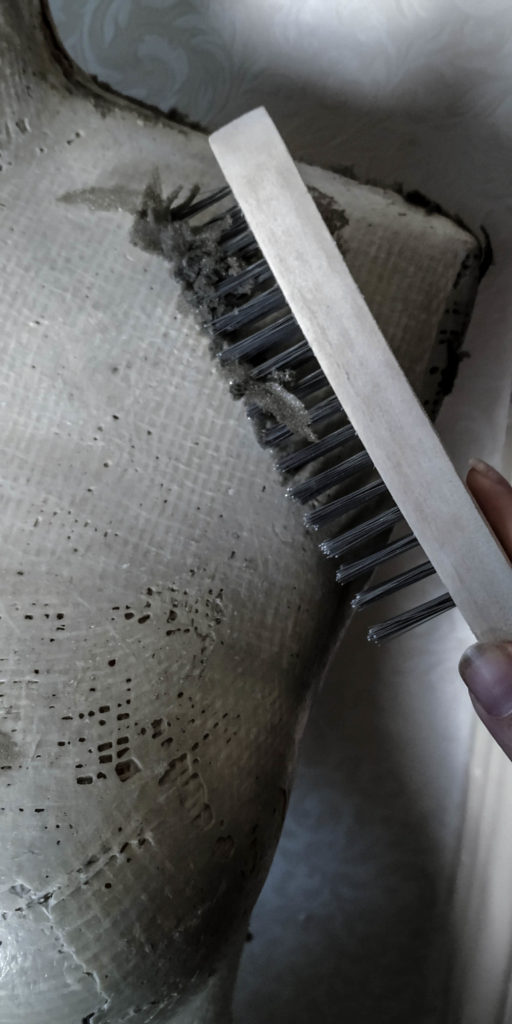
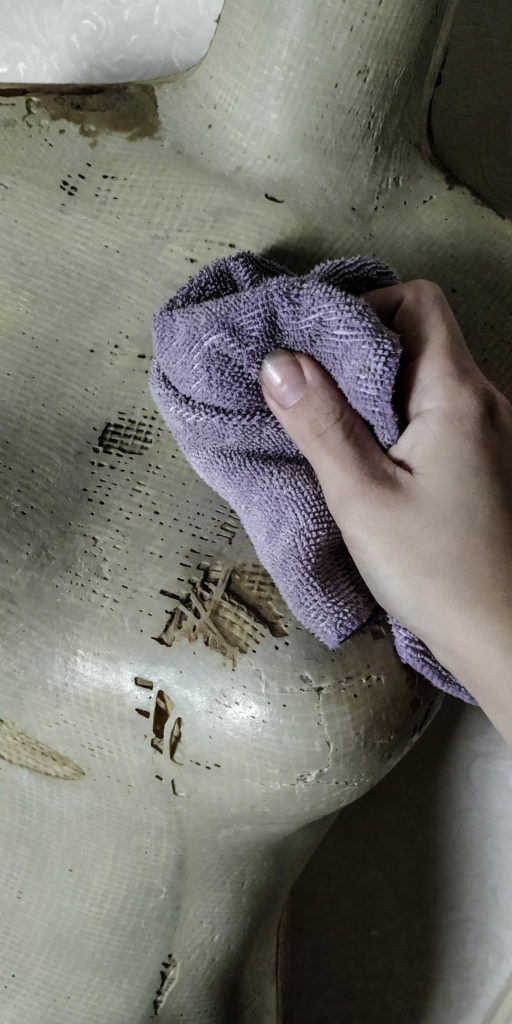
Cleaning the mannequin
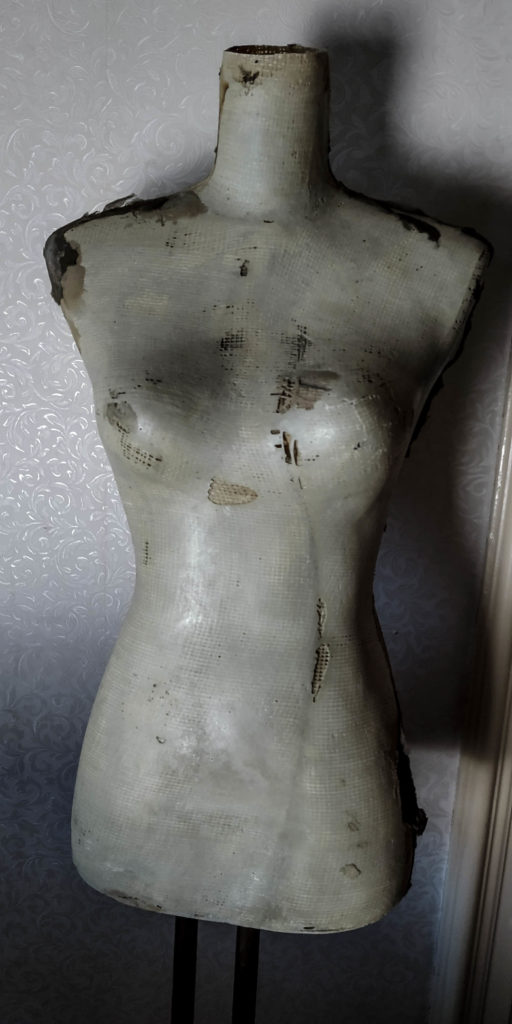
As I said, there was little I could do for the original fabric so I decided to take it off and clean the mannequin as well as I could. Everything was full of old glue and pieces of fabric. First, I used a wire brush to get rid of the worst part and later a damp cloth to clean all the bits.
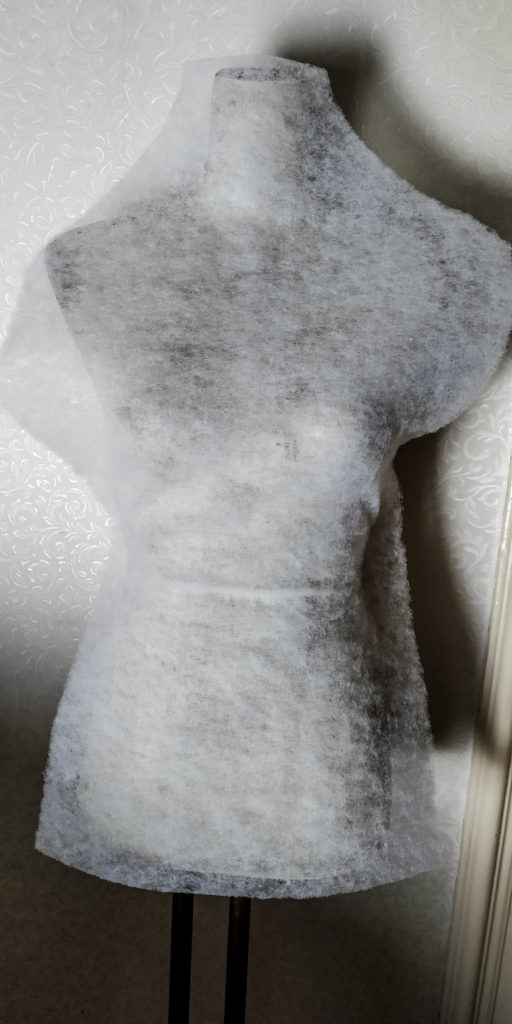
Patterning the new cover
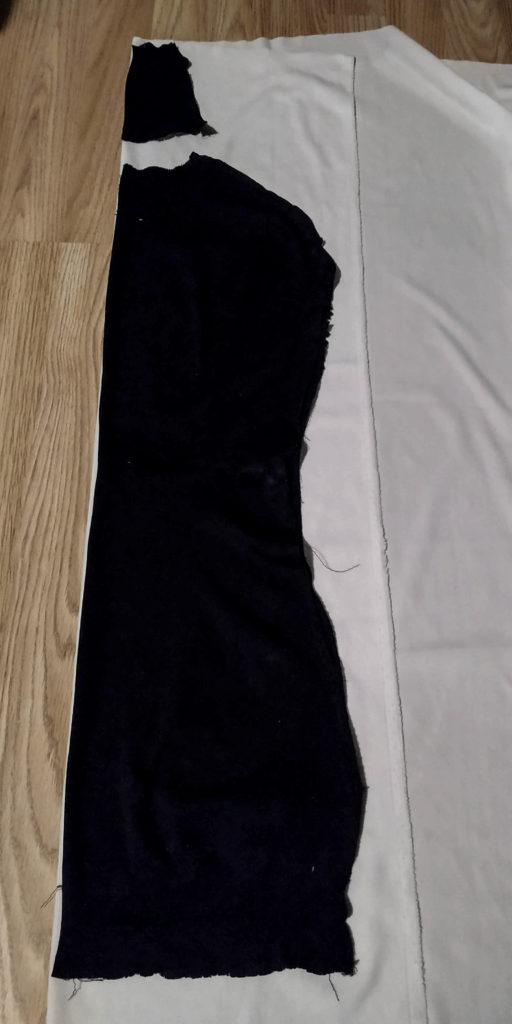
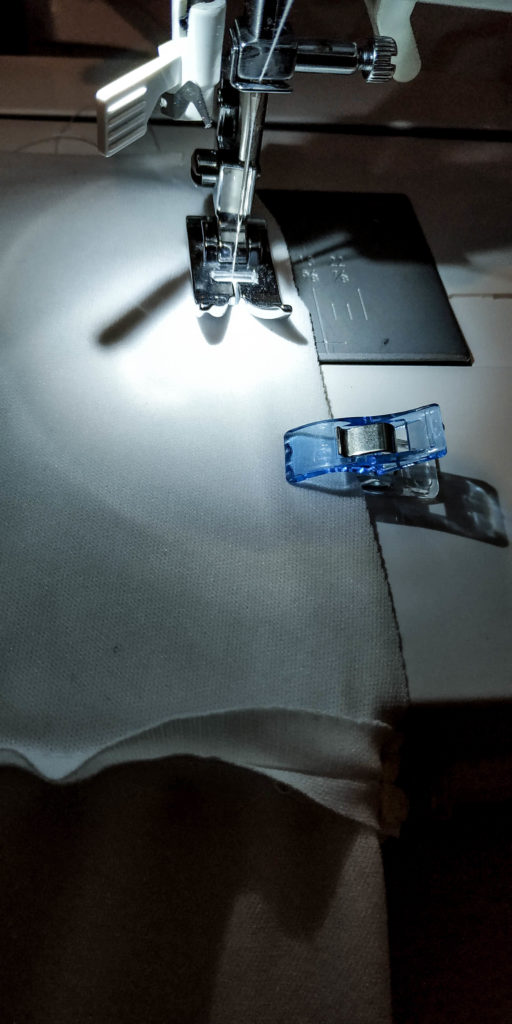
As well as the cover I decided to add a new layer of wadding to my mannequin. This way, I could pin garments easily to my mannequin.I used the old wadding as a pattern and instead of glueing it I sew it around the mannequin.

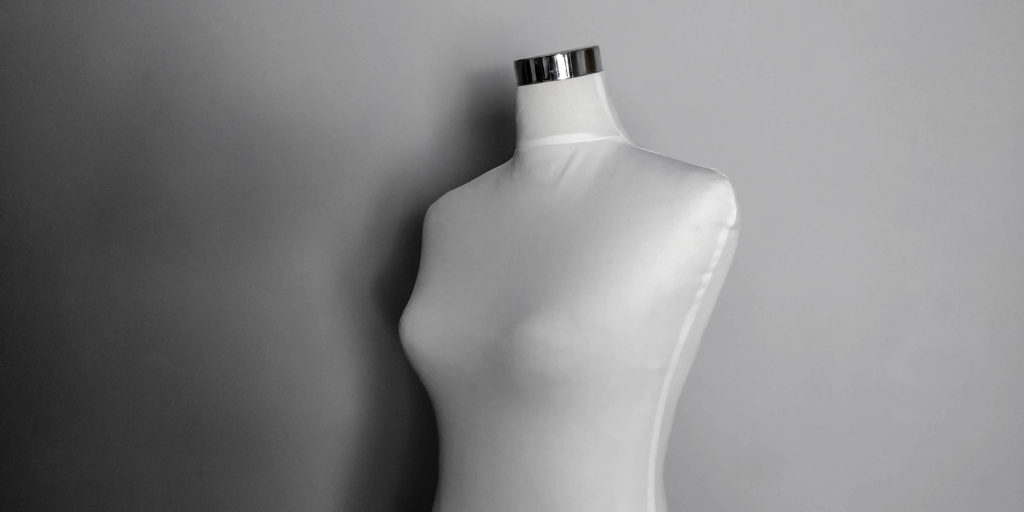
Finally, I did the same with the cover for my mannequin. I chose an elastic fabric in white that I had at home. It makes my mannequin look cleaner and modern. I could have chosen some fancy pattern but I thought this would look better with any clothing on top.
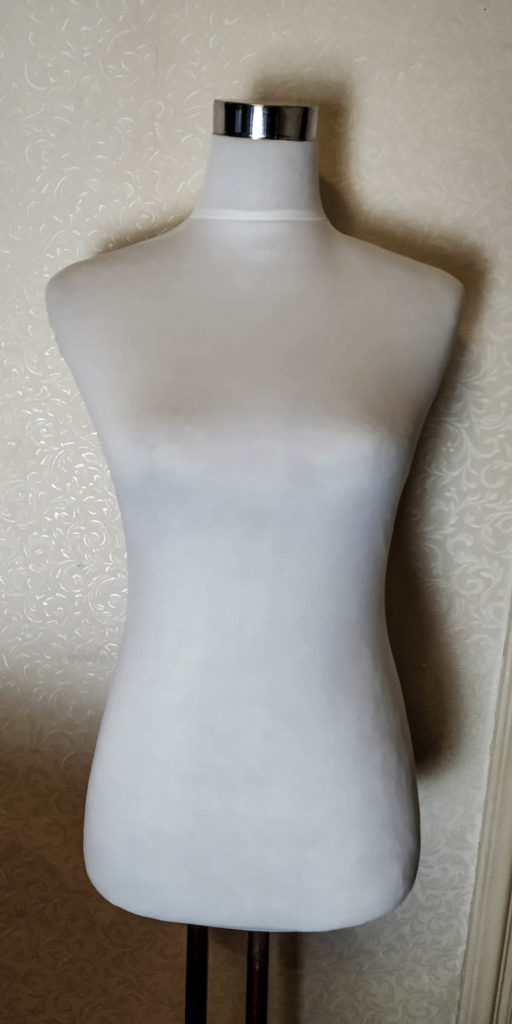
Now, after I revamped my mannequin, it looks much nicer and it also looks good as a decoration in my room. It only took me one day to complete the whole change and now I can buy lots of fabric with the money I saved doing this.

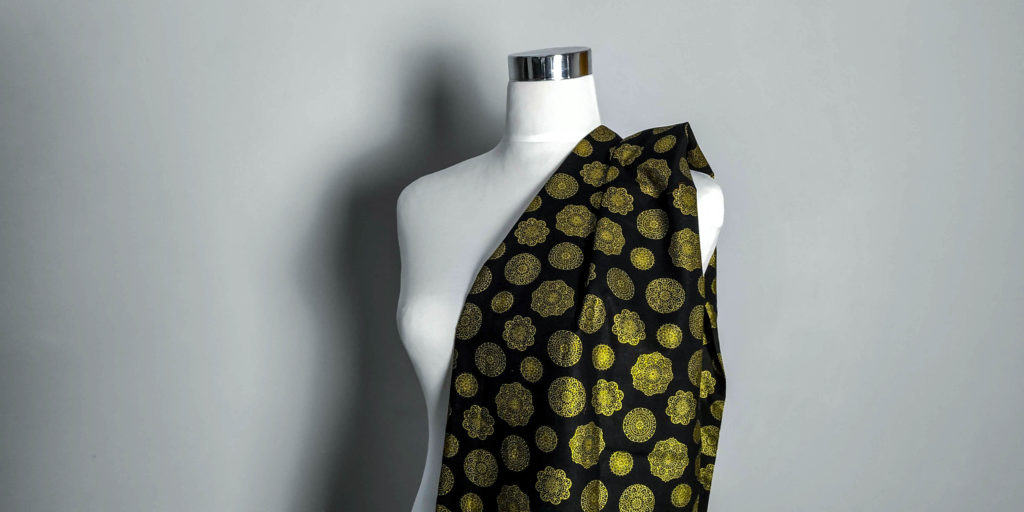
If you are looking for new patterns to cover your revamped mannequin make sure you check my collection. And if you want to see more tutorials and tips go to my sewing section to find out more. Have you ever attempted to rescue an old piece like this one?