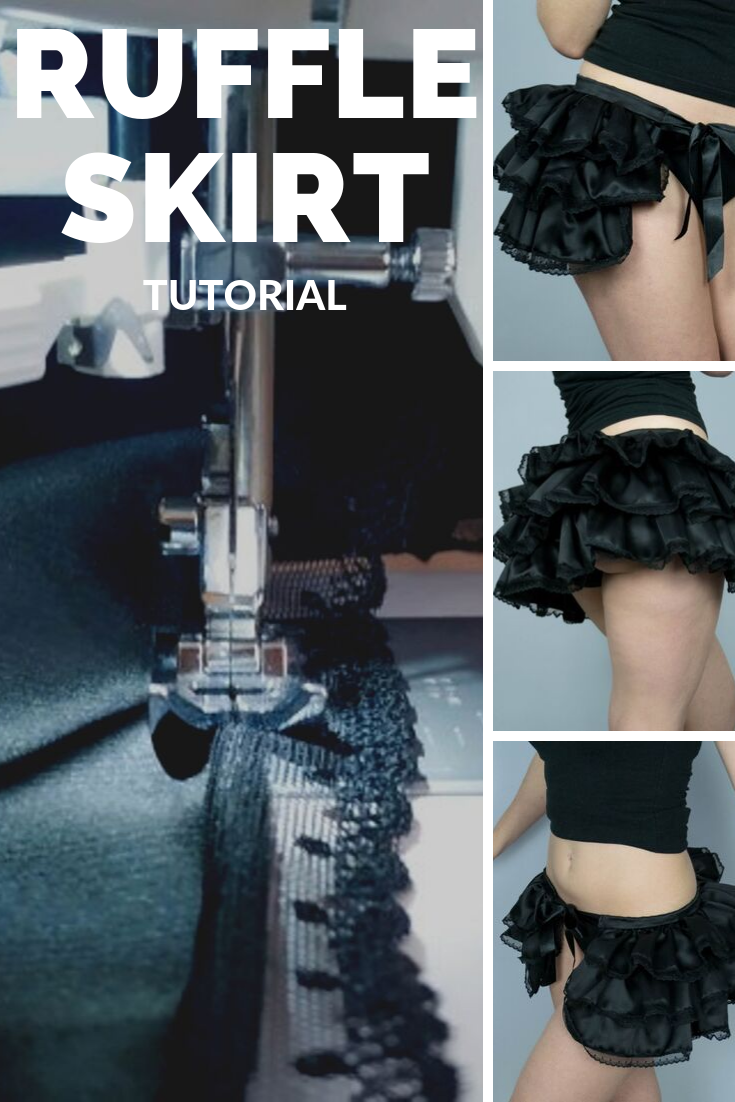
I love the burlesque style. Fluffy skirts with lots of ruffles, trims and volume. Recently I had to make one for a costume and seized the opportunity. Since I recently got a ruffler foot I knew it would take me no time to make one. Here is my burlesque bustle skirt tutorial


There isn’t much mistery in making a bustle skirt. If you feel brave you can wing it, but if you want to avoid all the Maths and taking all those body measurements just download my burlesque bustle skirt pattern. It comes with all the instructions and printable patterns.

Cutting the pattern
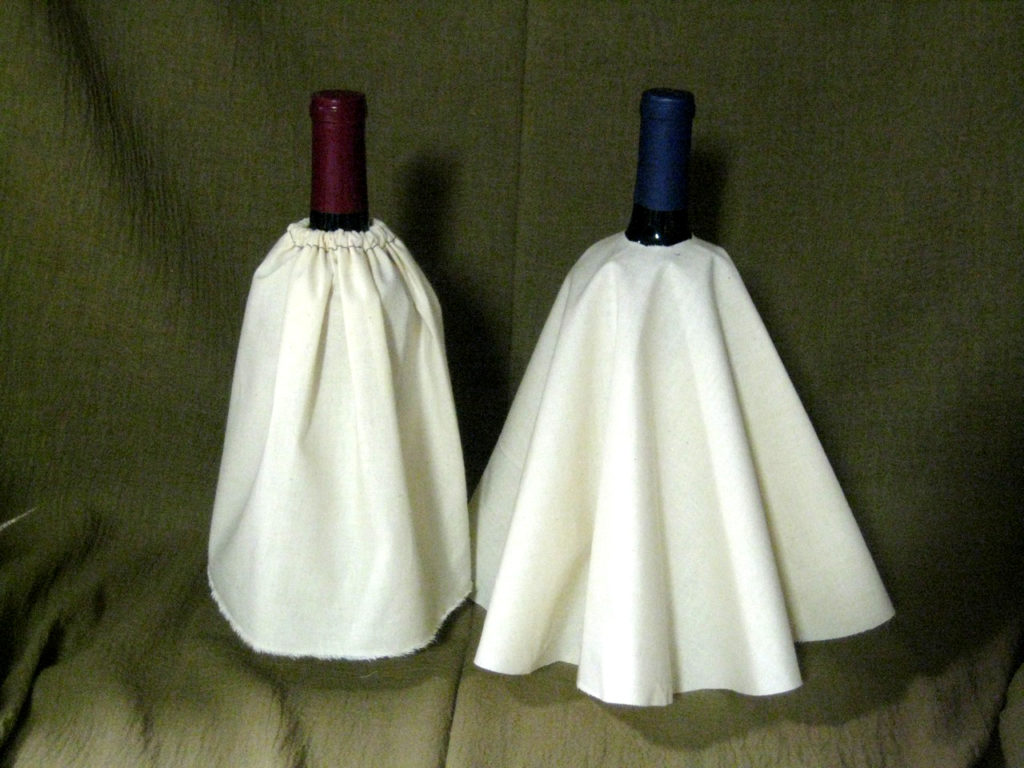
I began cutting the pieces of my pattern. I cut the pattern to make 3 short tiers, but you have the option to cut more tiers. Instead of pinning the pattern, I used sewing weights to mark it. That way I wouldn’t leave holes on the fabric. I had a perfect piece of satin with a bit of texture that had been sitting on my desk for months. As I only had one meter I decided to cut each piece in two parts (this is only possible if you are using the 3 tier pattern). In order to keep my pattern in one piece I didn’t cut the paper completely. It is much easier to use for next time. The ruffles and the waistband looked like the picture below.


Adding the ruffles and trim
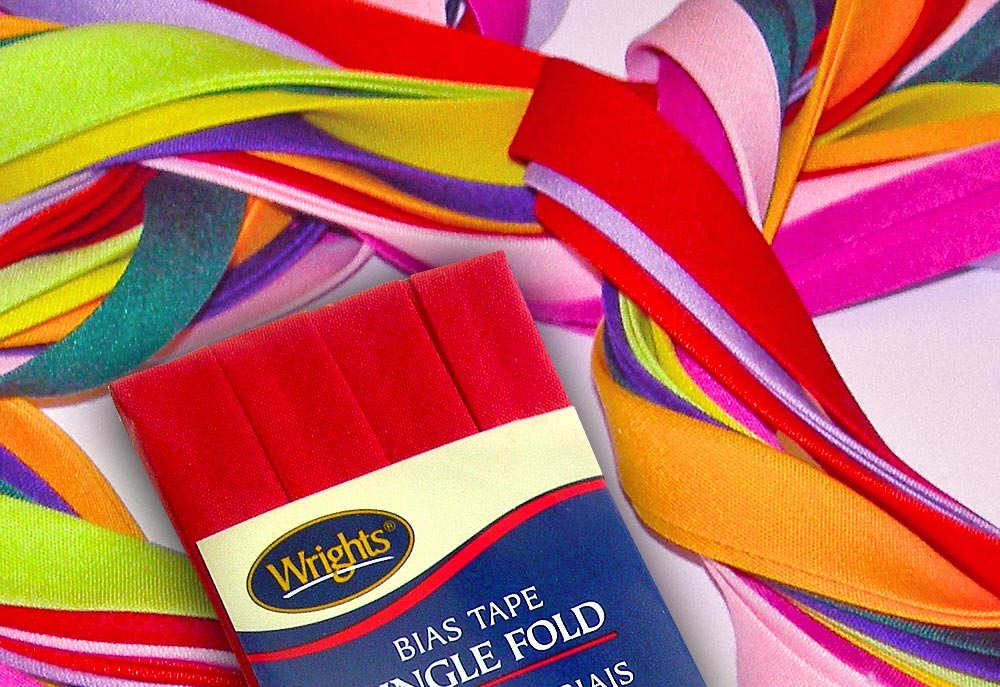
I started my skirt attaching lace to the bottom part of my pieces. This step is optional but I think it made the skirt cuter. I first sew the trim right faces together with my overlocker and then I overstitched to make sure it sat in place. Of course you can ruffle the trim to add extra volume and flufiness.
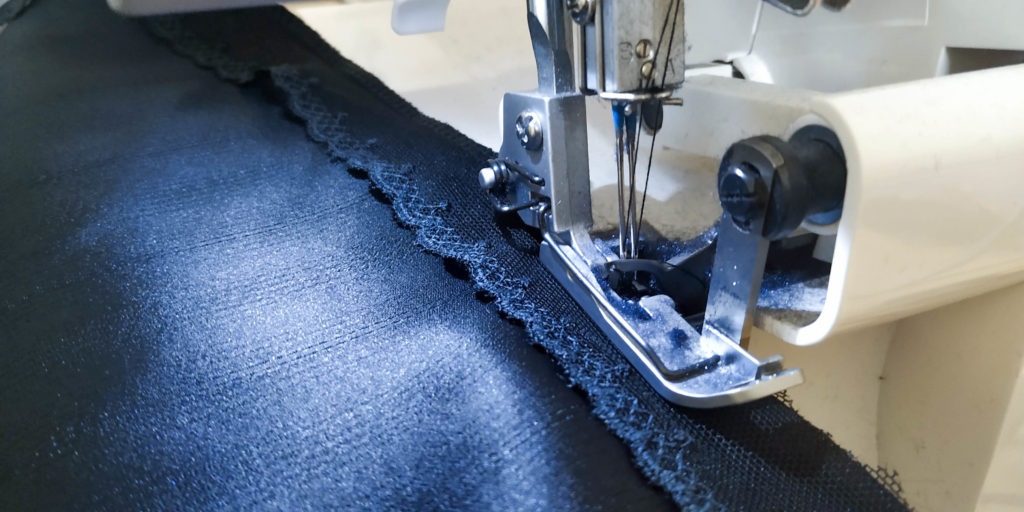
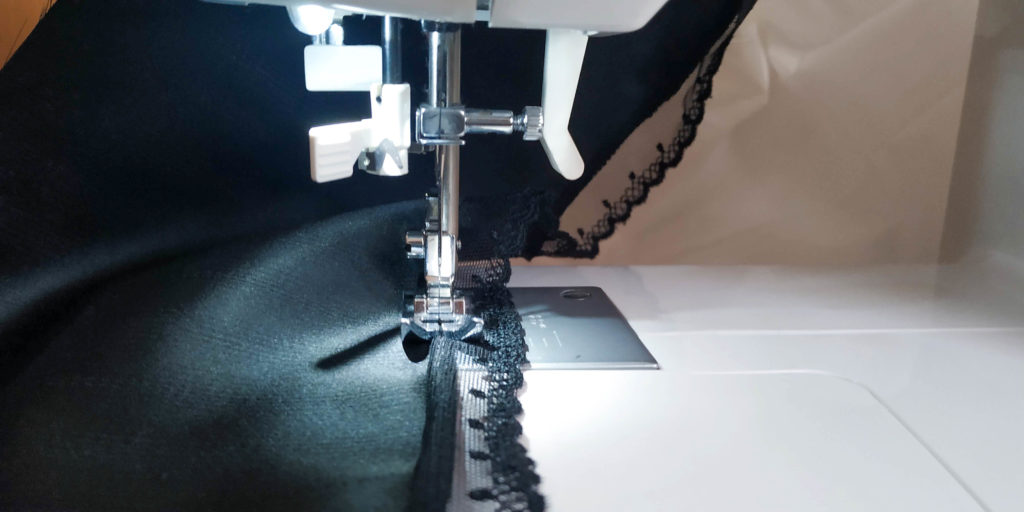
The next step consisted on making ruffle. There are many ways of making ruffles and you don’t need any fancy tools to make them. I decided to use my ruffler foot as I believe it is one of the quickest and neatest ways to gather fabric.


Assembling the pieces
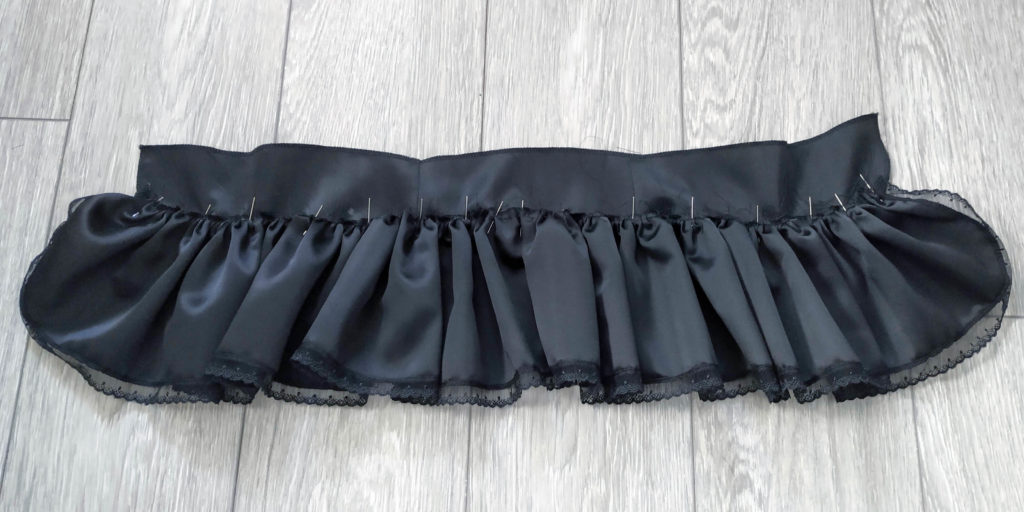
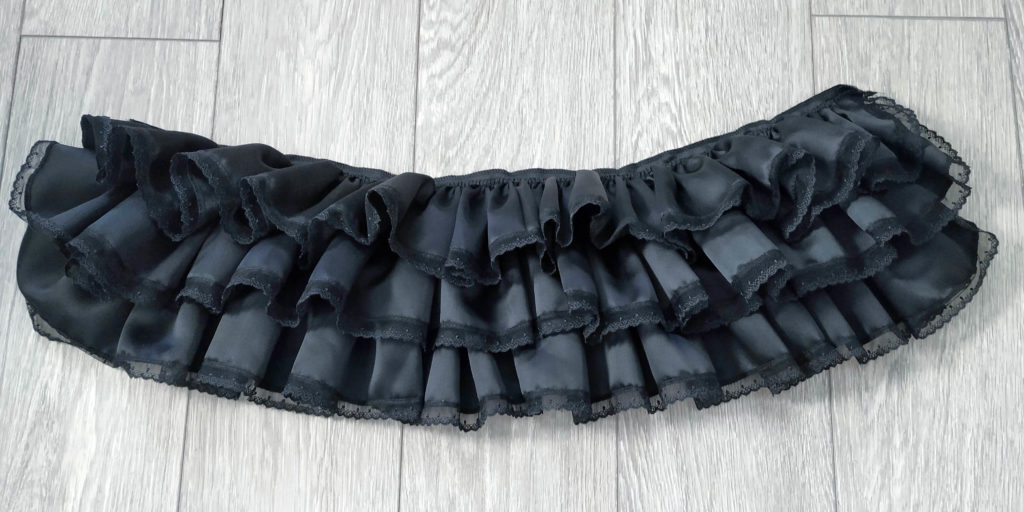
Bustle skirts usually have many layers. If you were to put all your ruffles together they would be too bulky at the top. However, you can use another piece of fabric and attach the ruffles to it in layers. You could choose a different material for this part as it will only be seen on the inside.

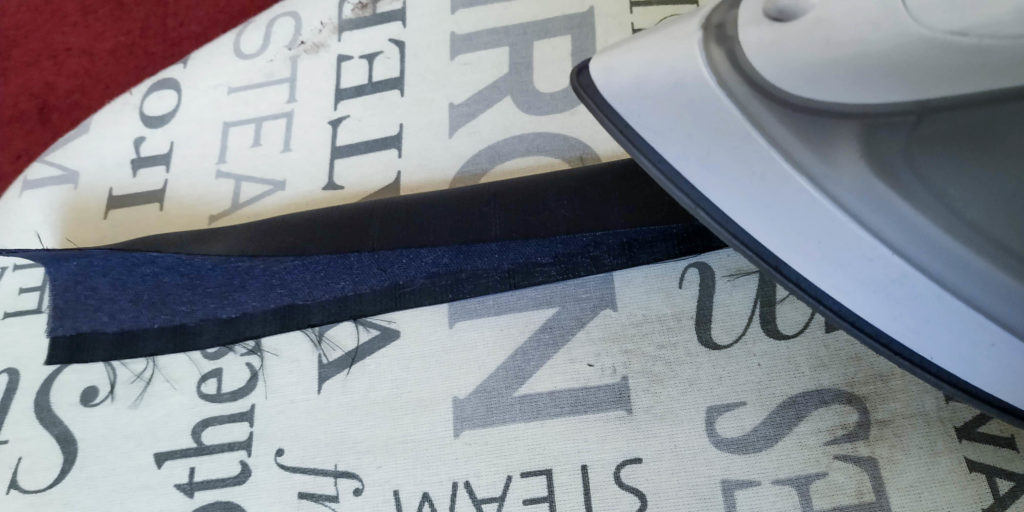
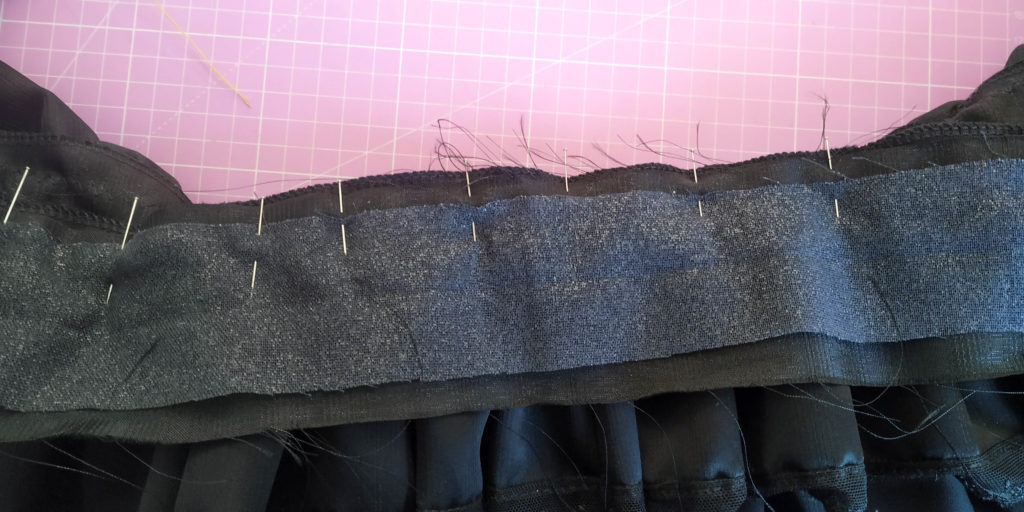
Attaching the waistband
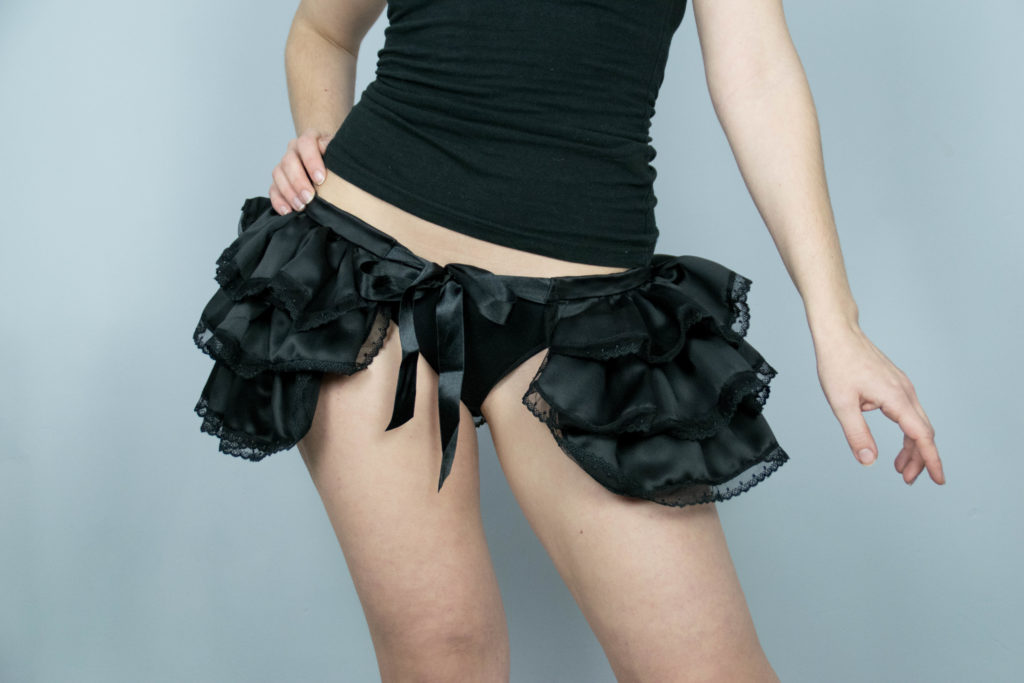
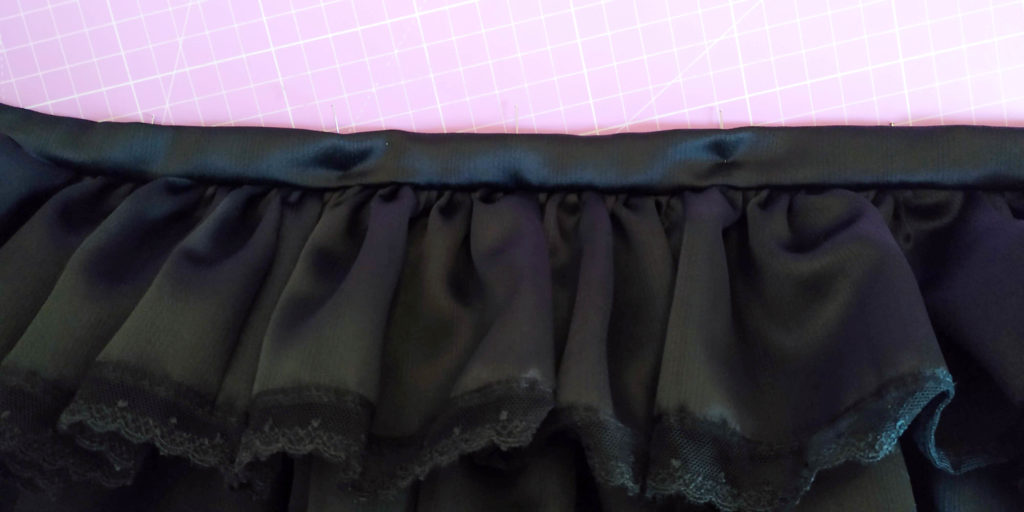
The last part of the ruffle skirt was the waistband. First I ironed some interfacing on the waistband. Then I folded it in half. Later I attached the waistband right sides together to my skirt. Finally, I folded the piece and hand sew the it in place. You can overstitch it instead but I kind of enjoy hiding the stitches and a bit of handsewing. Once all was in place it looked much better after I ironed it. Once you add ribbons to the side it is done.
As you see, it is very easy to build. I hope you liked the tutorial. And remember, if you want to make this bustle skirt with no fuss get the pattern and forget about the Maths.

If you liked my burlesque bustle skirt tutorial why don’t you try other styles like the pleated skirt or the circle skirt? There is so much more you can do. Also, make sure you check all my patterns for more inspiration!