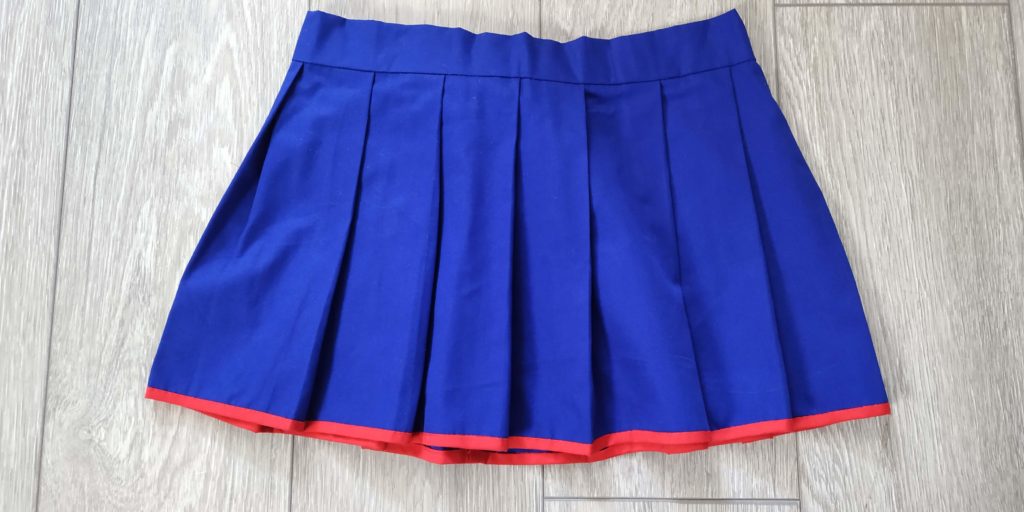
The pleated skirt is a very versatile item that you can find in many designs. It is the typical skirt that school girls wear and it is actually very easy to make. Today I am going to show you how to make a pleated skirt in just a few simple steps.
How to make it
There are different kinds of pleats but the rule in all of them is to fold your fabric, iron it and sew it in place. On average, you will need a rectangle twice the length of your hips to do the skirt or twice your waist if it is a high skirt. You should divide this length between the number of pleats or the approximate length you want them to be. Don’t forget to add a couple of centimeters for the seam allowance. You can also decide to finish the edge with bias tape instead for a different look.
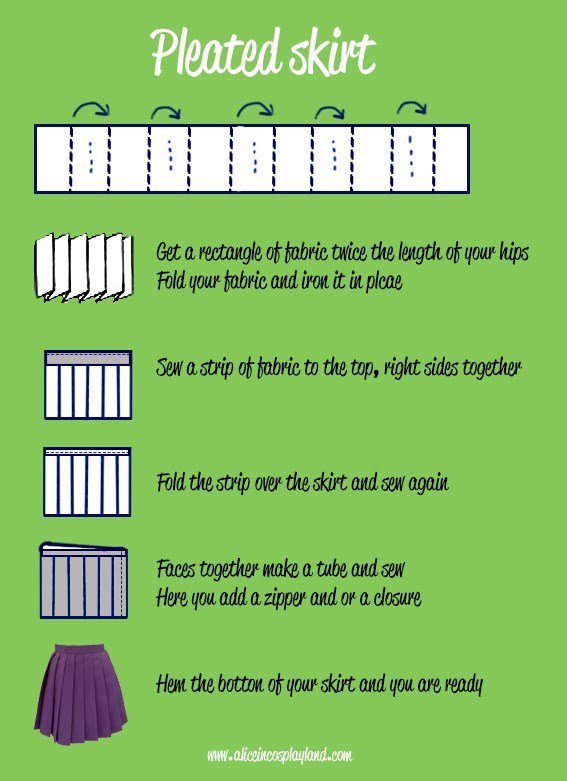
Before you start make sure to mark your pleats with tailor’s chalk so all of your pleats are even. For a 12-14 pleats skirt I usually make each fold about 6 cm apart, but this will depend on your skirt. For my example, each fold is half the width of the pleat. If you decide to make wider folds you will need to add more fabric accordingly.
A good trick is to fold your fabric with the help of a long ruler. This makes sure your folds are straight. I also recommend you to bast them in place once they are done. That way, you will get a perfect finish when you iron it with vapour one last time. And they will stay crisp until you need to wear it.
Once all your pleats are in place, don’t forget to add a waist band to your skirt. You can do this by folding a strip of fabric to the top of the skirt and hiding the excess on the inside of the garment. You will need a strip of interlining if you want to sew a perfect waistband. Then you can finish your skirt sewing a zipper and or adding closures to it.
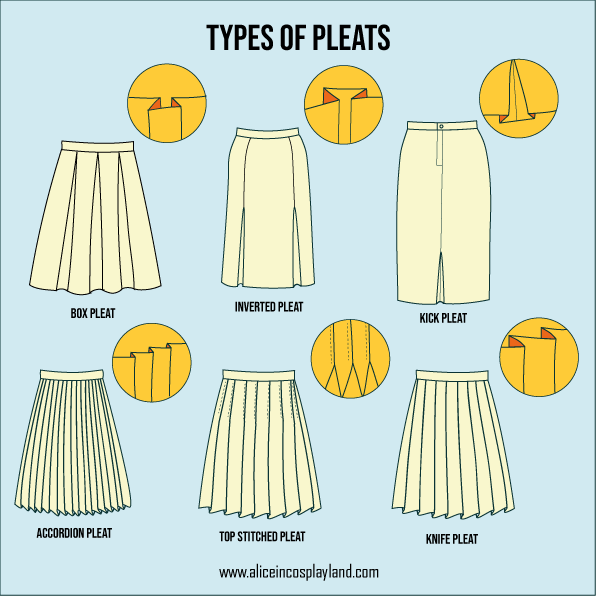
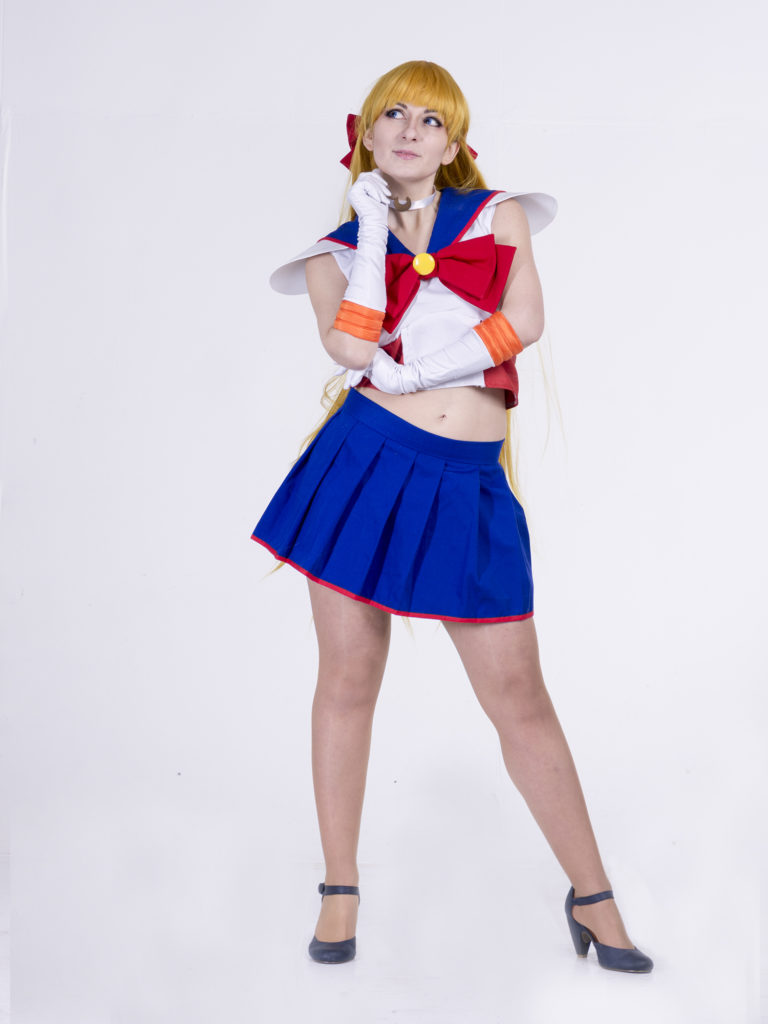
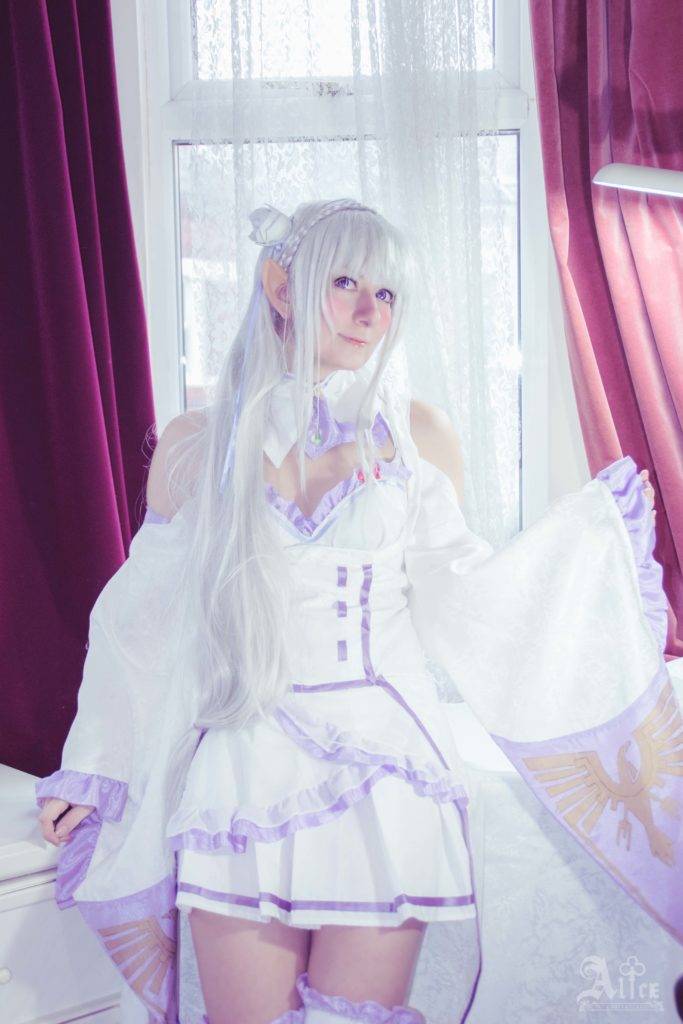
There are many types of pleats depending on the way you fold your fabric. The most common are the side pleats and the box pleat. The effect will also vary depending on the width of your pleats. Also, a skirt that starts on the real waist may need further adjustments such us slightly diagonal pleats in order to allow for the difference between your waist and your hips. Try overstitching the top section of your pleated skirt for a different tighter version. Some examples of pleated skirts are my Sailor V cosplay or my Emilia cosplay.
I hope you found this tutorial useful. If you feel like it, remember you can support me on Ko-fi, there are no subscriptions and you will help me create more cosplays and more tutorials to share with you! Also, if you are looking for patterns and cosplay related downloadables make sure to check my collection!

