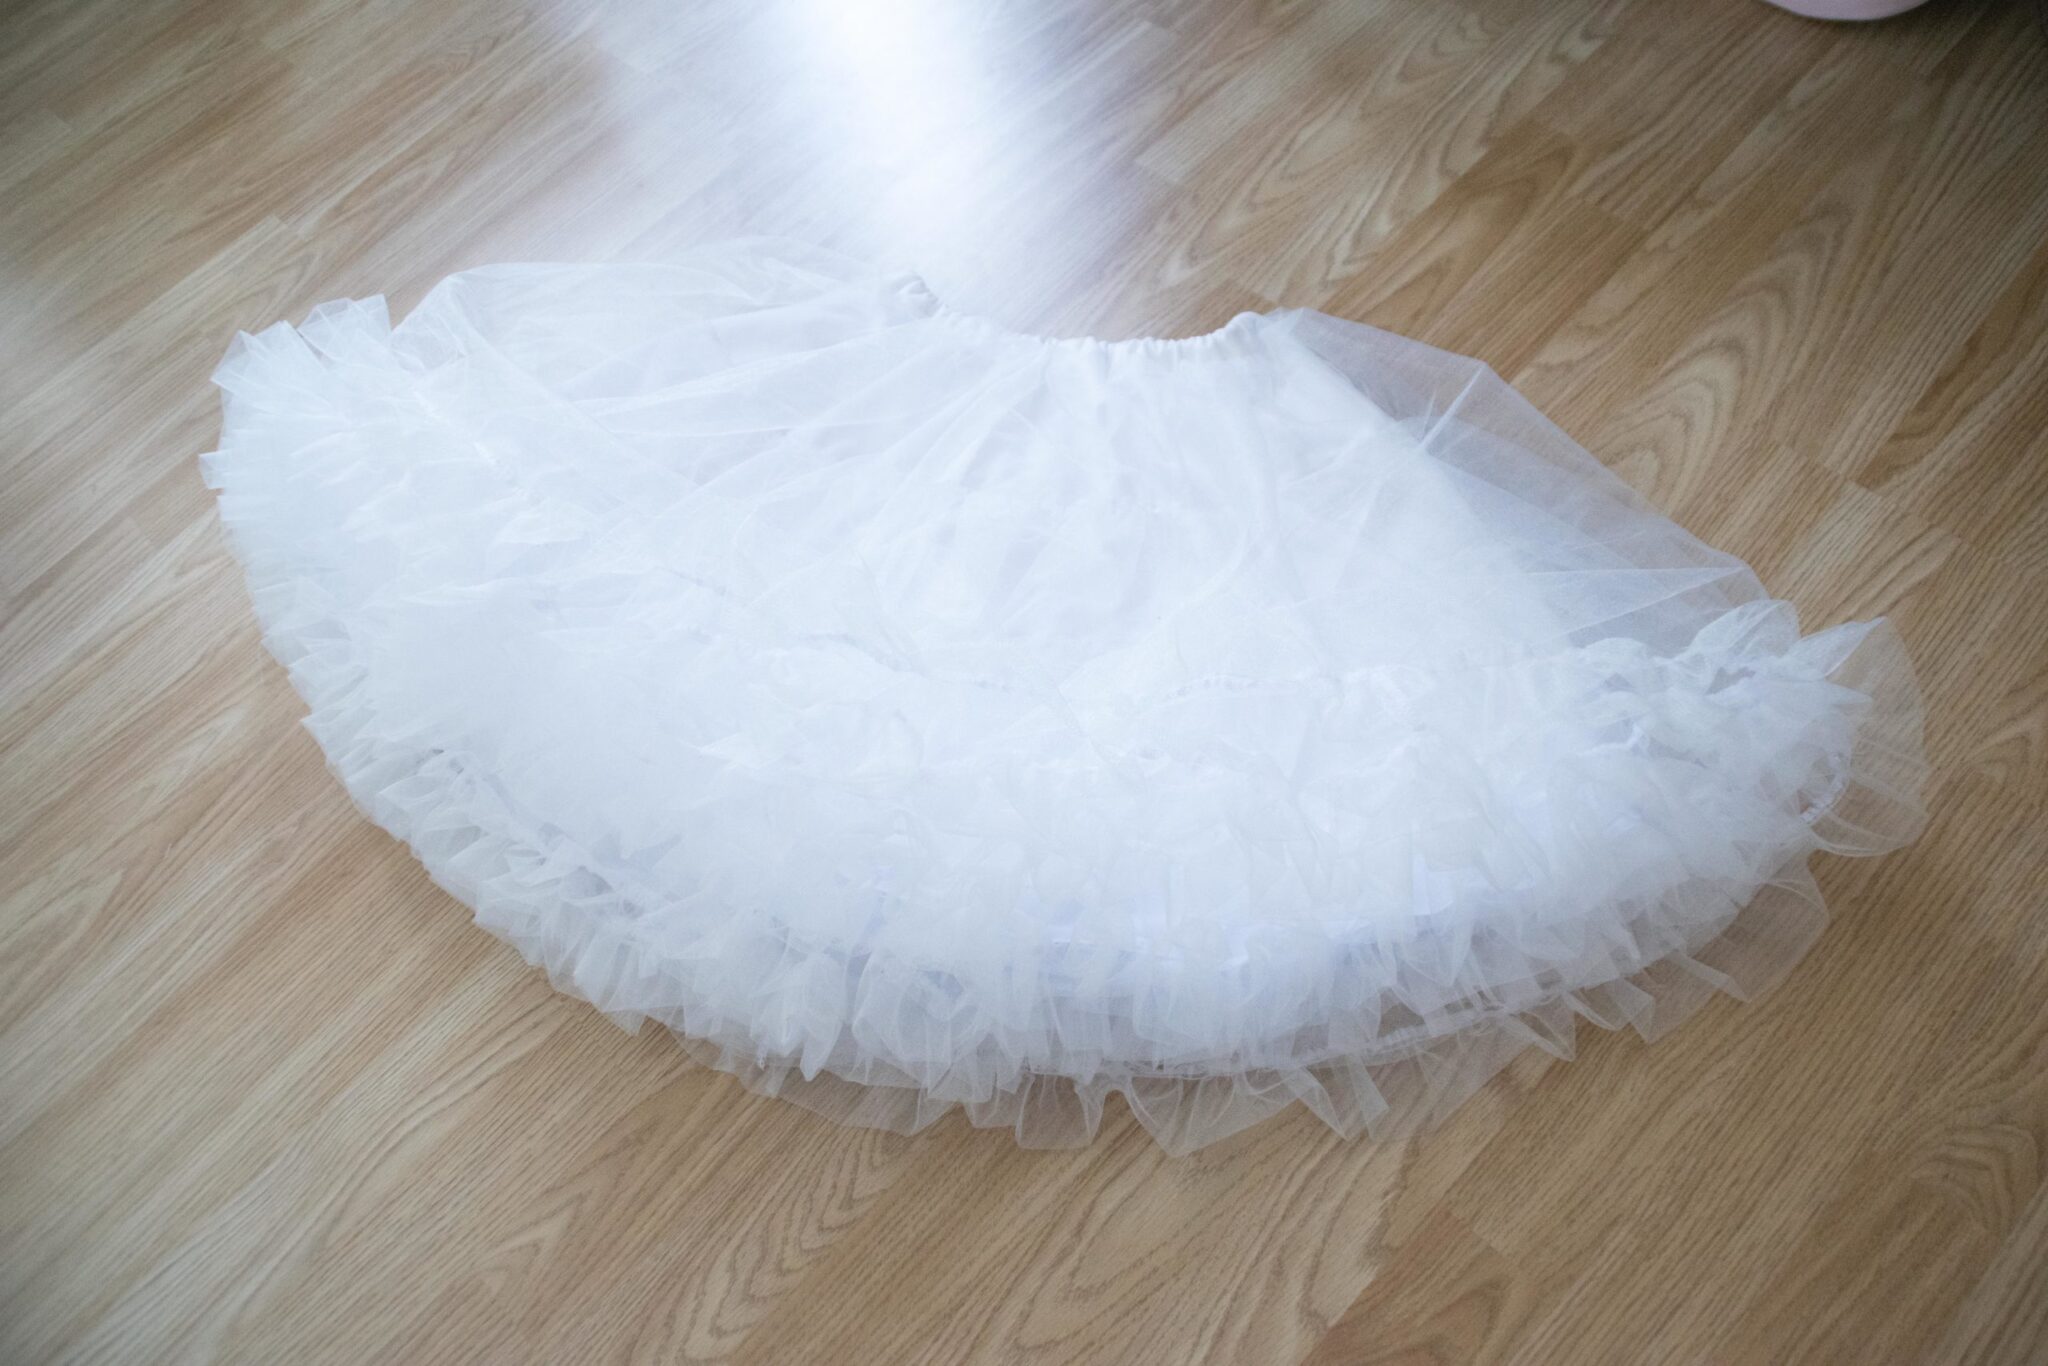
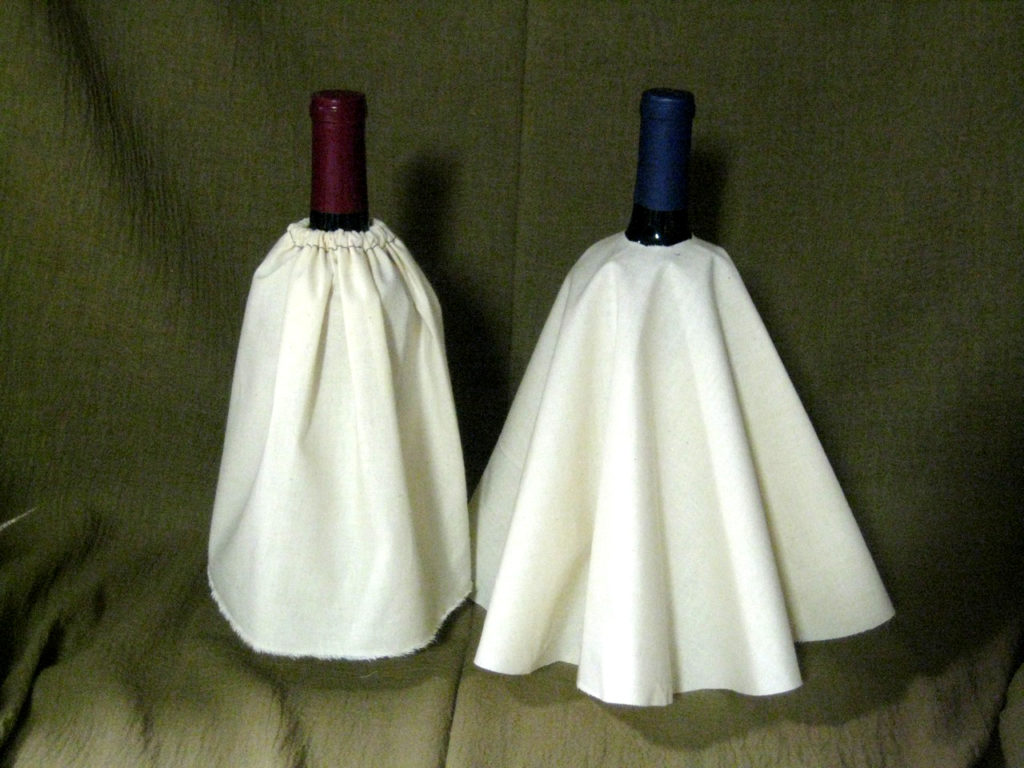
Everybody loves a puffy skirt, however, they are not so simple. Thet all share a secret, the petticoat below. In order to make a really full skirt you need a structure underneath and for that reason you should learn how to make a petticoat.
Make a petticoat step by step
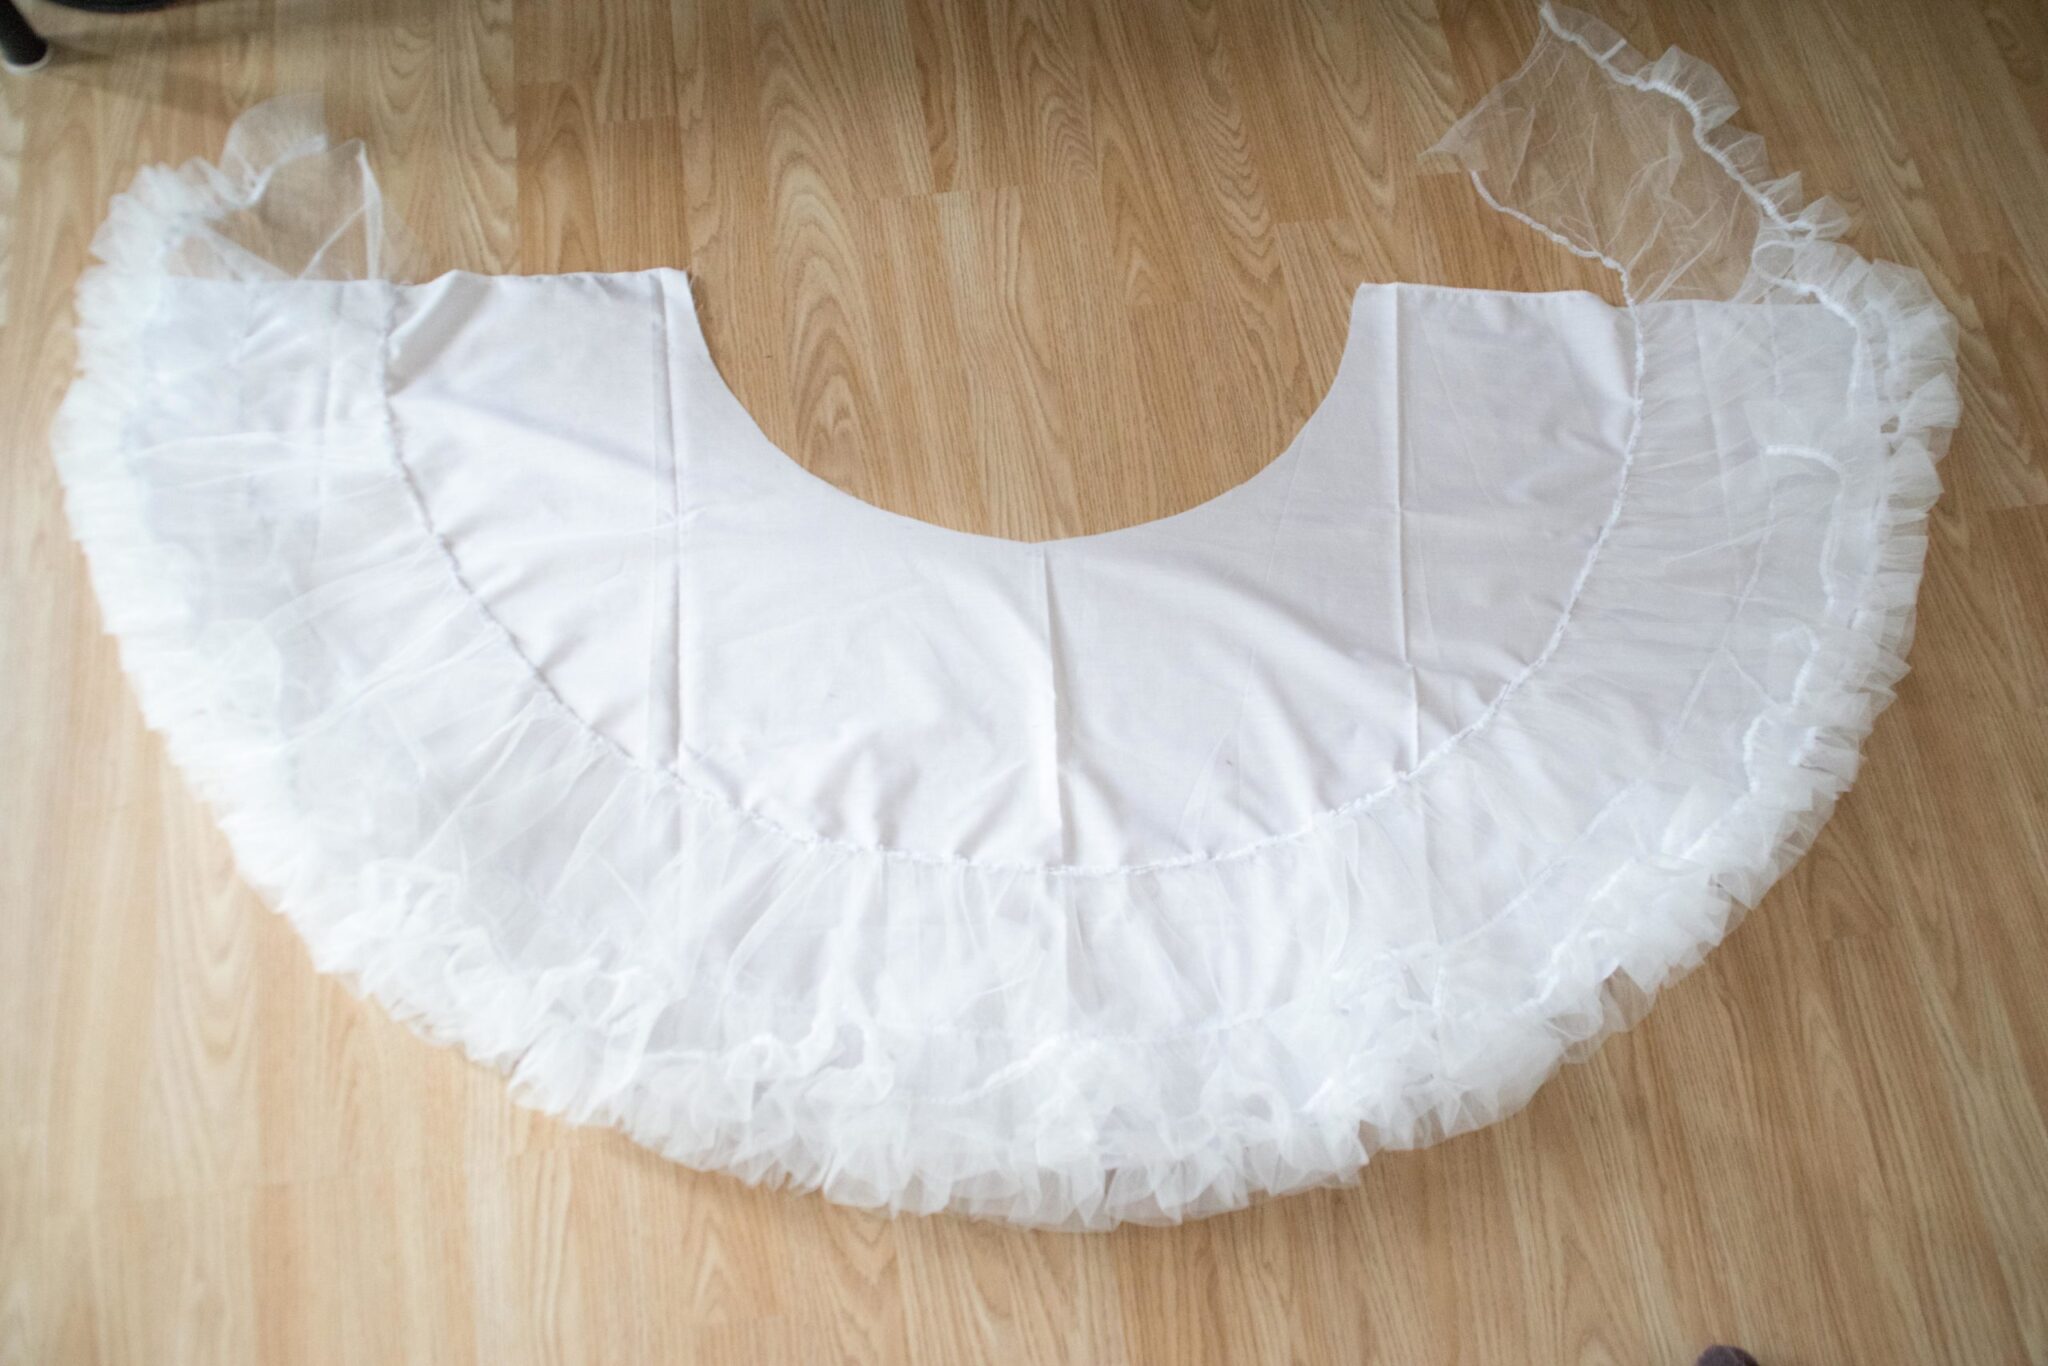
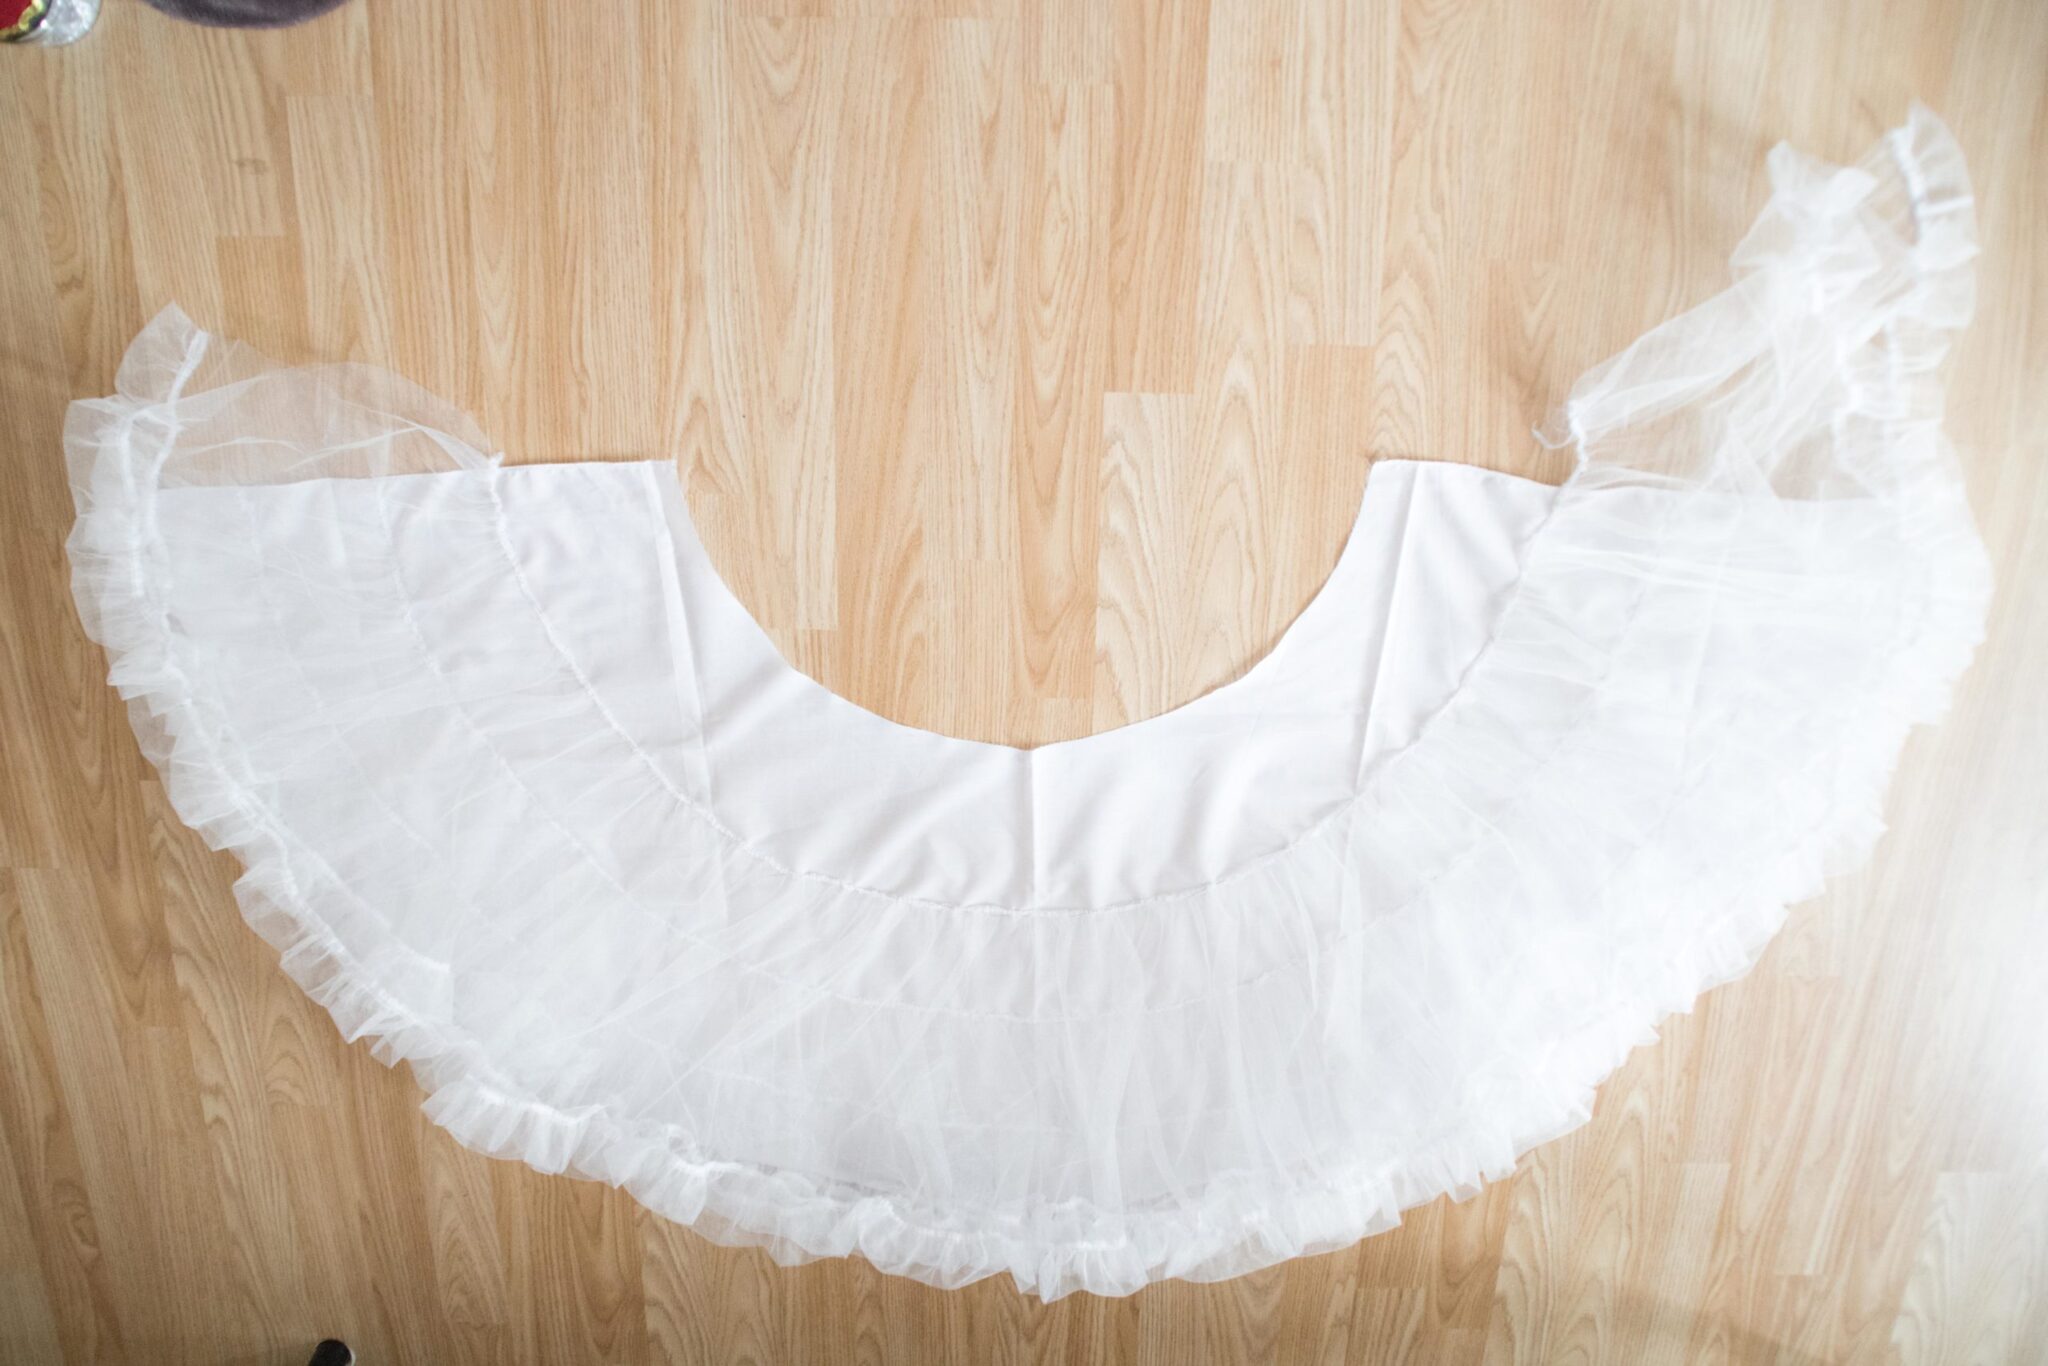
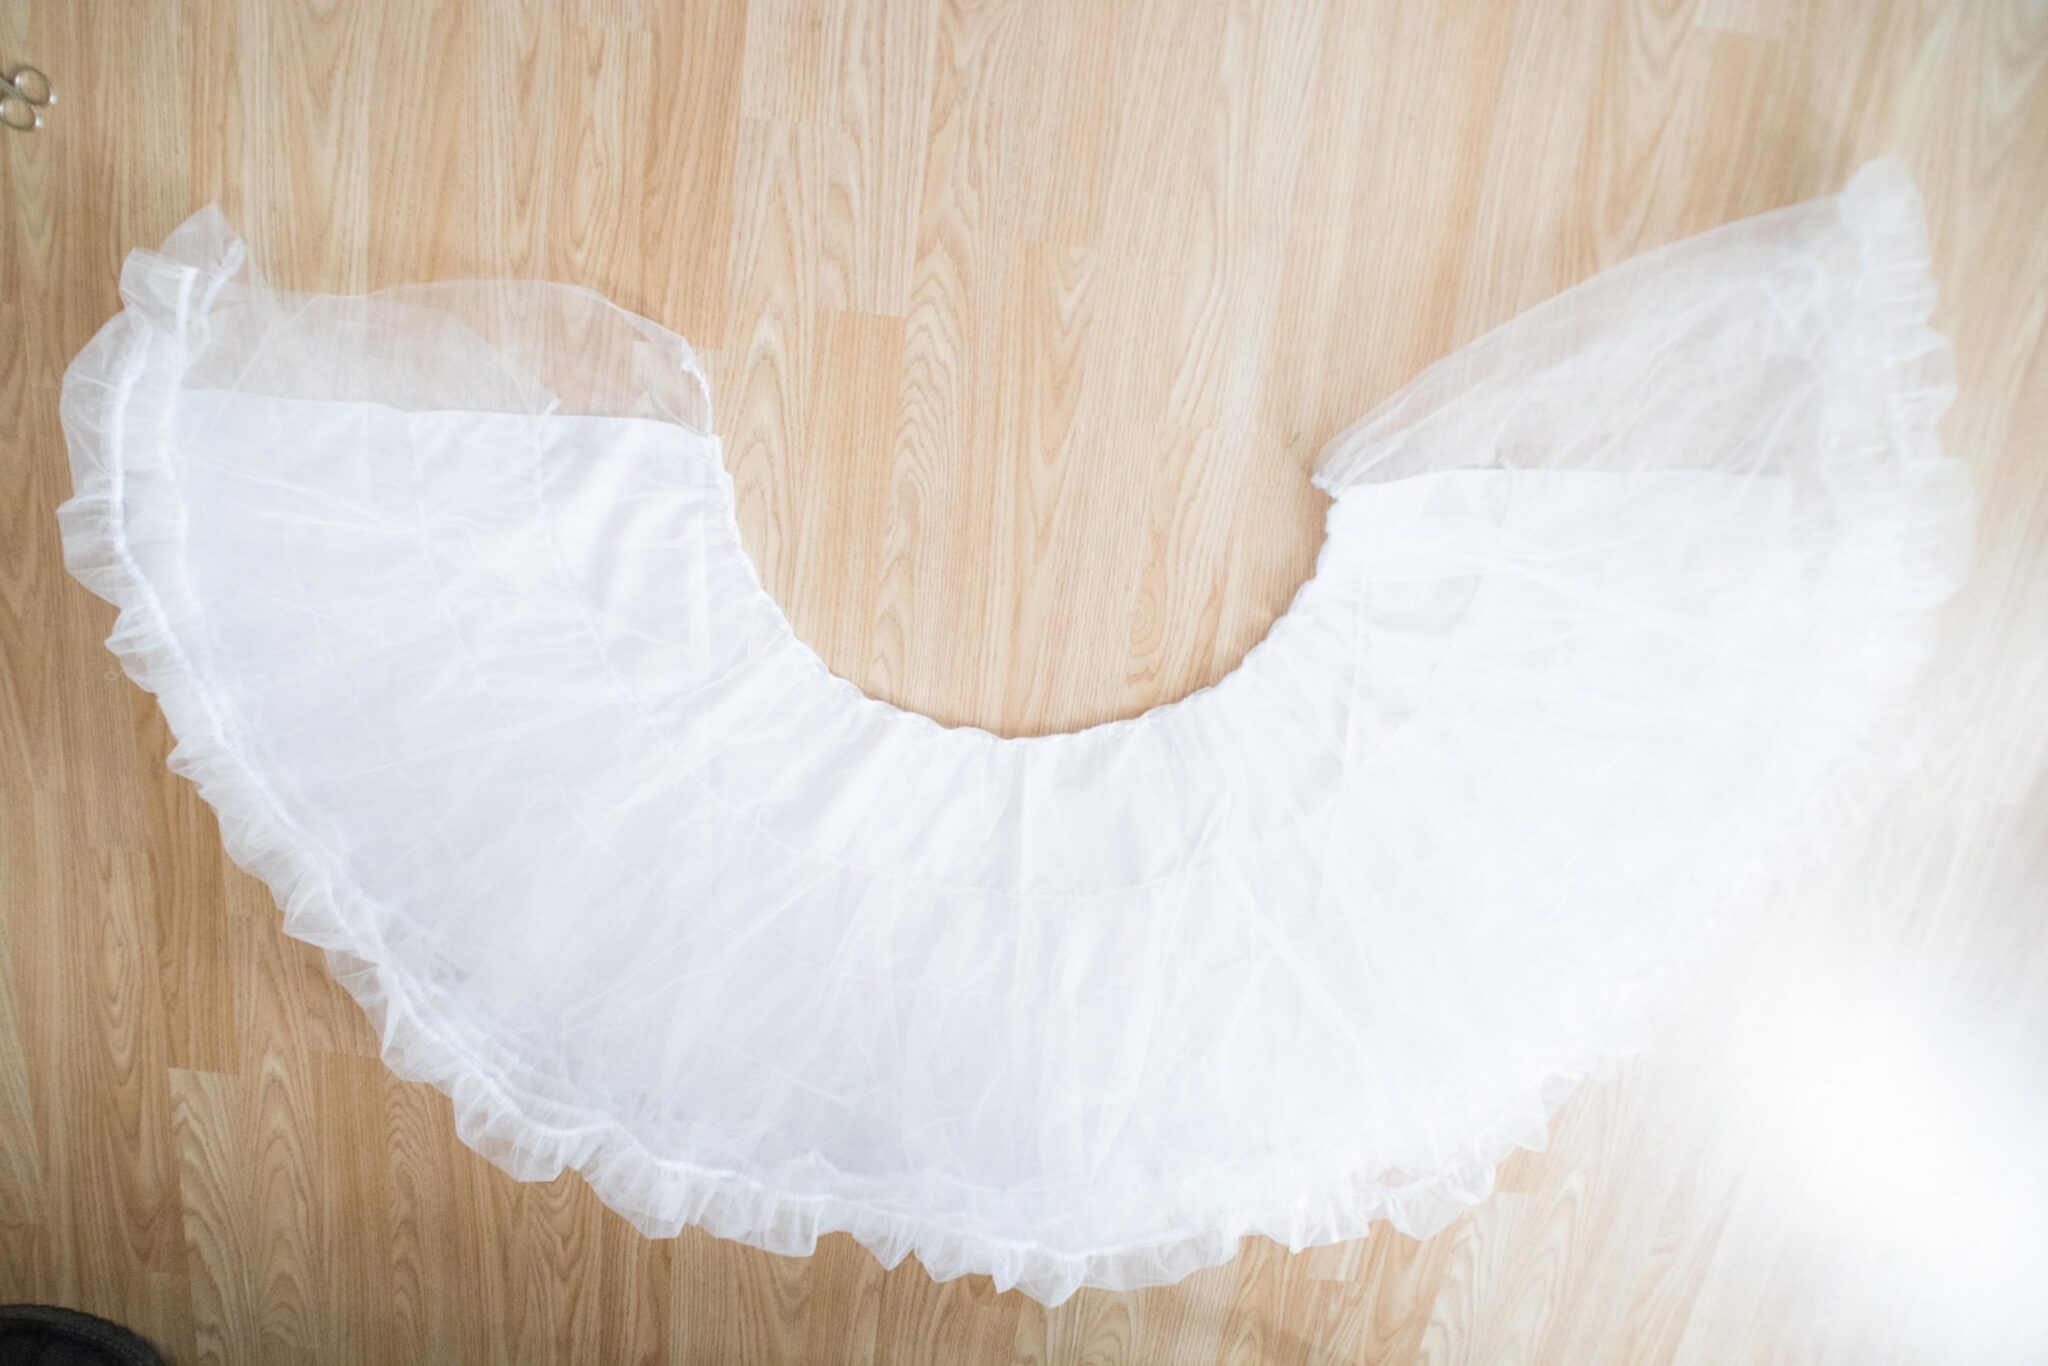
There are many types of petticoats. The number of layers, the finishing of the edges and the general shape of your garment will vastly depend on your project. In this case I will show you how to make the typical petticoat you would wear under a 50s style dress. In this example it will have 4 levels and a base and each layer will have ruffles atached to it.
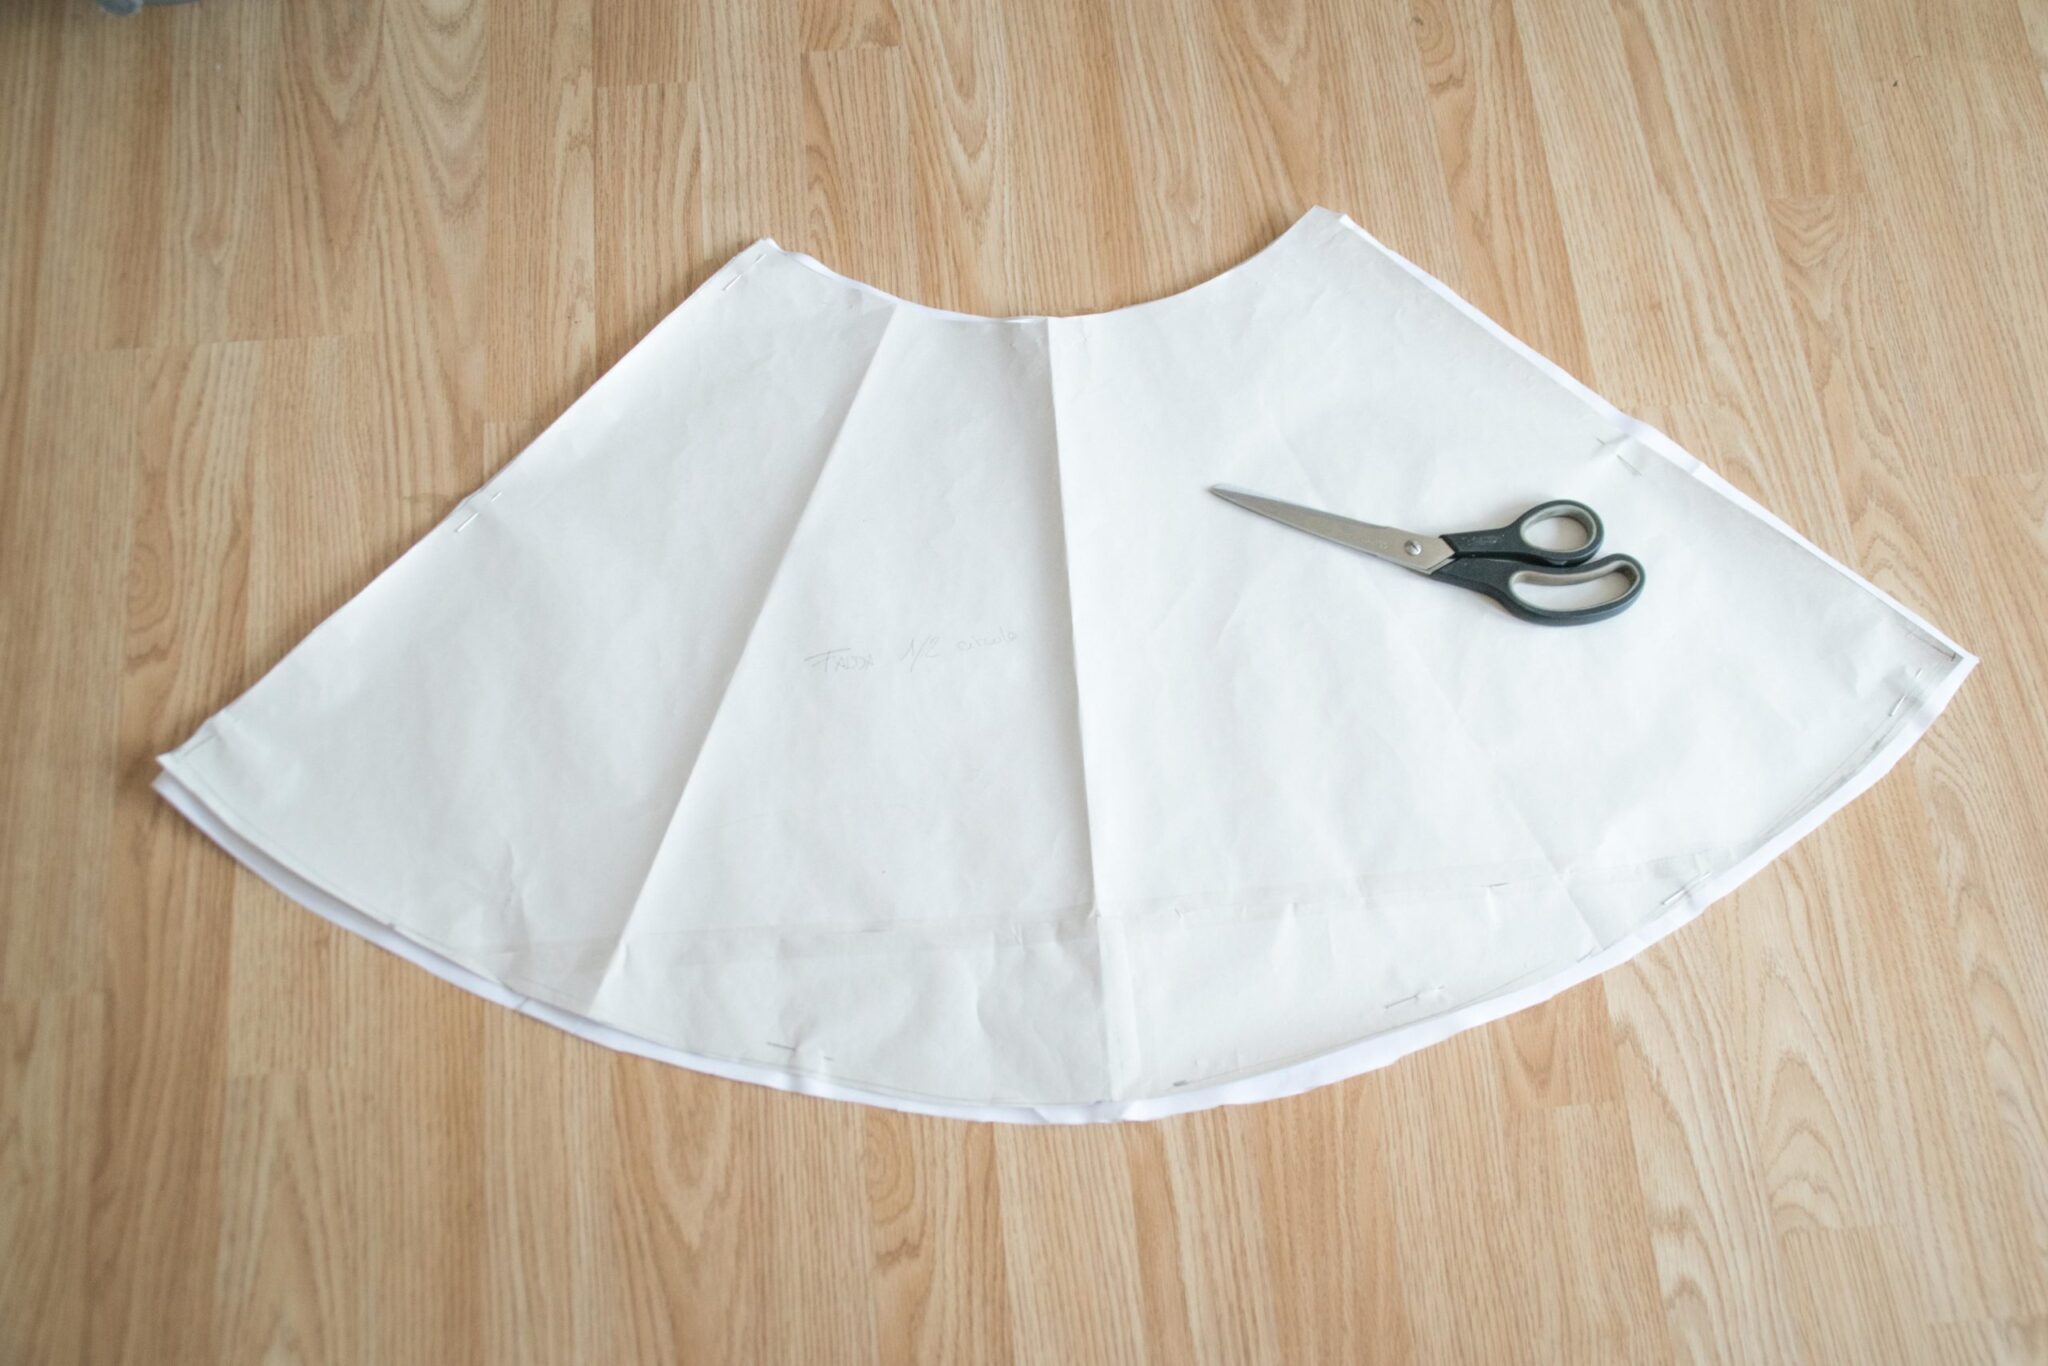
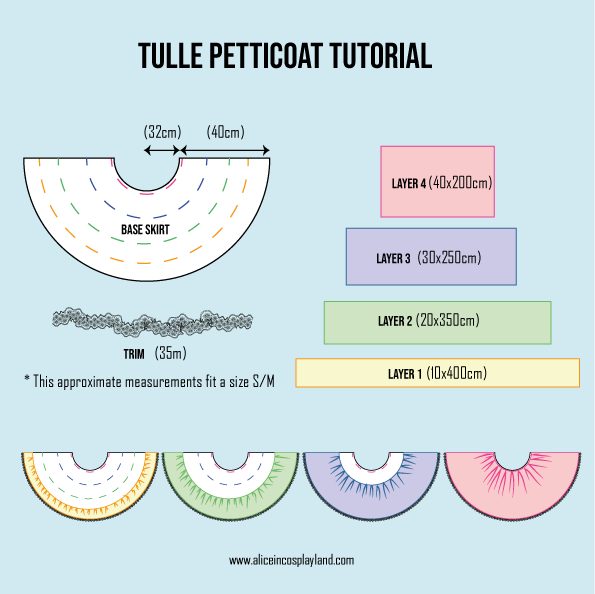
The first step for your petticoat is to make the base. The base skirt is usually a half circle skirt that you can make with cotton or lining fabric. You can choose to make the skirt for your petticoat exactly with your measurements or slightly bigger so you can just run an elastic through it and forget about the closures. Once you cut your patter you can also mark the position of each layer. I chose to space them every 10cm.


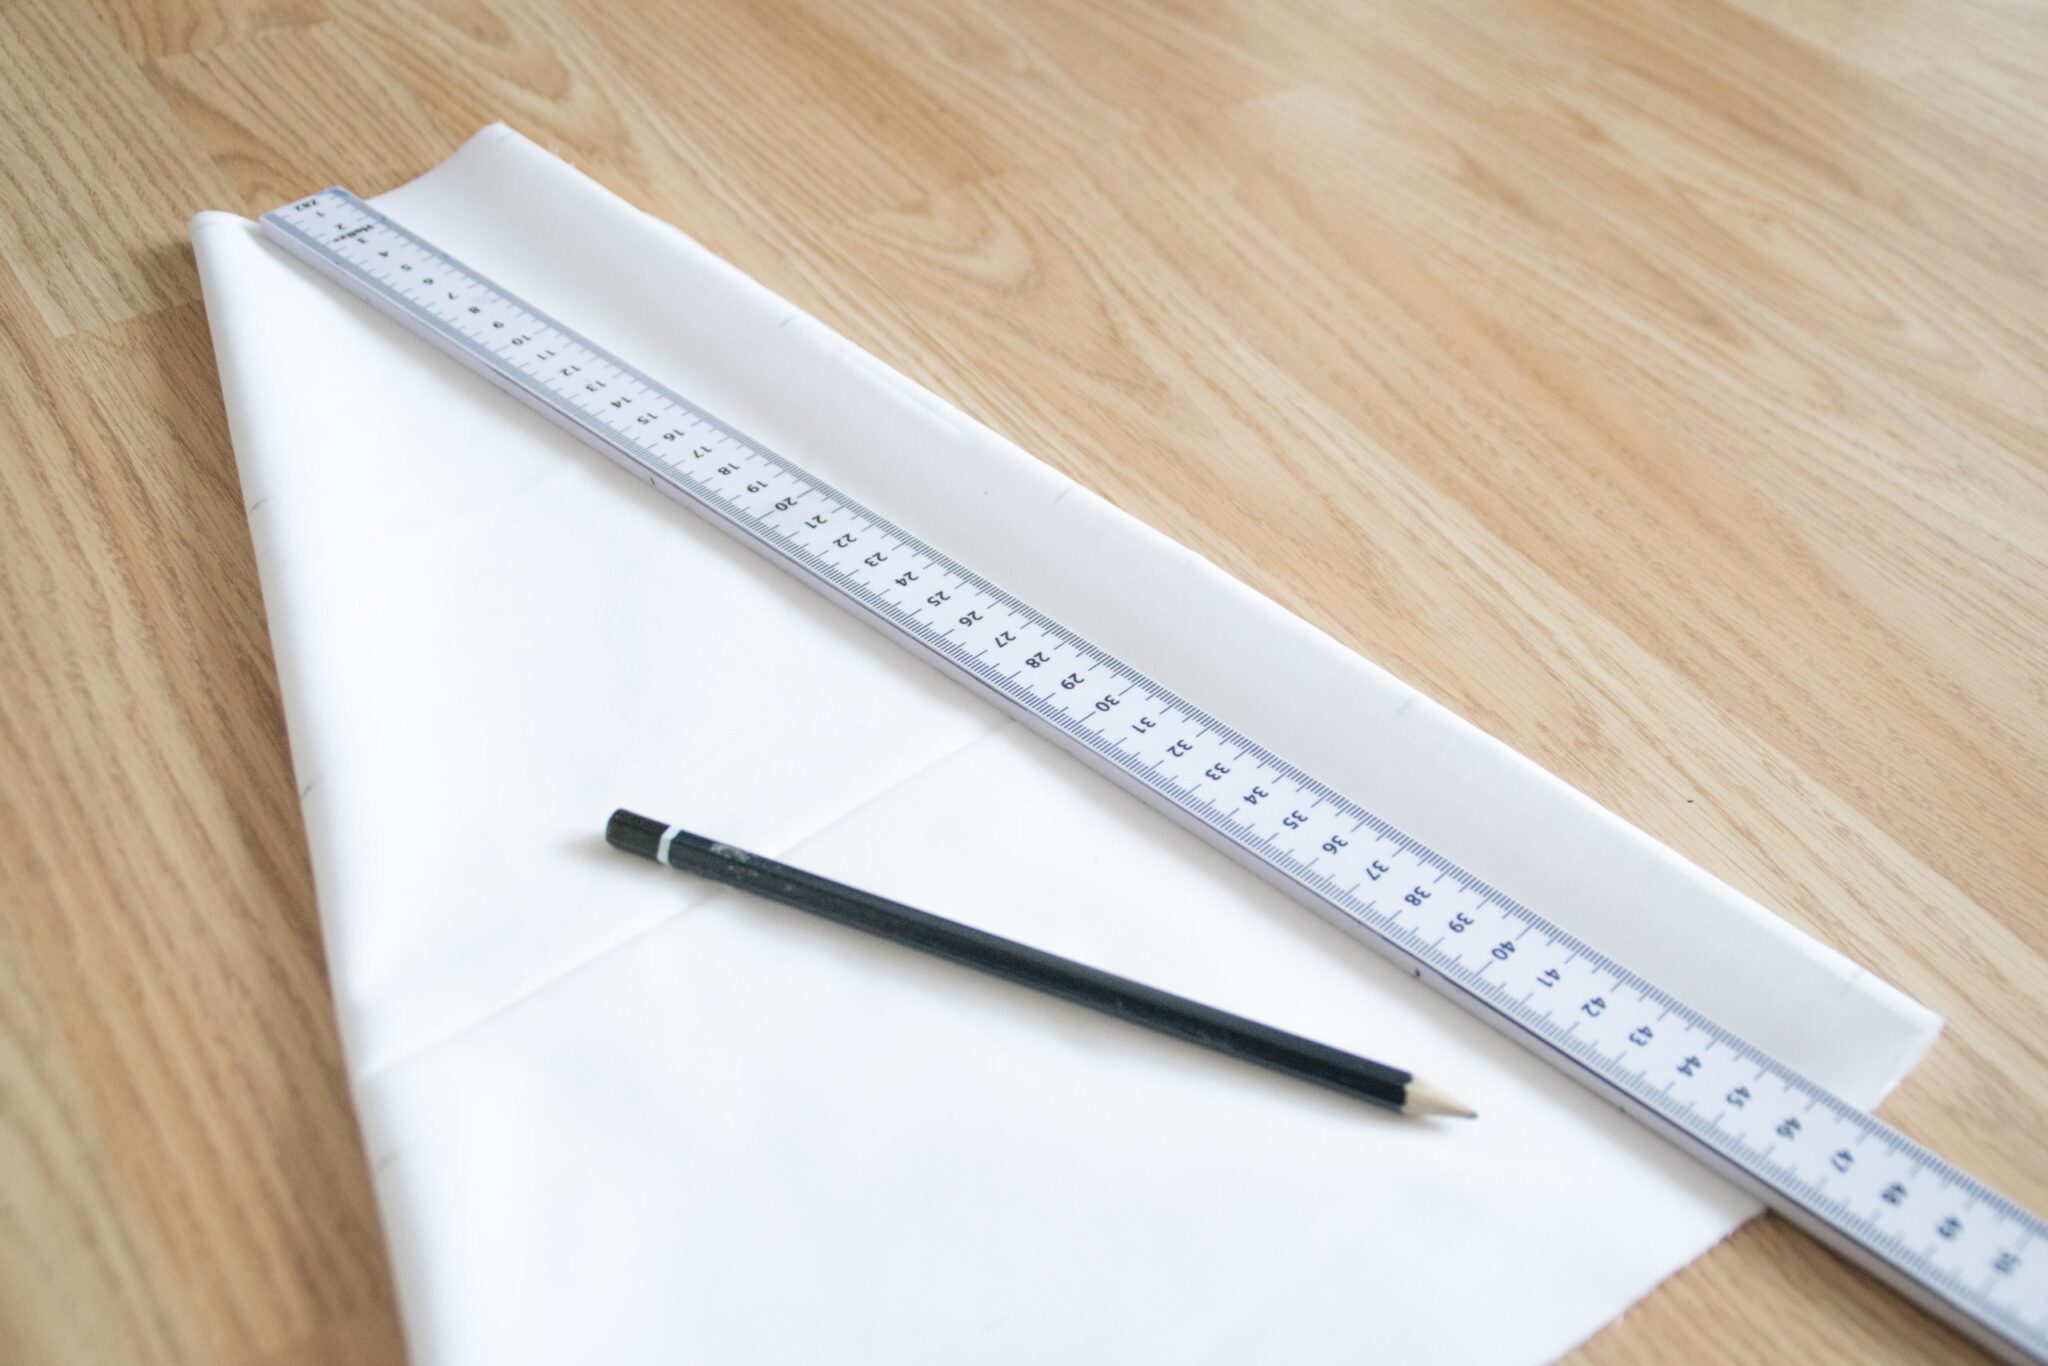
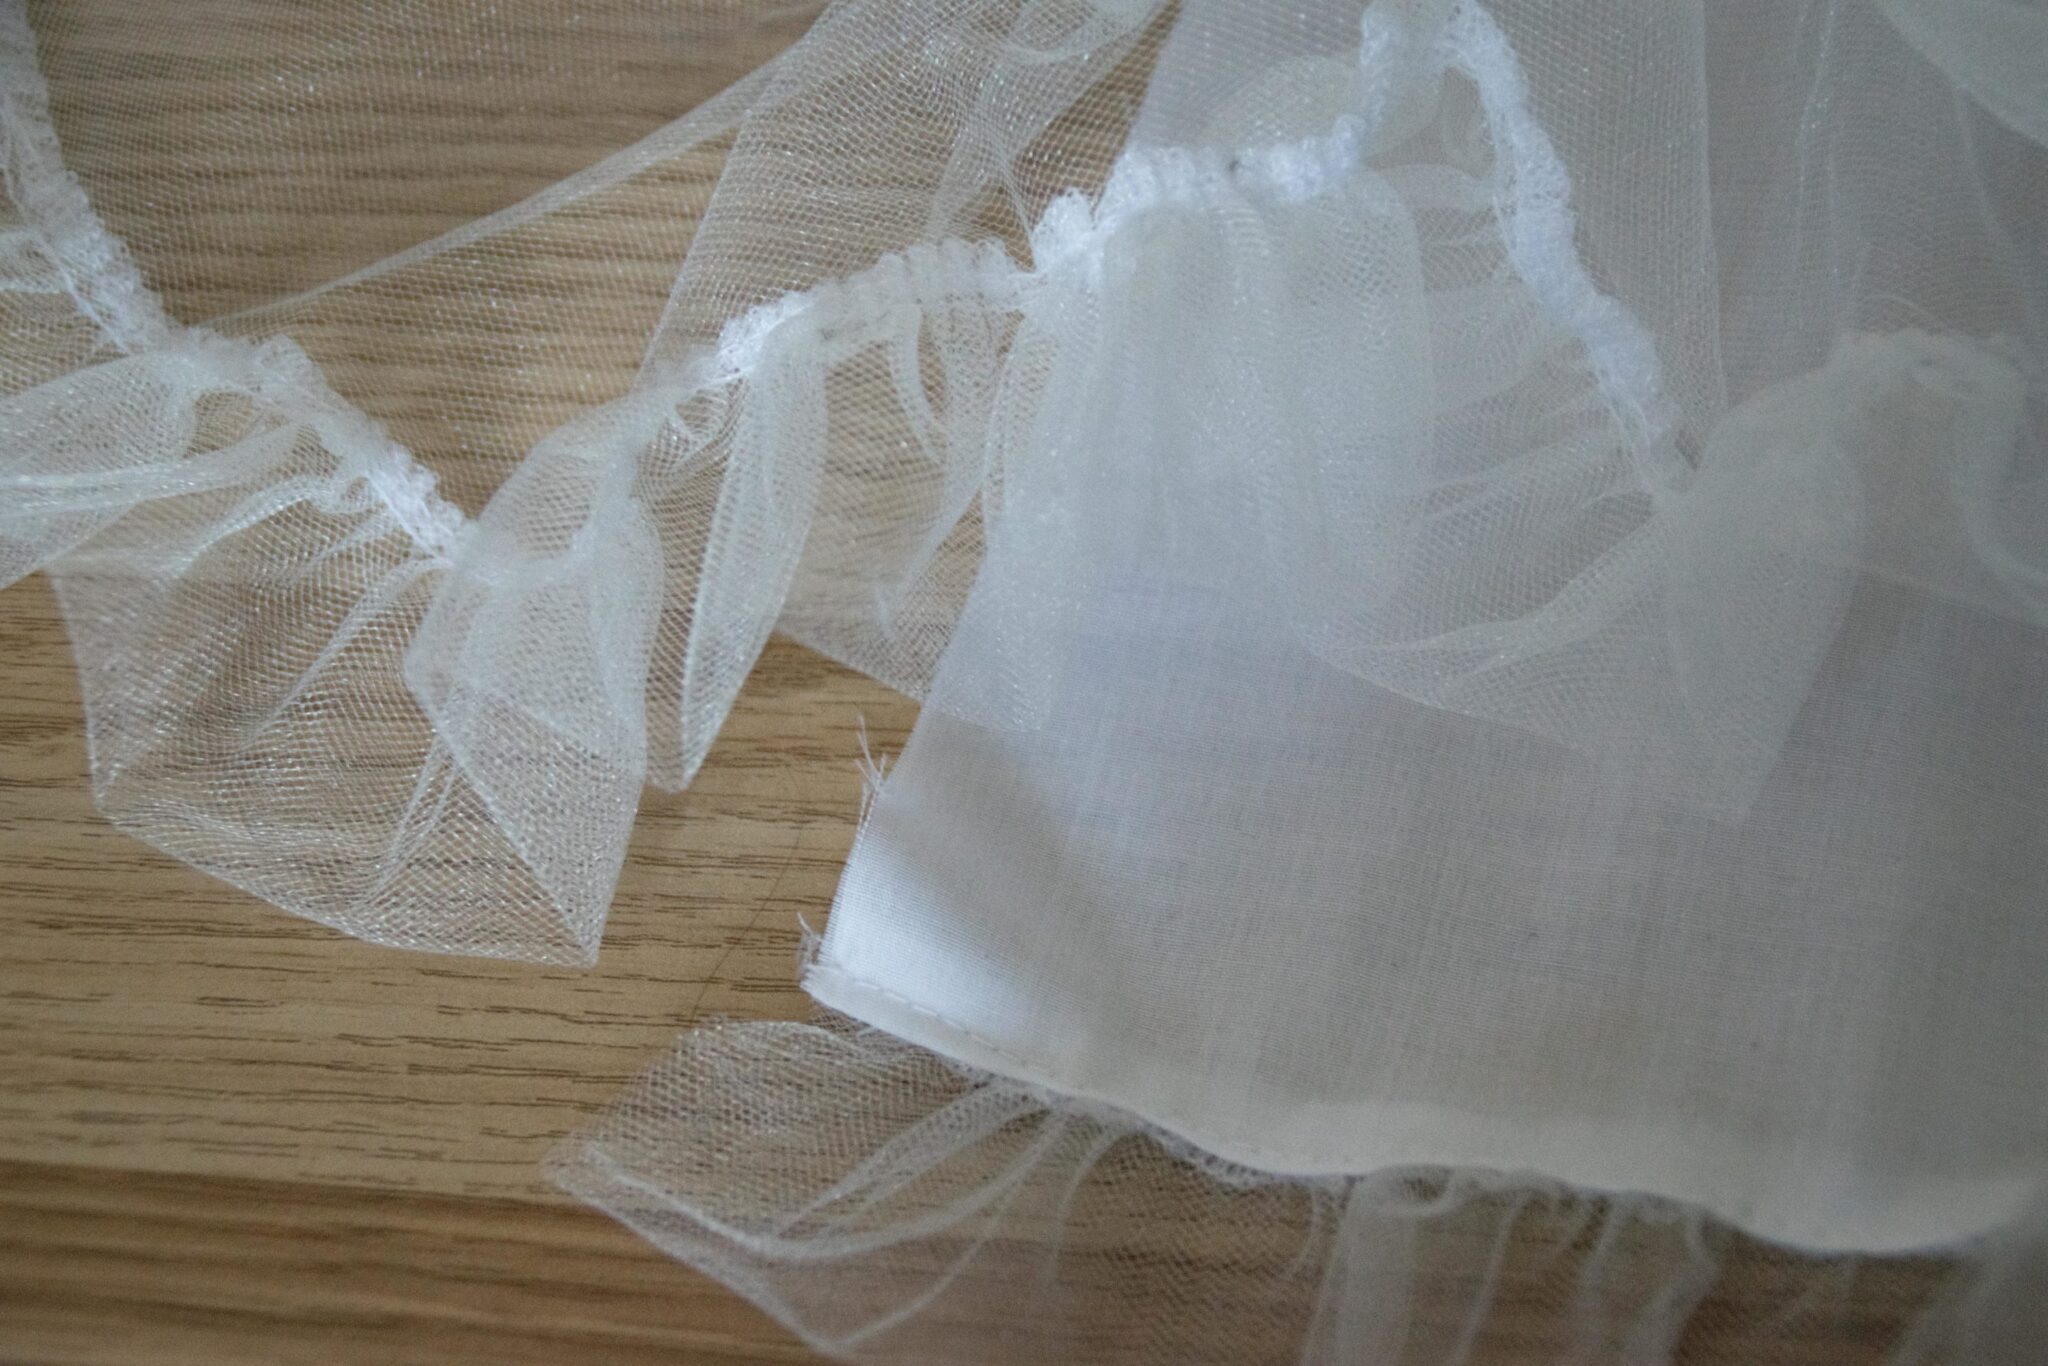
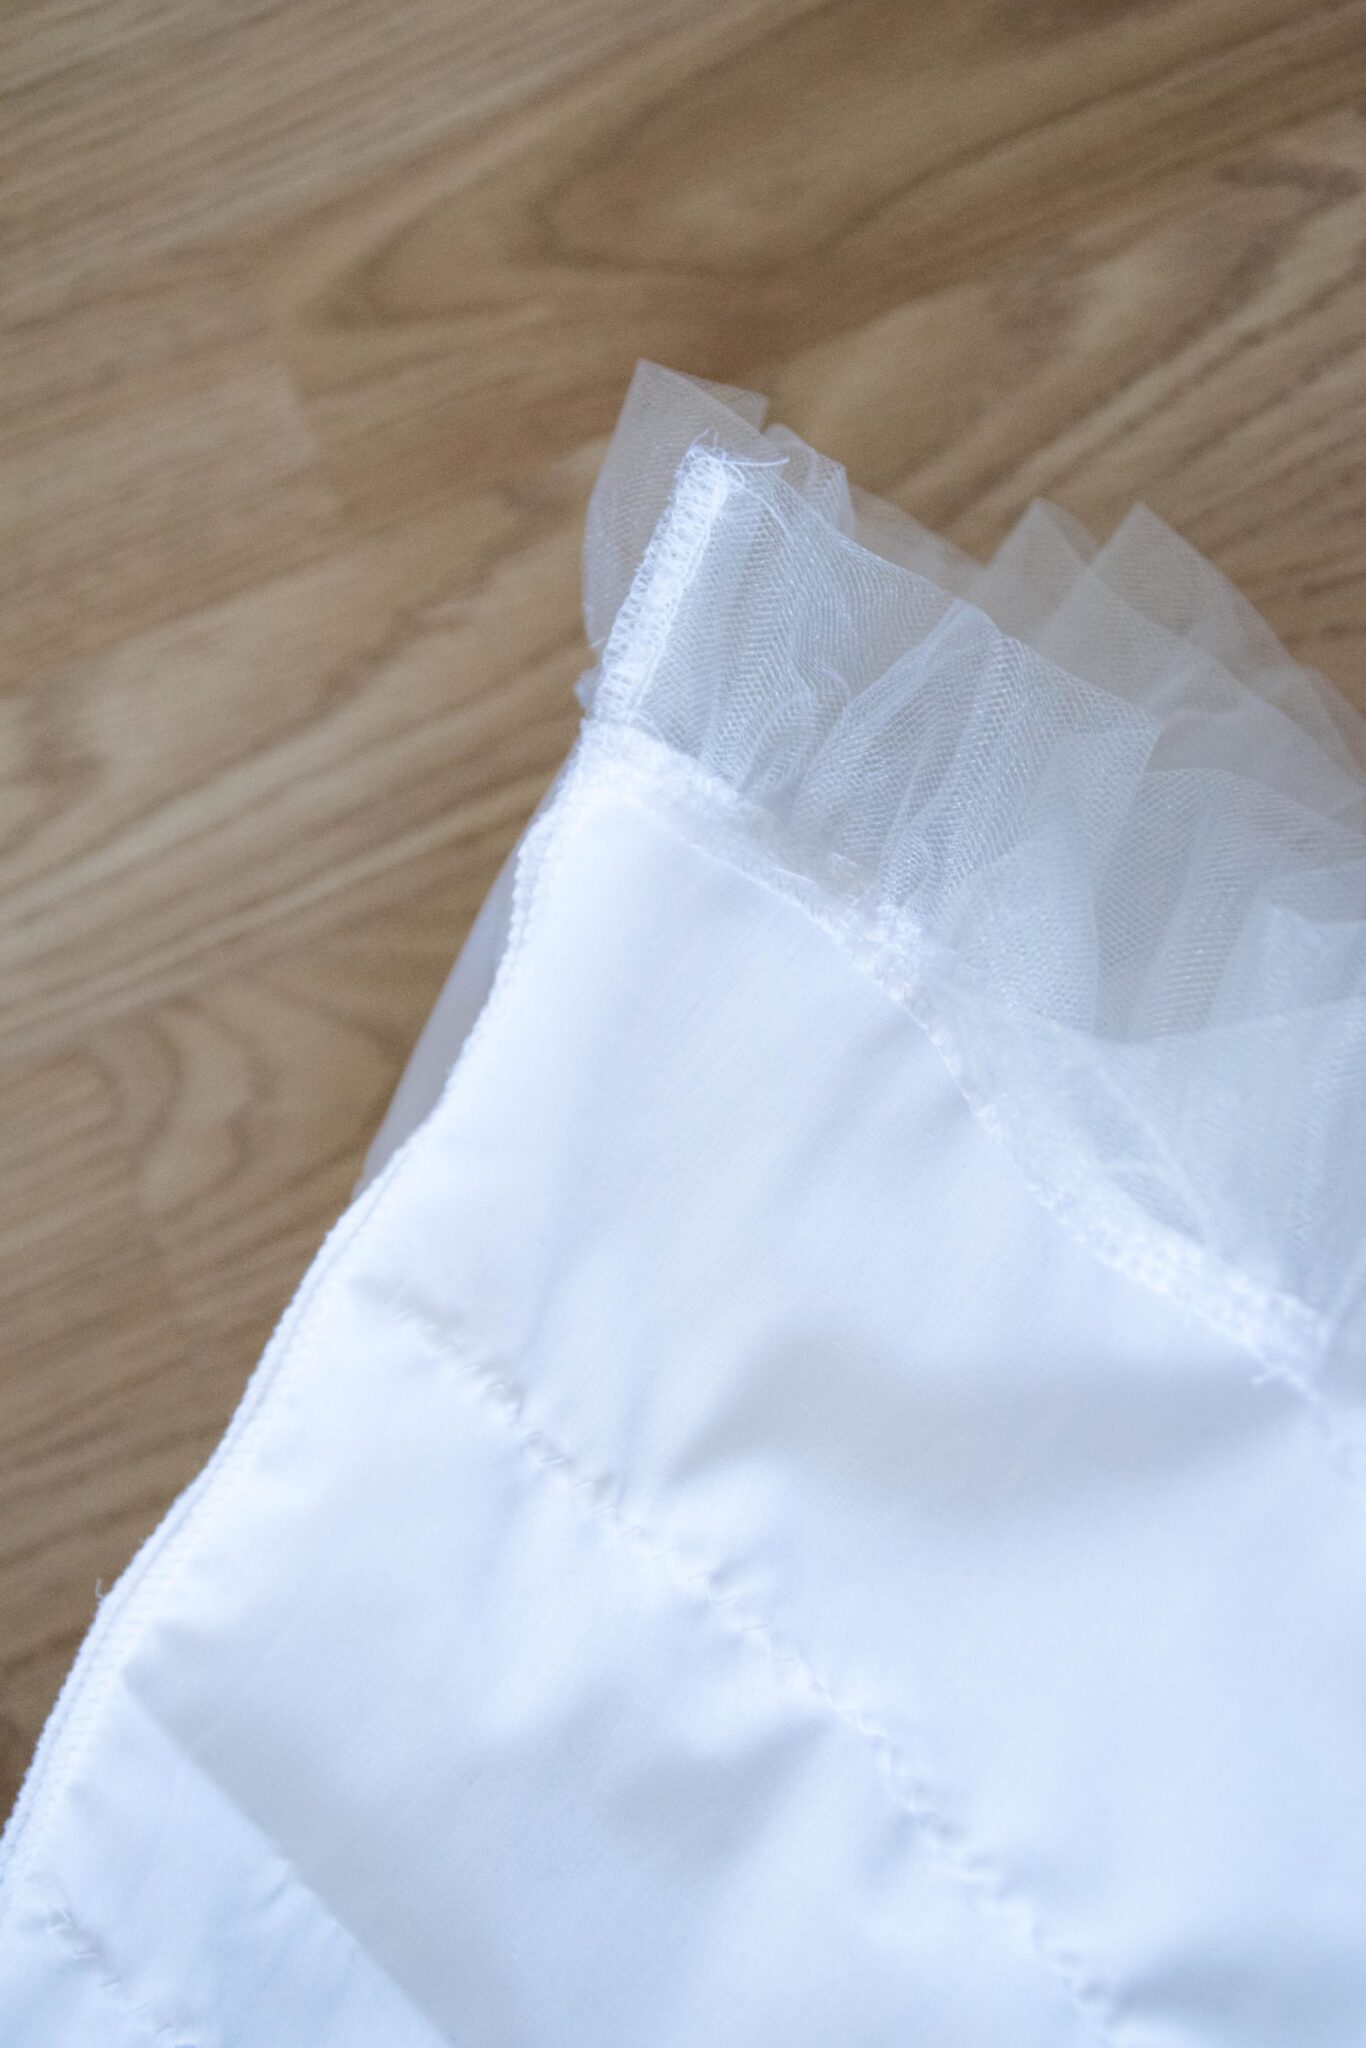
Each tier is just a long rectangle of tulle fabric. Later on we will bunch the fabric to make ruffles. To account for the ruffles you want at least twice the length of each circumference you marked on your skirt. You can ruffle your fabric the old fashion way or you can get a ruffler foot which will save you a lot of time.
The Maths
As I am sure you would love to skip the Maths for this skirt I decided to write up some round numbers for you. The measurements below are for a skirt with a hip circumference of 100cm and a length of 40cm. It will fit easily a size S/M without a closure.
- S/M skirt: Radius 32cm – Length 40cm
- Tier 1: 10 x 400 cm
- Tier 2: 20 x 350 cm
- Tier 3: 30 x 250 cm
- Tier 4: 40 x 200 cm
However, if you decide to venture yourself in the world of Maths you can easily calculate your circunference using the following formula.
- Fabric length = π (3.14) x Radius x 2 (or the length of your ruffle)
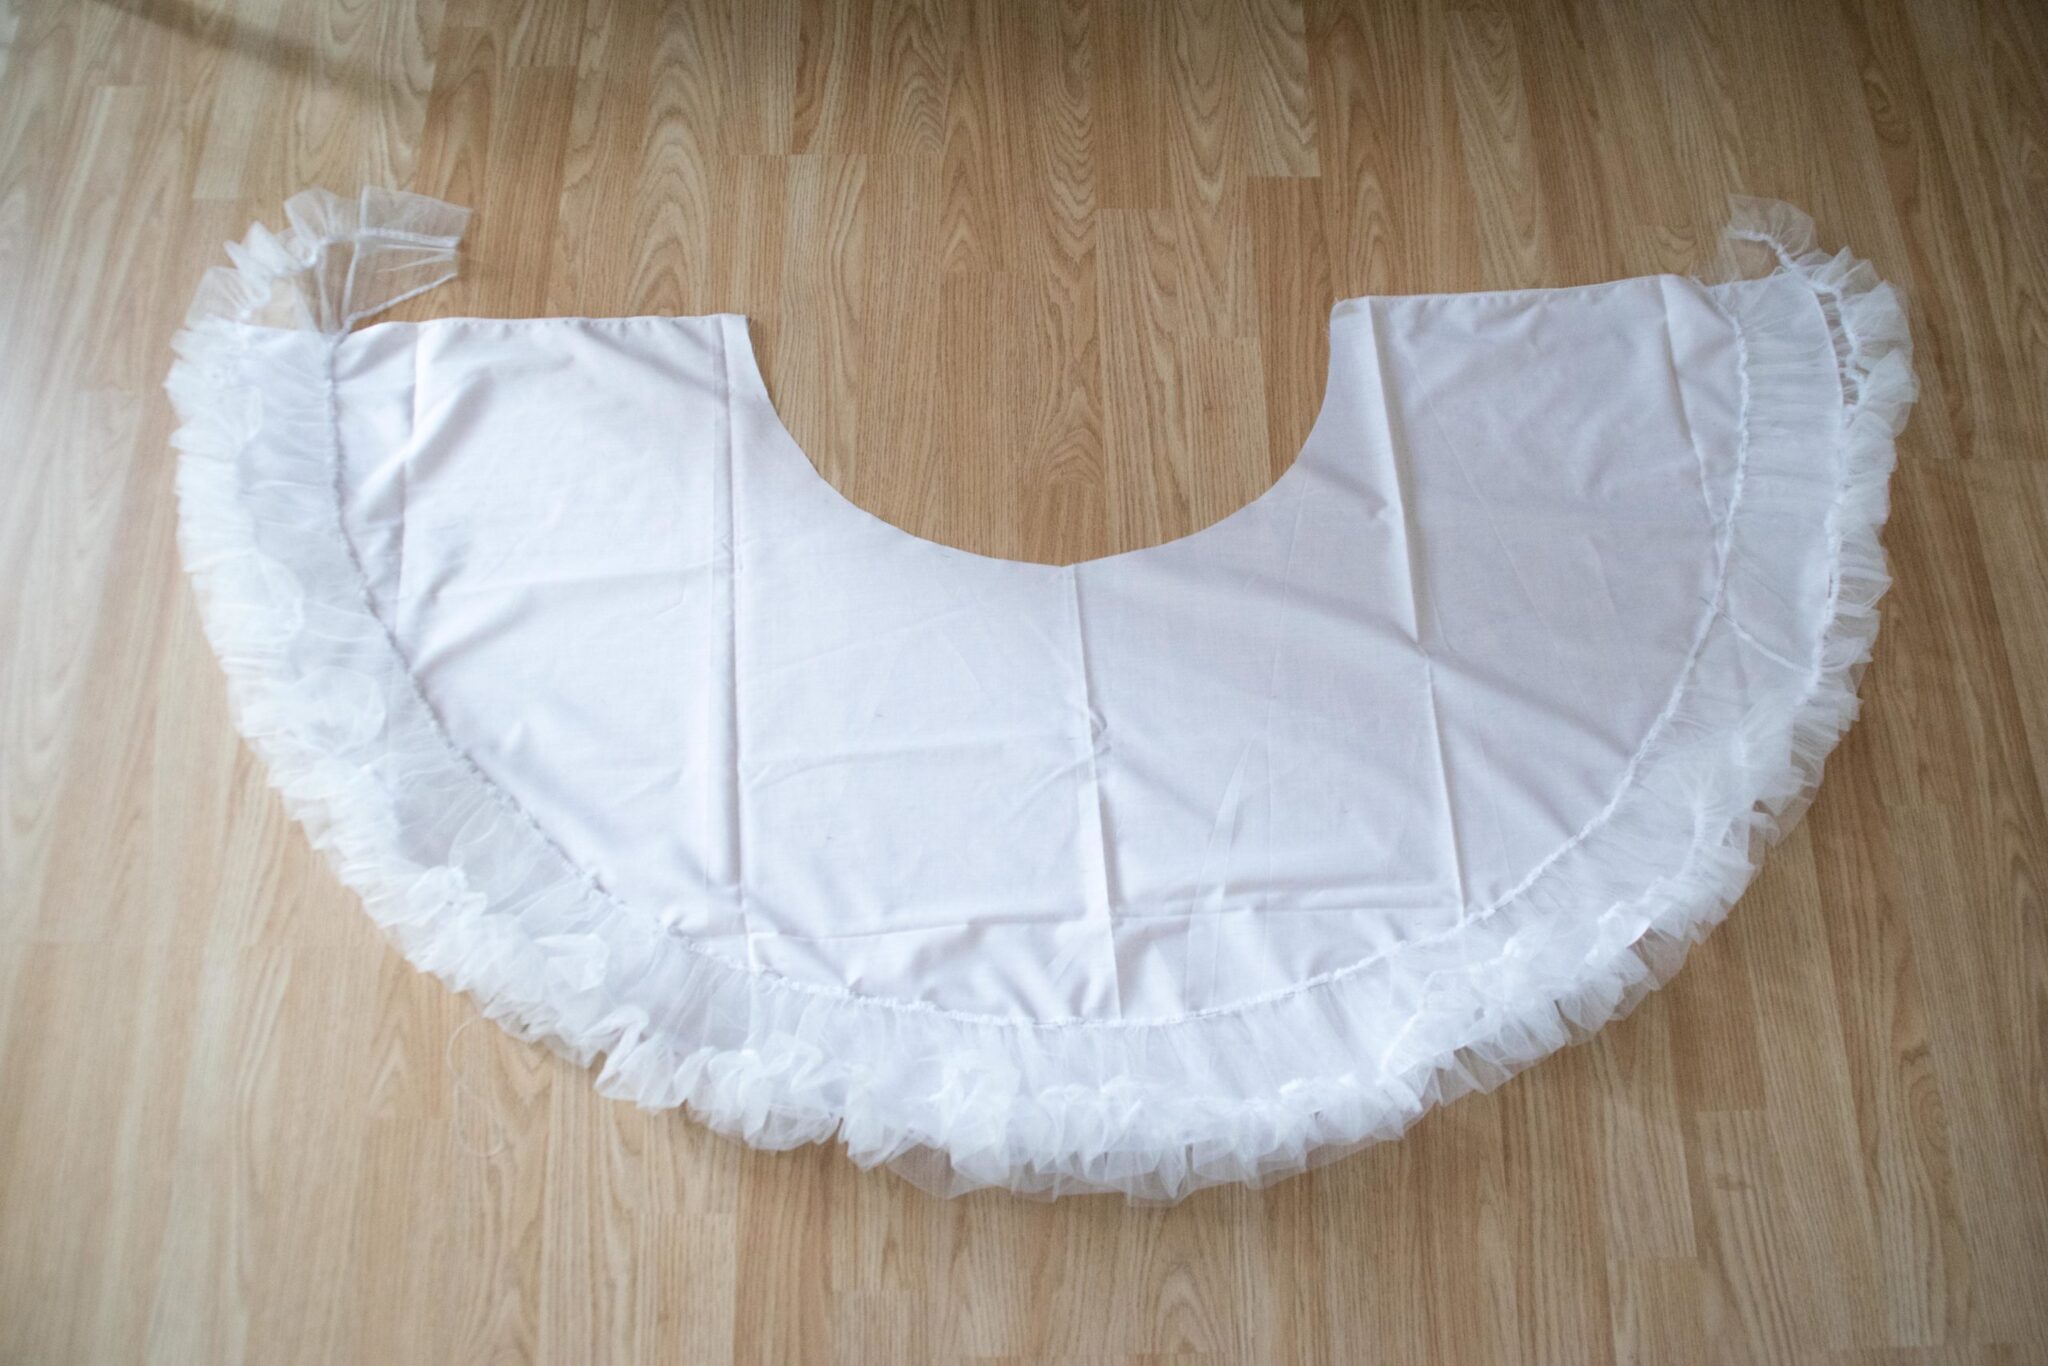
Each of the rectangles above also have ruffled fabric attached to it for extra puffyness. You can use trim, ribbon or more tulle. I decided to cut long pieces of tulle. sew them in one long piece and fold them in half. If you want the exact length you just need to double your previous measurements for the tiers (about 35 m total). Don’t forget to add the trim to your base skirt as well!
Final steps
I find it easier to close my skirt after I have attached all the ruffles. But it is possible to close the skirt first and then sew the trims on top. Also, a zig zag stitch is a very neat option to attach each layer. Another alternative is to embellish them sewing ribbon on top of each tier.
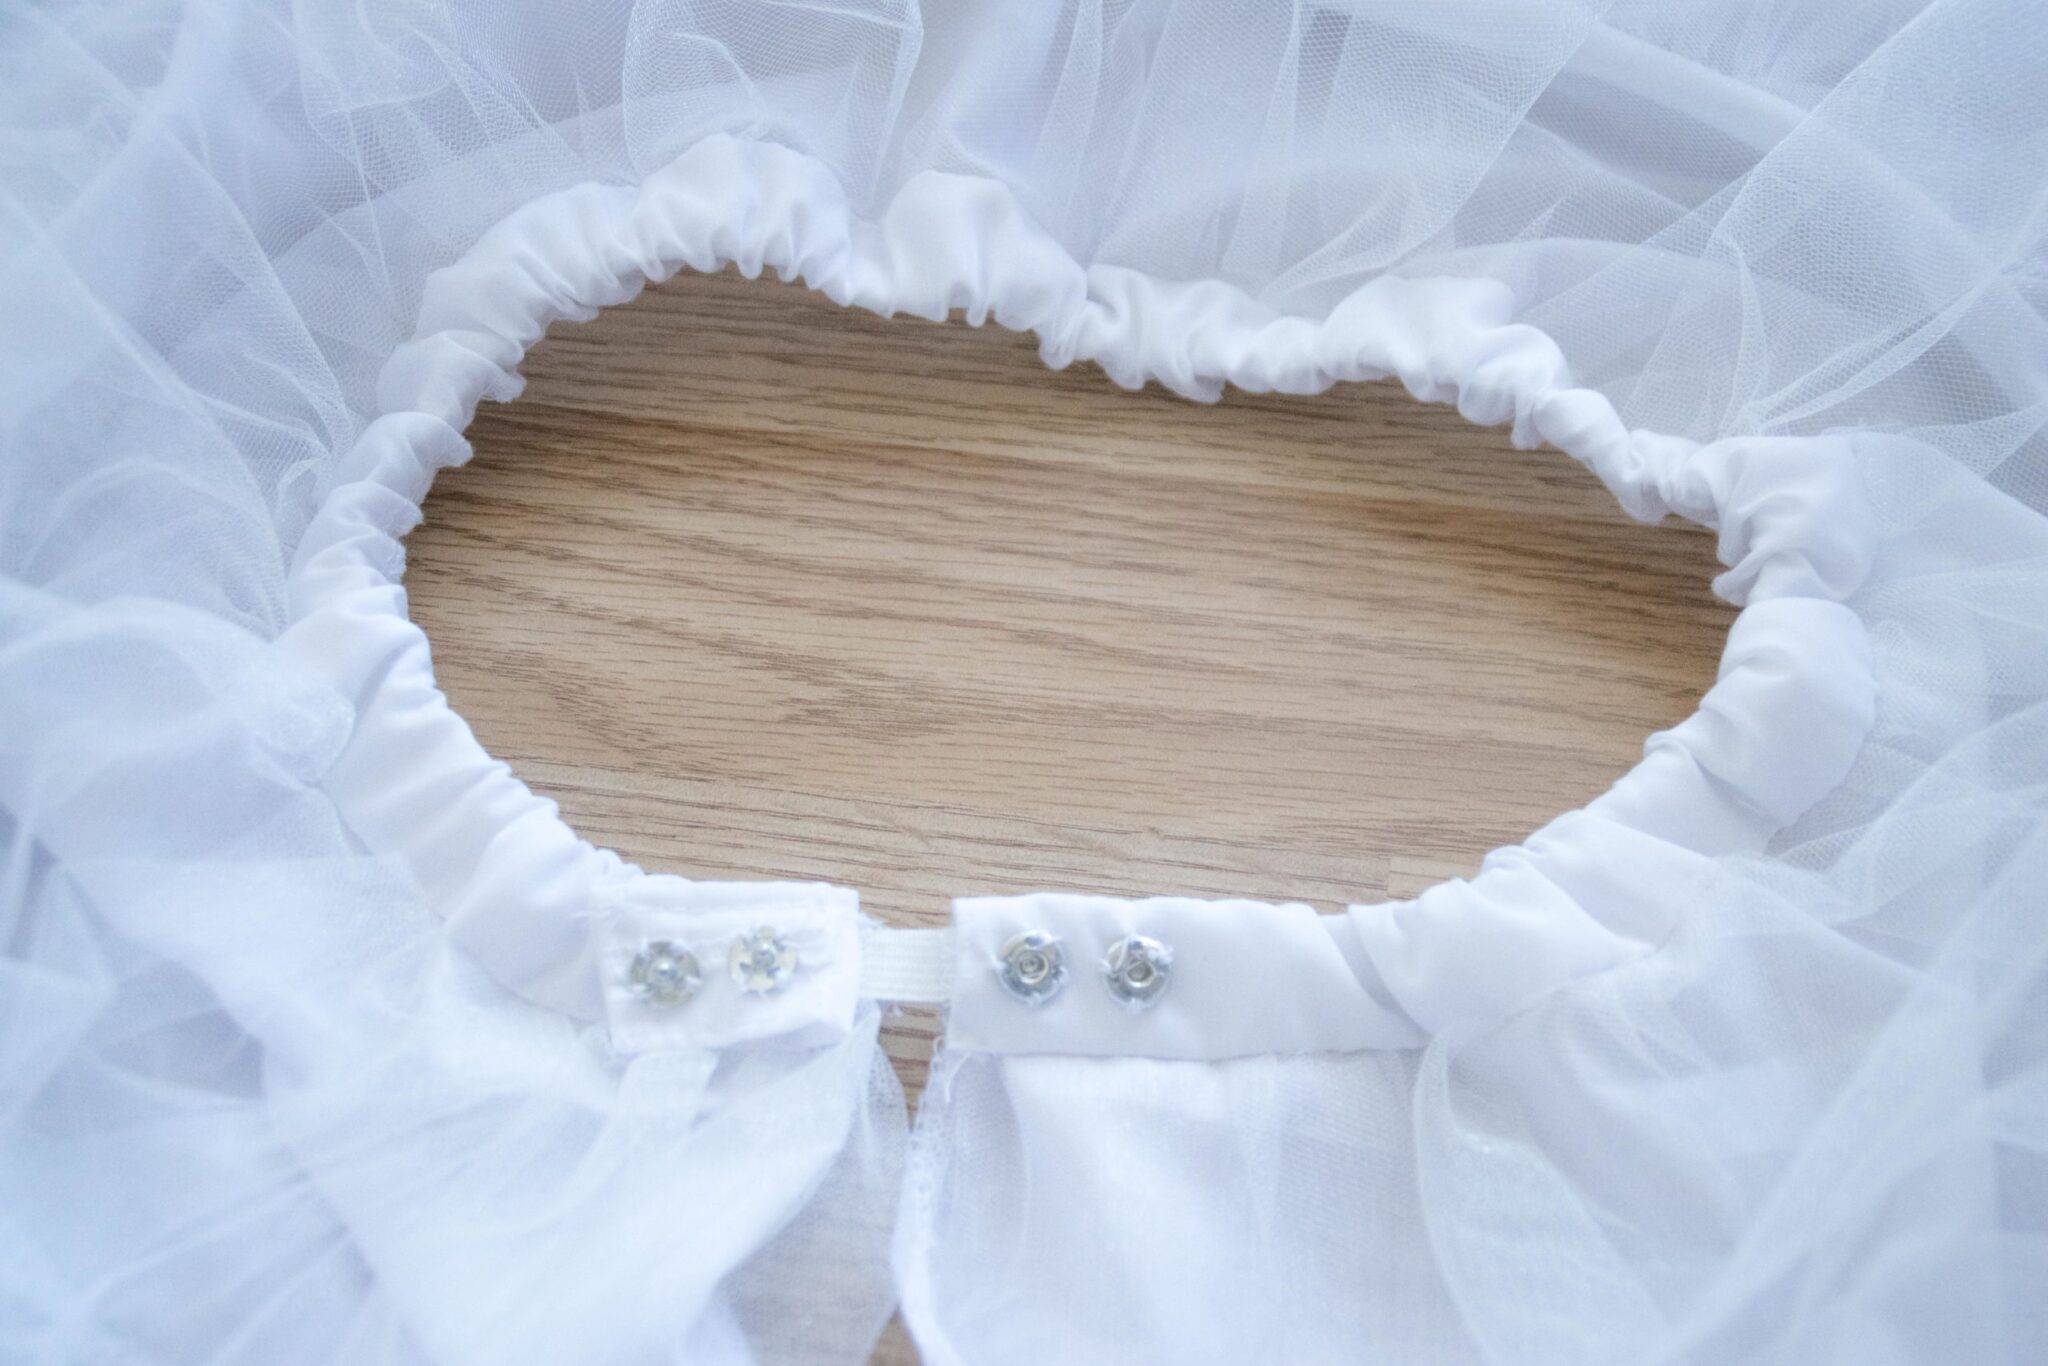
Finally, you want to close your petticoat. It is possible to add a zipper at the back and a few snap on buttons if you find it too tight. However, it is just much easier to run an elastic band through the waistband. Just make sure your hips get through the opening. Remember you can use bias tape for the waist if you prefer it.
I hope you enjoyed this tutorial. Remember you can support my blog in many ways, clicking my affiliate links, buying me a Ko-fi, or using some of my patterns and cosplay related downloadables! With your help I can create more cosplays, articles and tutorials to share with you!


