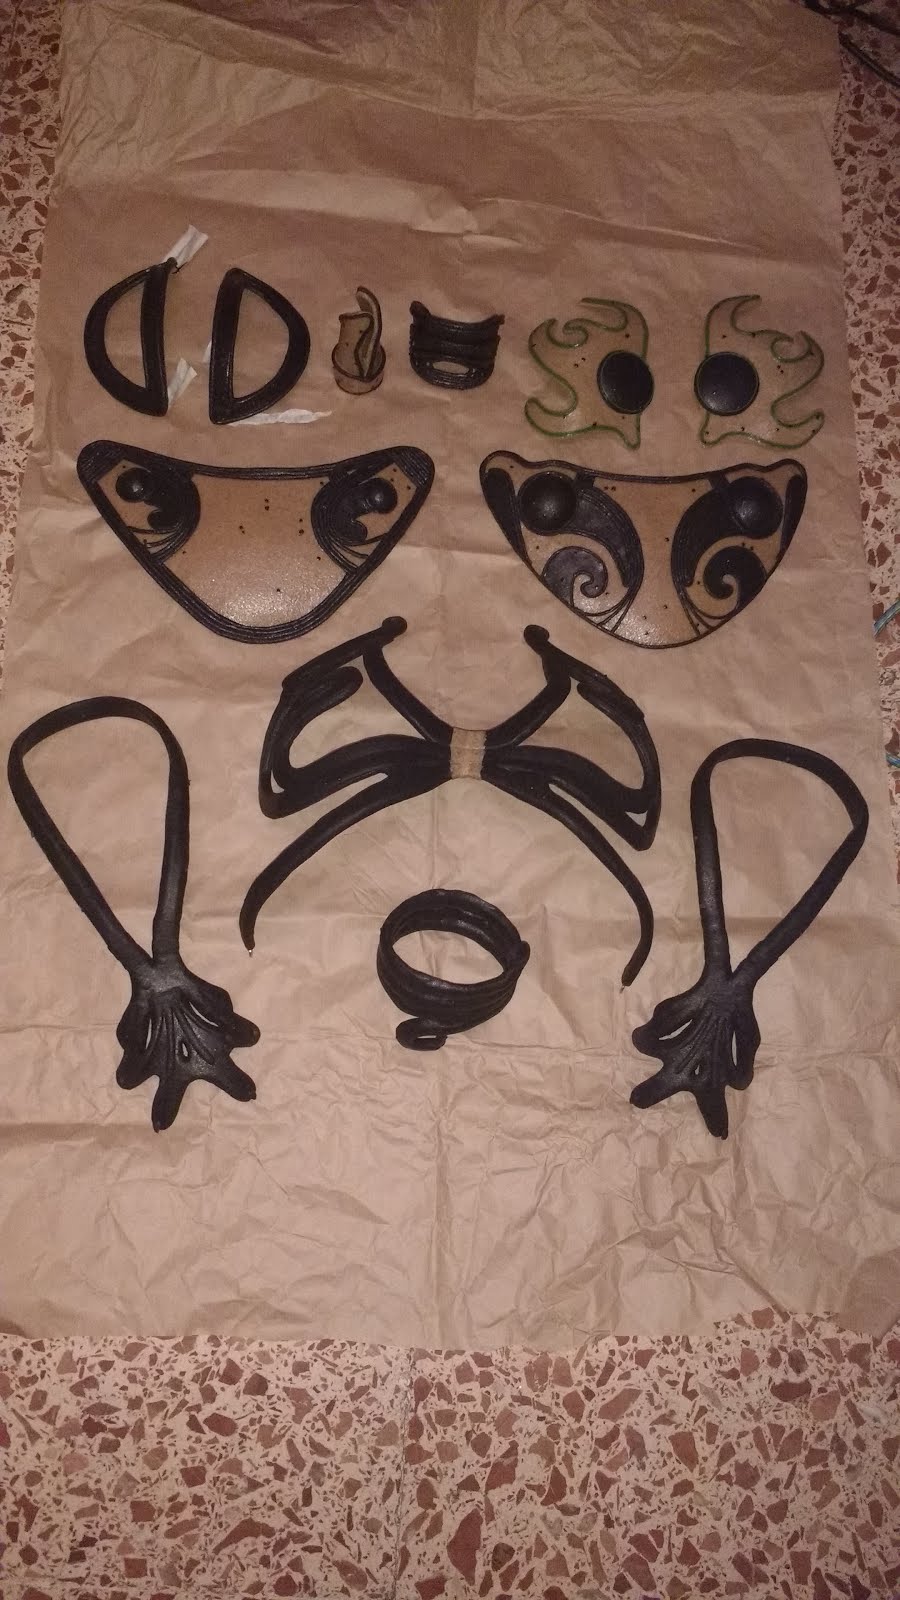
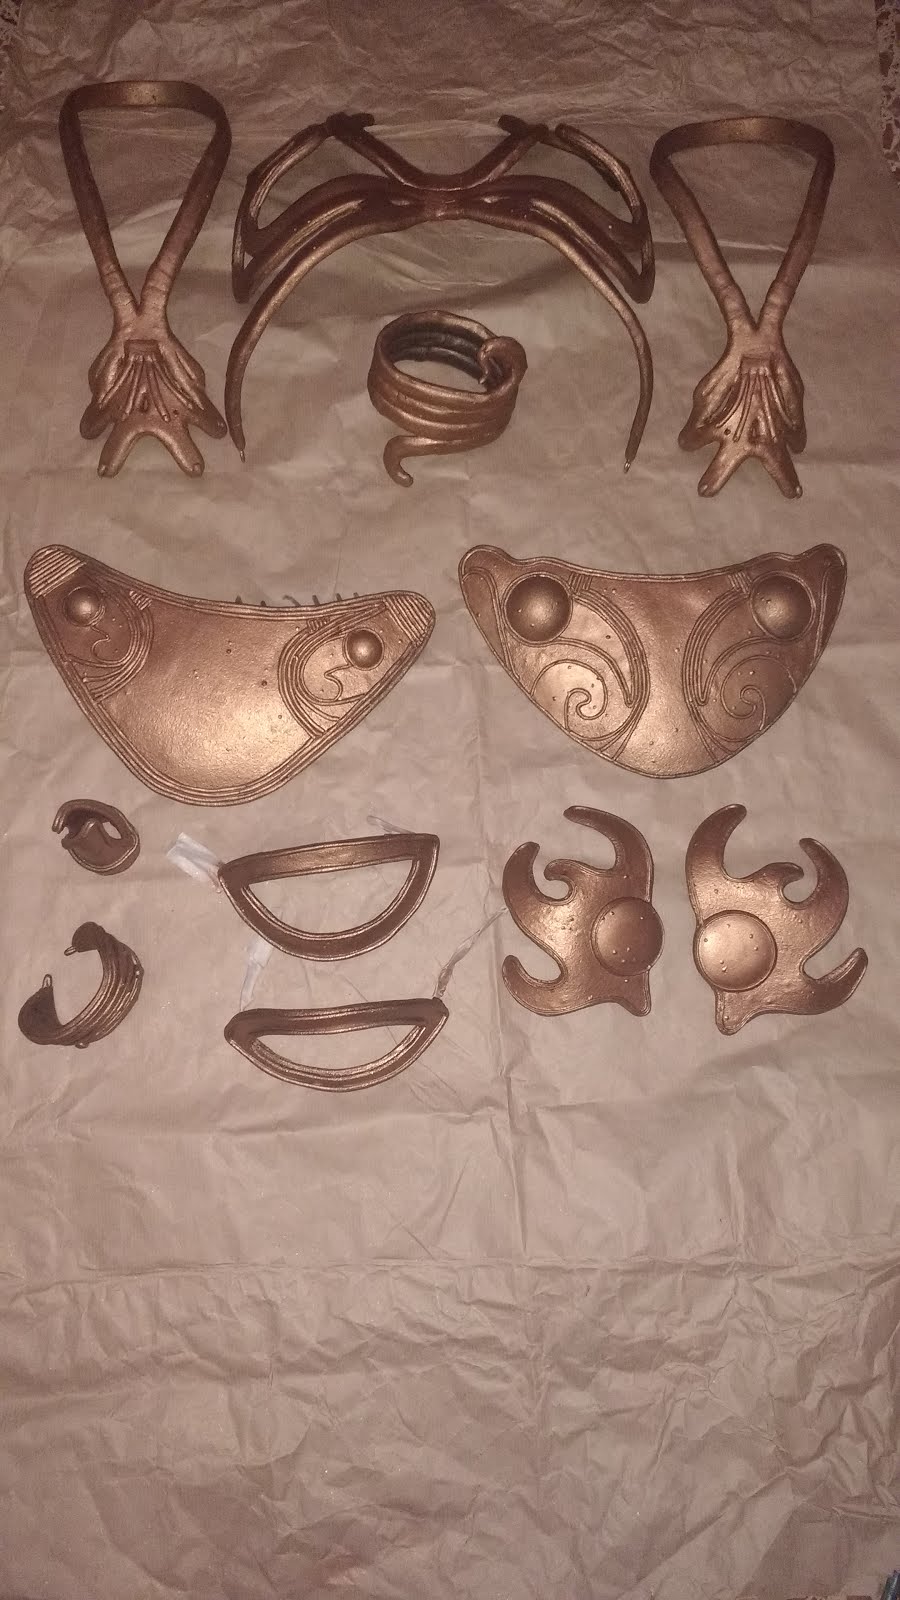
A long time ago, in a galaxy far far away…I know you wanted to know how I made the slave Leia cosplay. It is a must in any cosplayer wardrobe, and here I bring you a step by step on how I made this one. I can’t think of a better way of celebrating the release of the new films this weekend. Here is how to make the slave princess Leis metal bikini.
First steps
The first thing I did was gathering some reference pictures, not only from the film and photoshoots but also from expositions, here is one I first noticed that the fabric of the boots and bra wasn’t green (yeah, I always thought it was green). After some research, the main materials I used for my cosplay were : Craft foam, 5mm foam, slit leather, silk lining, classic worbla and black worbla.
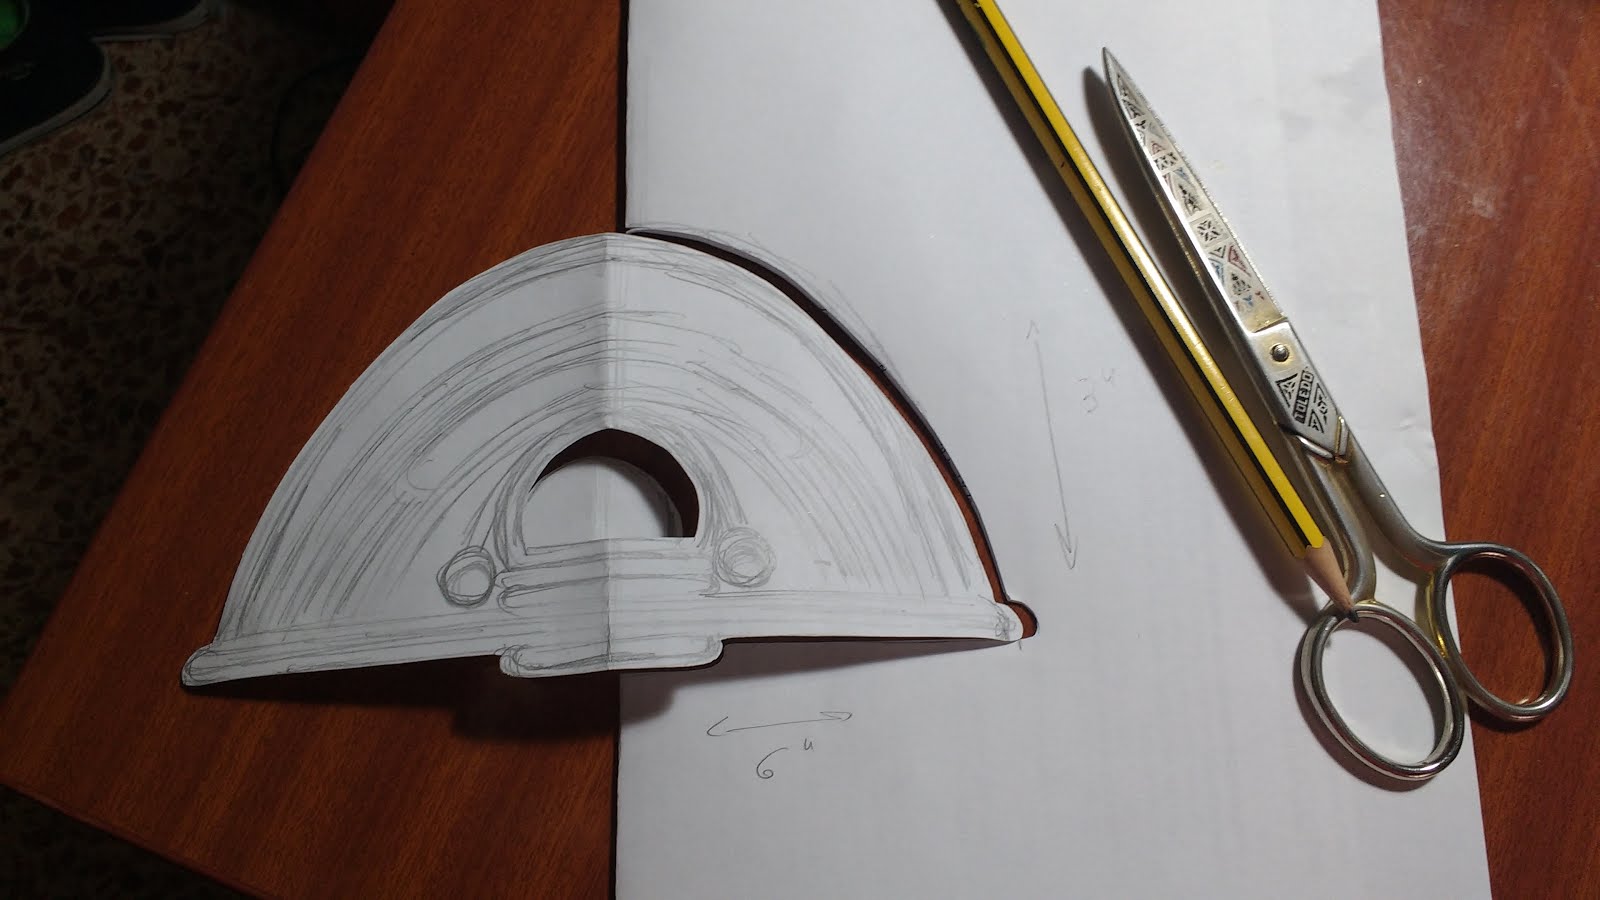
I worked out the measurements on an average S/M size woman, saying the hips were around 90cm as well as chest. For the later I used a bra of that size as reference. Then I drafted my first sketches.
The bottom part
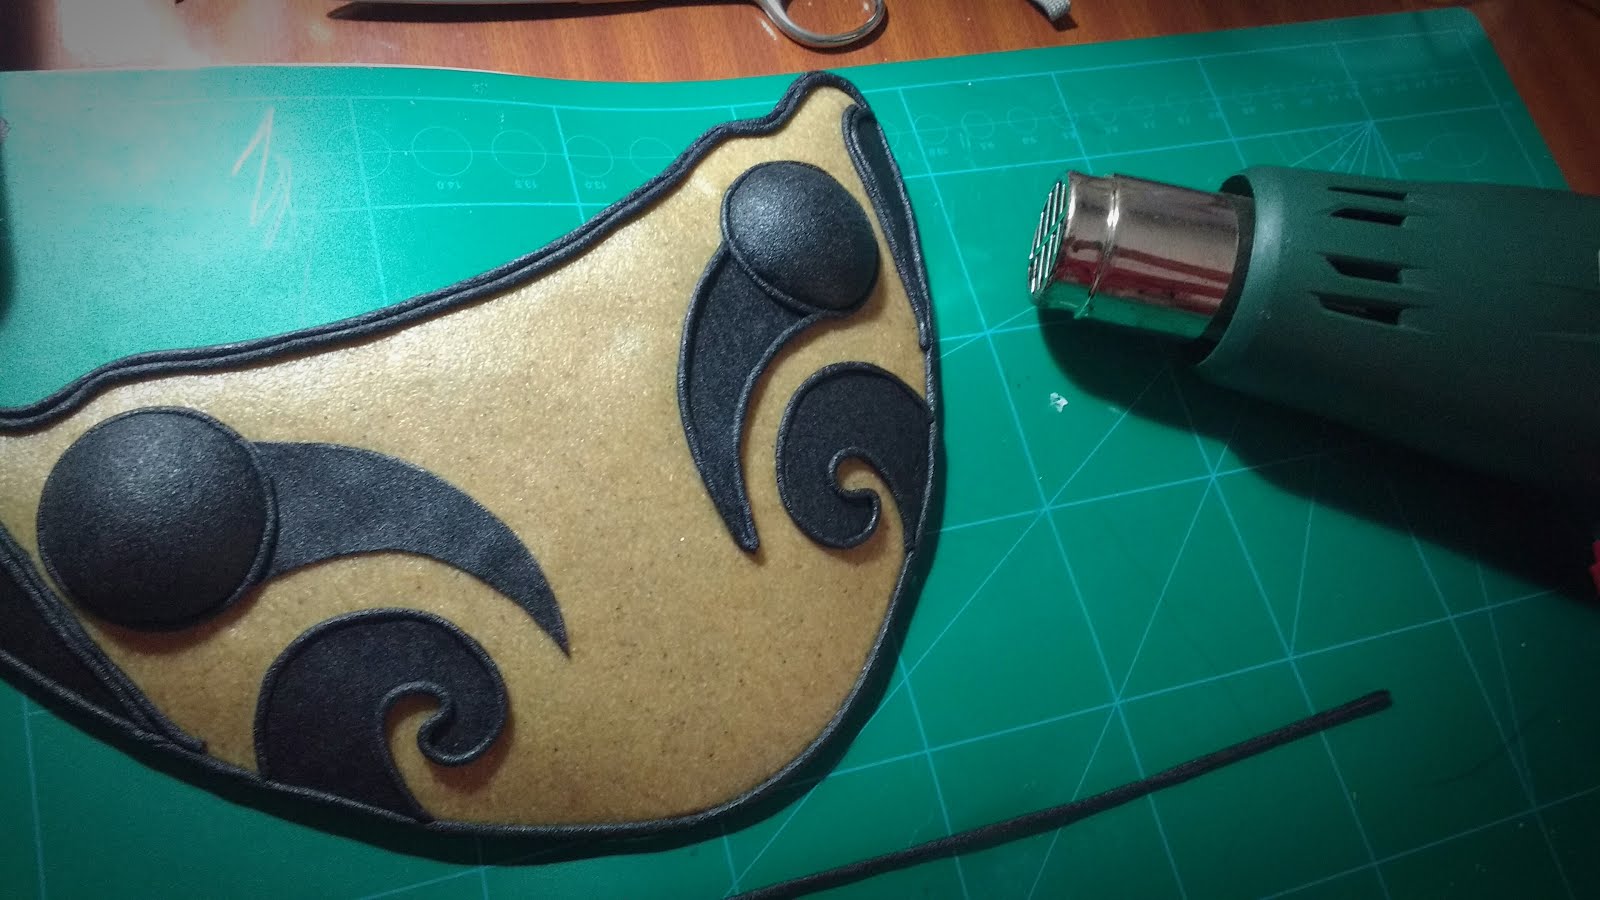
This part was the most time consuming one. It has many many little details here and there. The core of the piece is 5 mm foam. Then I sandwiched it with classic worbla and added all the details rolling heated scraps of black worbla. Also, the balls were done with polystyrene half balls which I covered with worbla too.
The bra
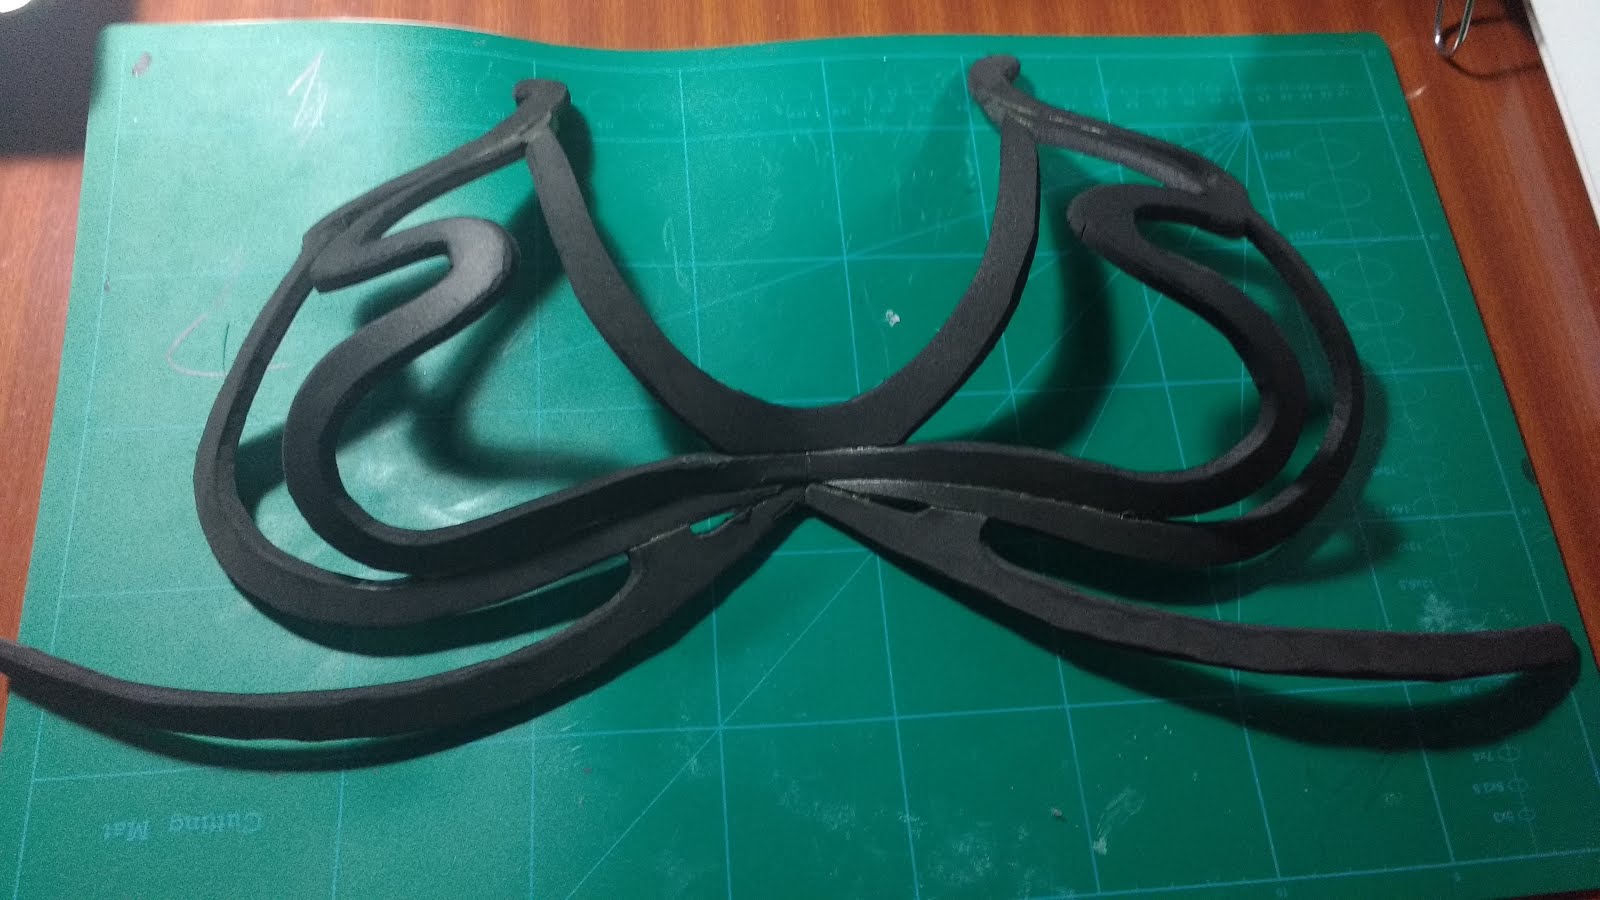
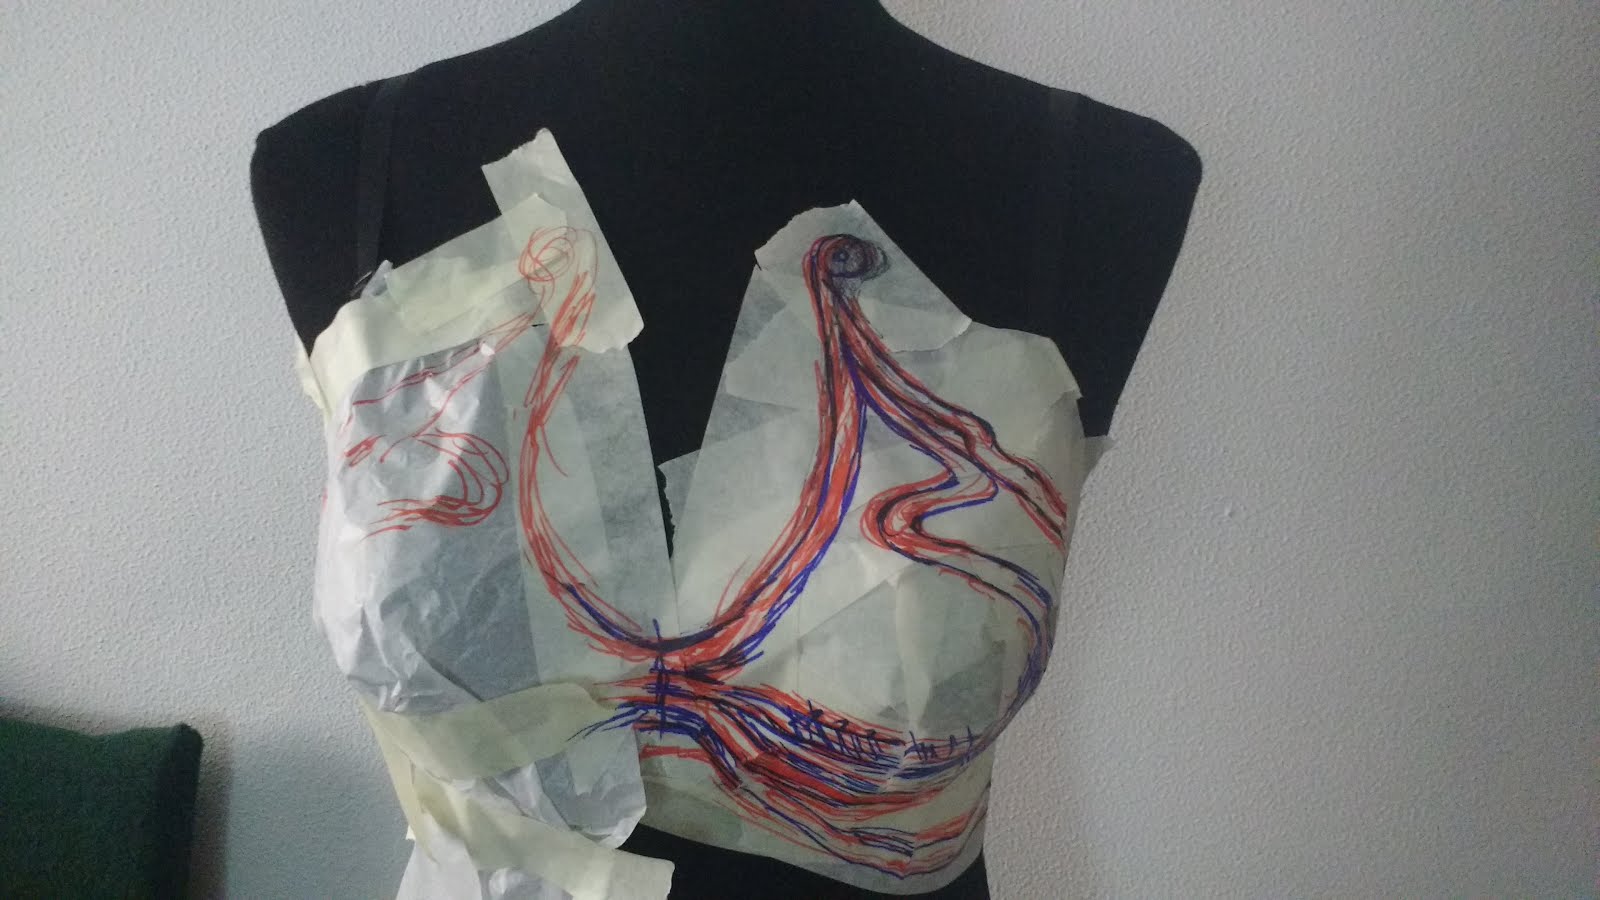
This part is maybe the most complicated to do. First I taped my bra with paper tape and drew the thing on it. Remember you only need to draw half because the pattern is symmetrical. I cut the pieces of the bra, dividing it on 4 main pieces, although some of them are cut in halves. I shaped it with my heatgun. Again I used 5 mm foam as a core.
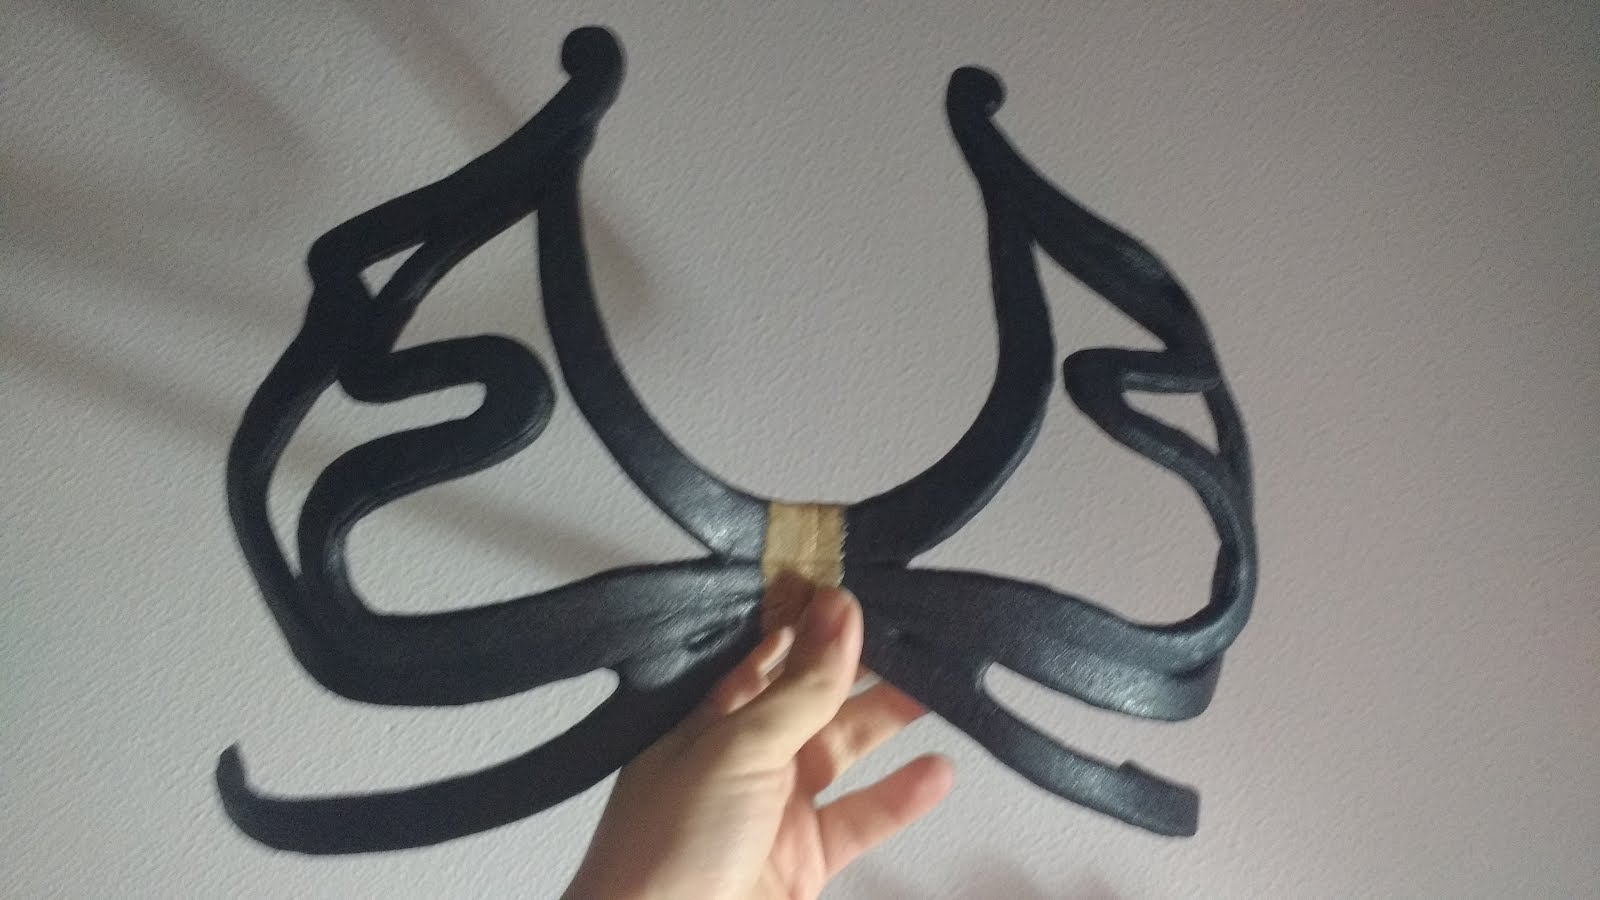
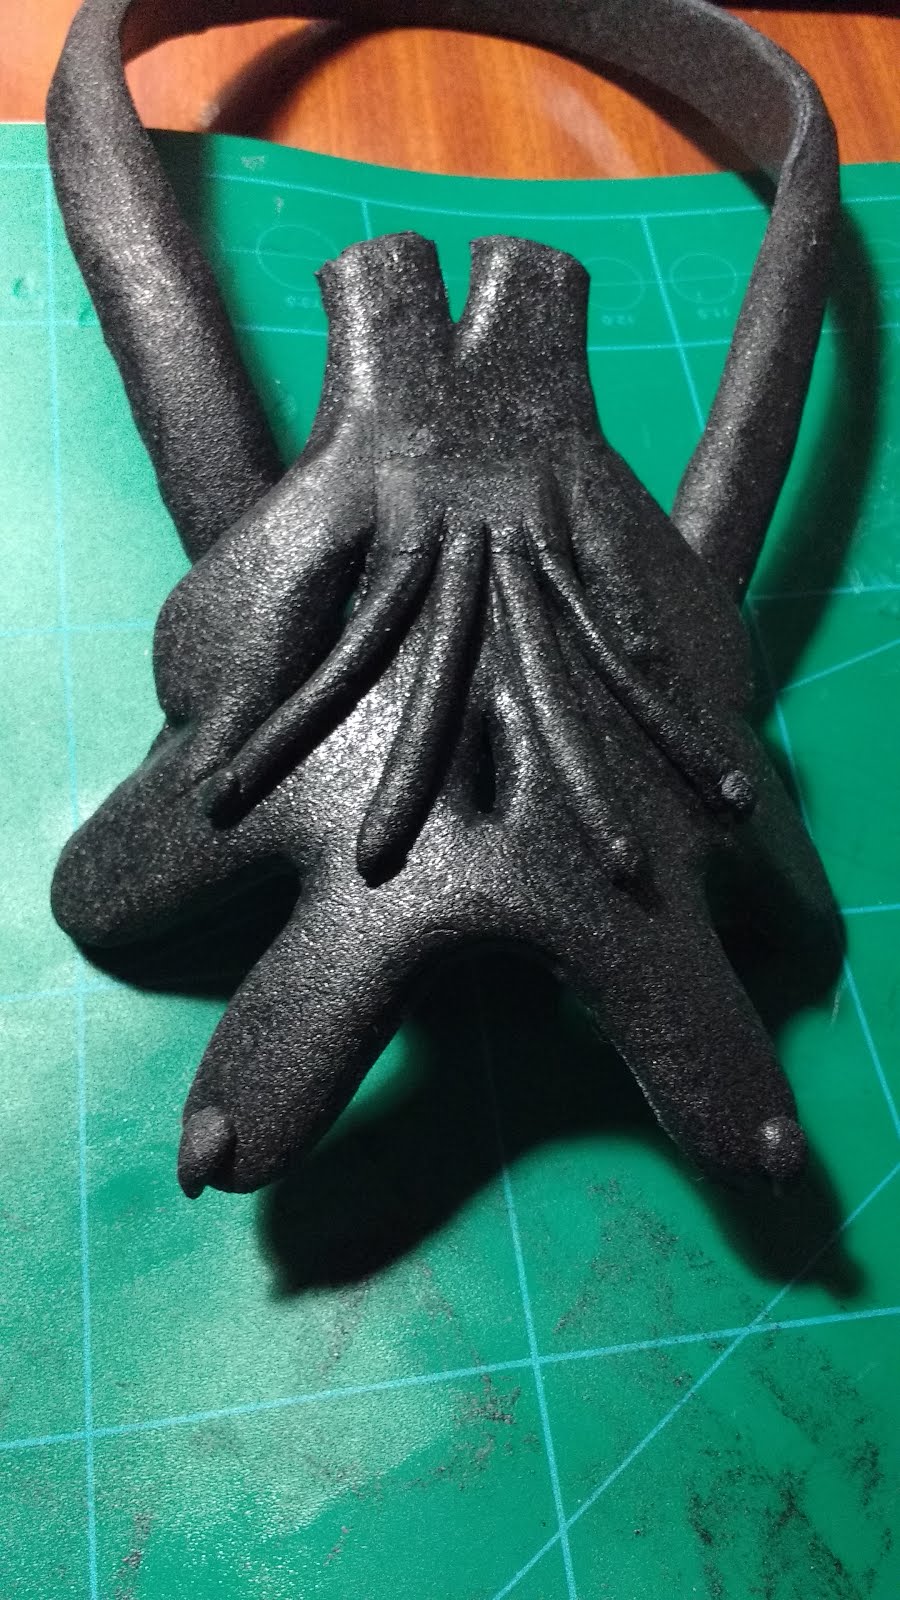
This is how it looked after covering the foam with black worbla and using the heatgun over and over and over again in order to shape it properly, always trying it on the mannequin for an acurate fit. I reinforced the center with normal worbla, which is slightly stronger than the black one and carved the details with a blunt knife. The fabric was glued with contact adhesive.
Hair accesories
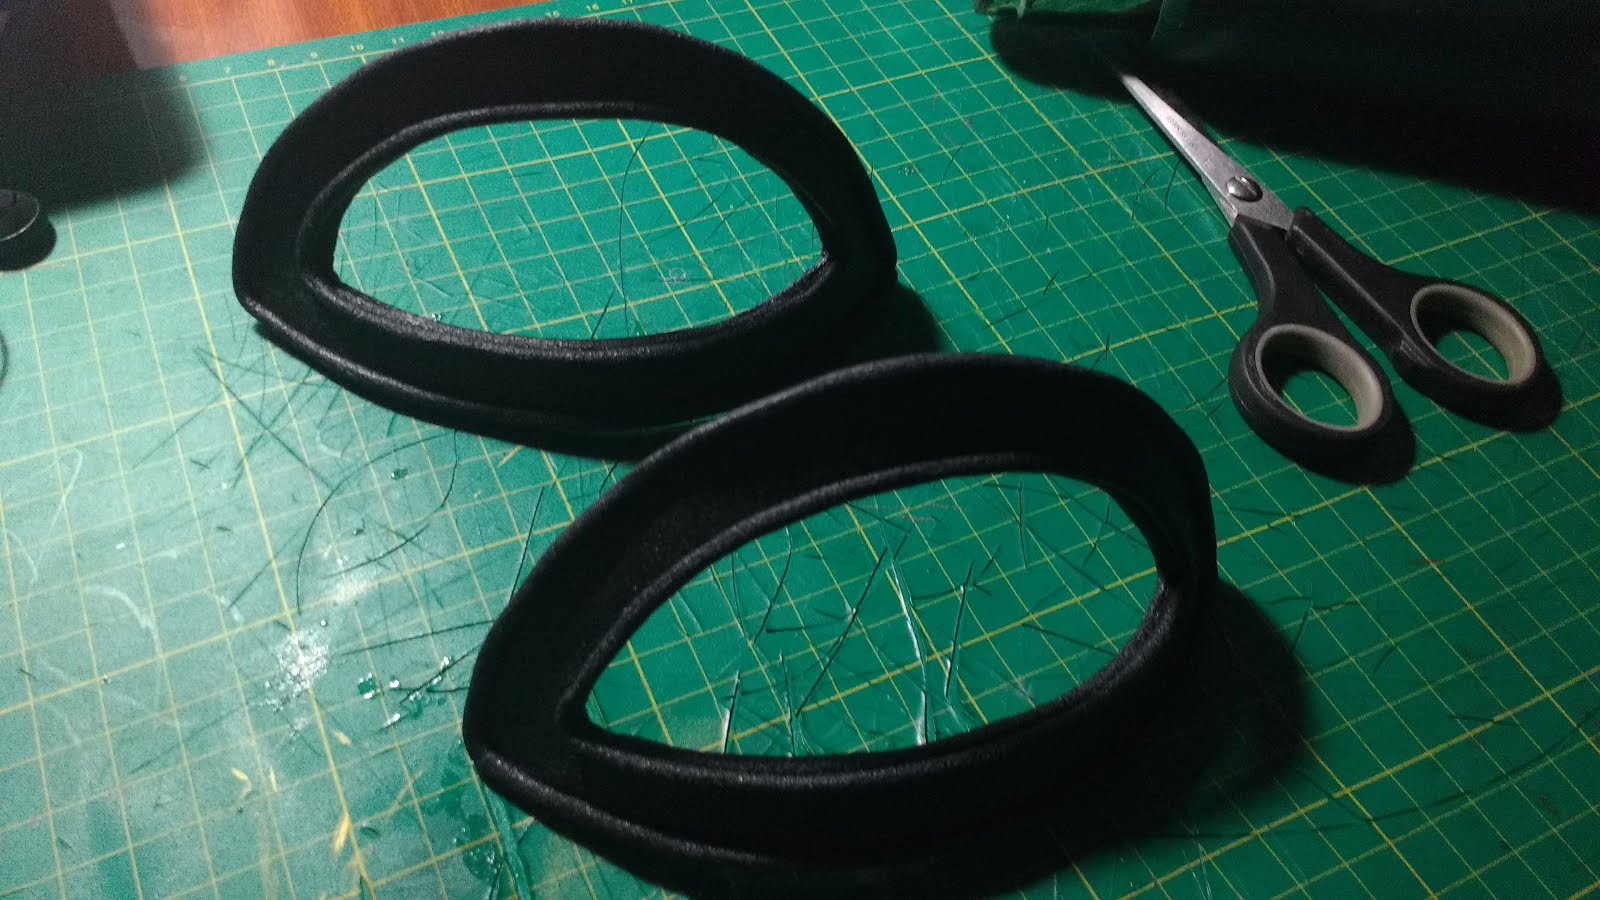
We have the hairpins that go to the sides and the one that covers the end of the braid, both come in two parts. They are pretty straight forward.
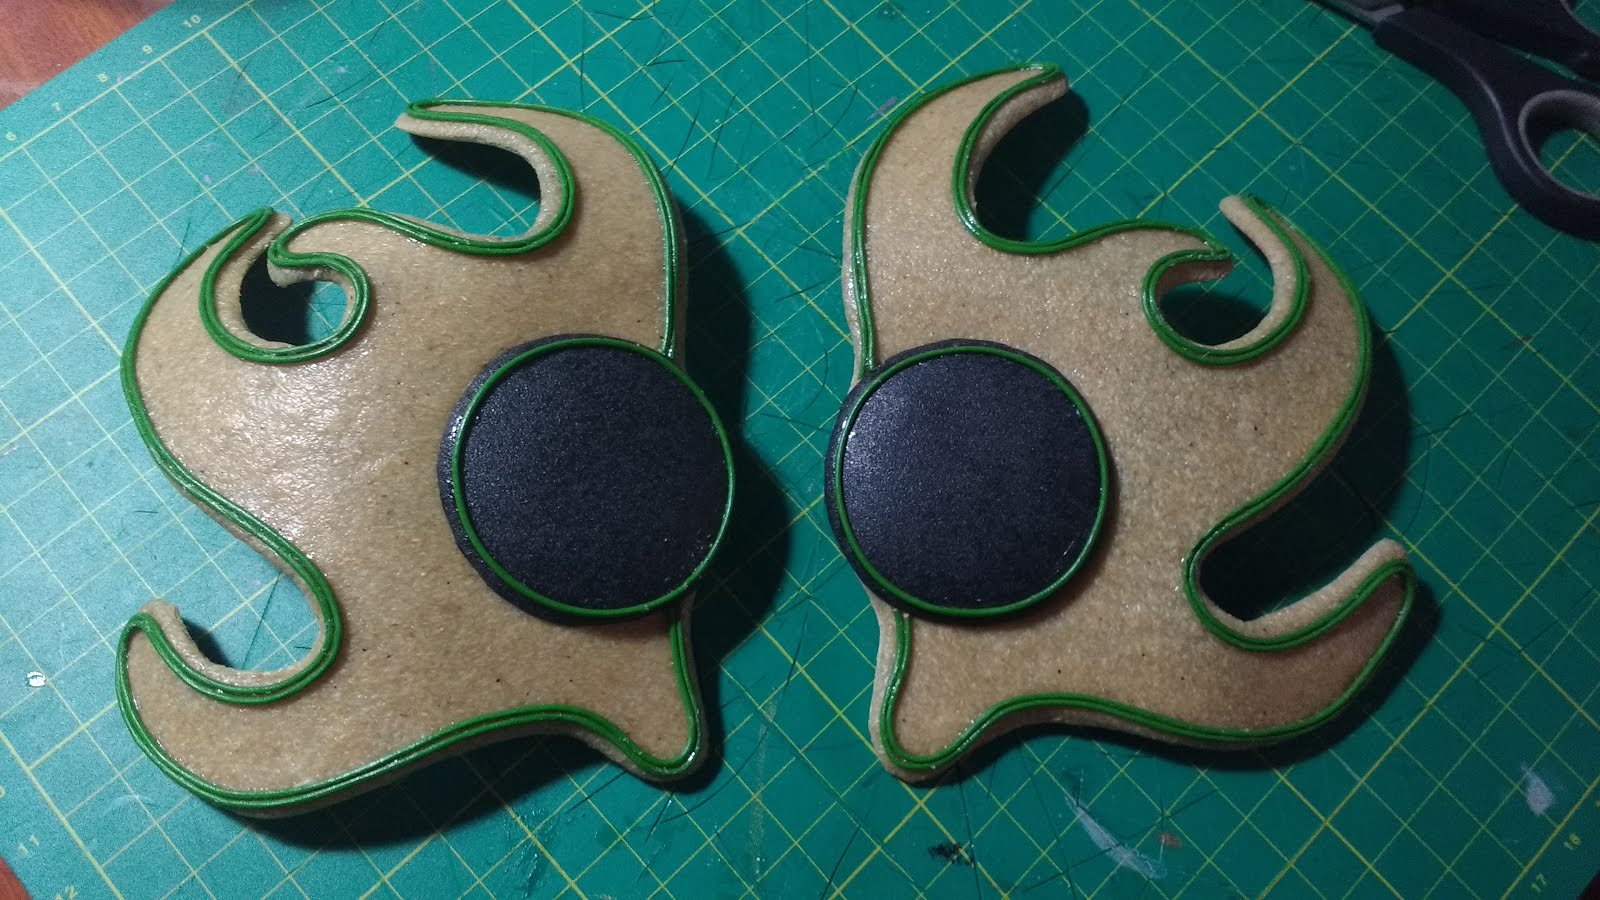
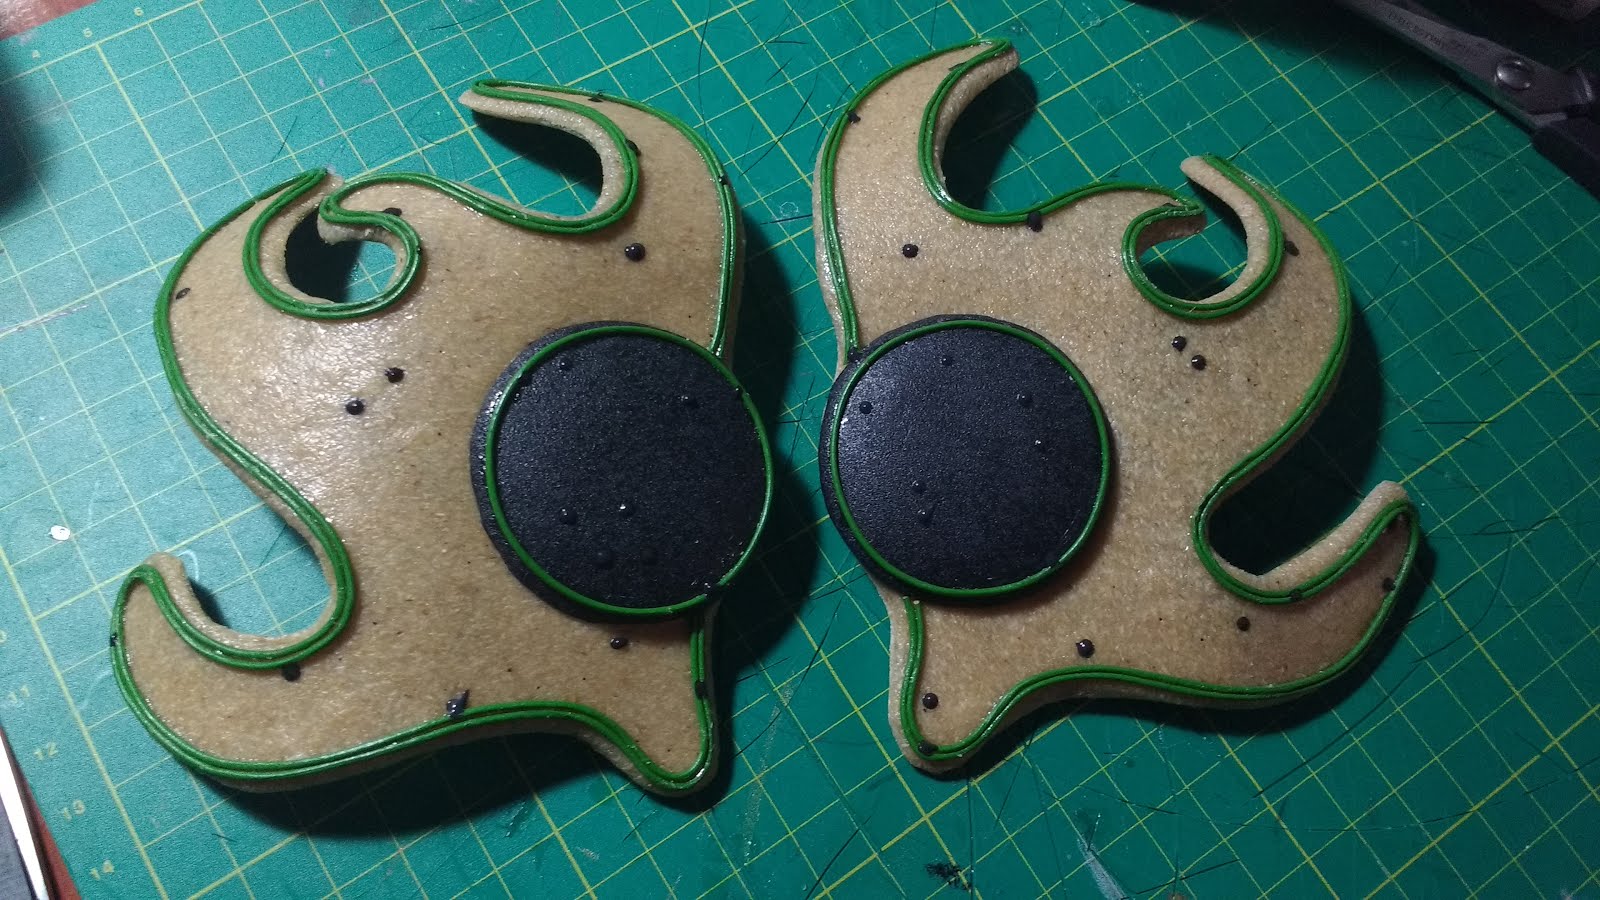
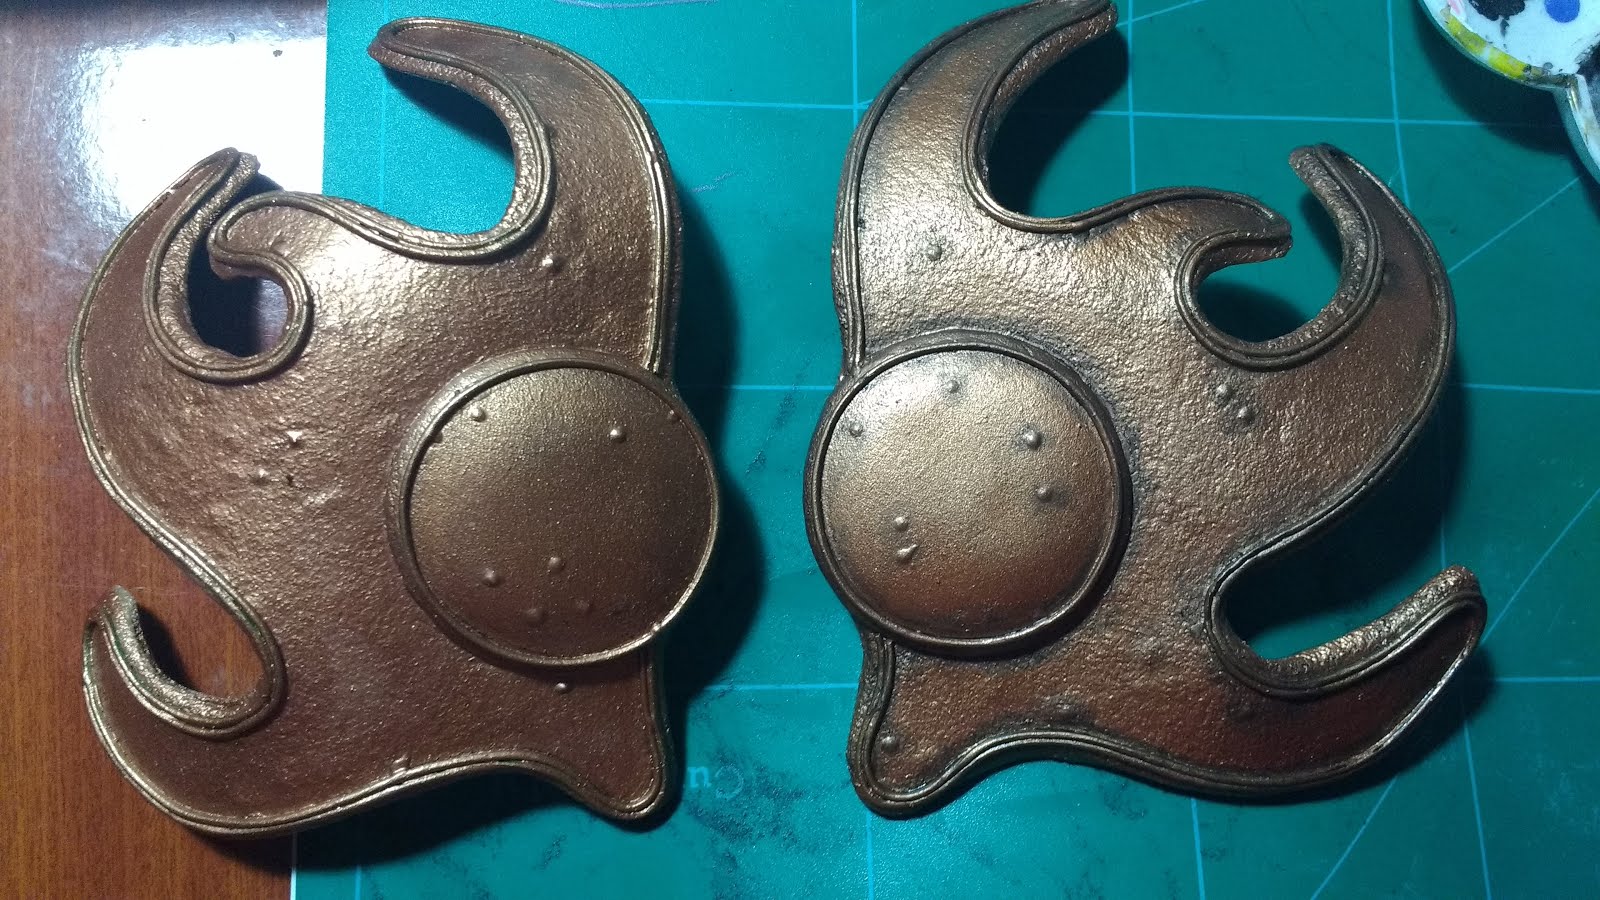
I used normal craft foam as a core, drew the pattern, cut it, and sandwiched it with classic worbla. For the round parts i did the same with more foam and black worbla and added smaller details with a very fine leather cord. Also, to make the surface uneven, like in the original costume, I added some details with 3D paint. Here you can see the difference, all the pieces have this little detail. I shaped slightly the edges and attached a clip to the back with more worbla.
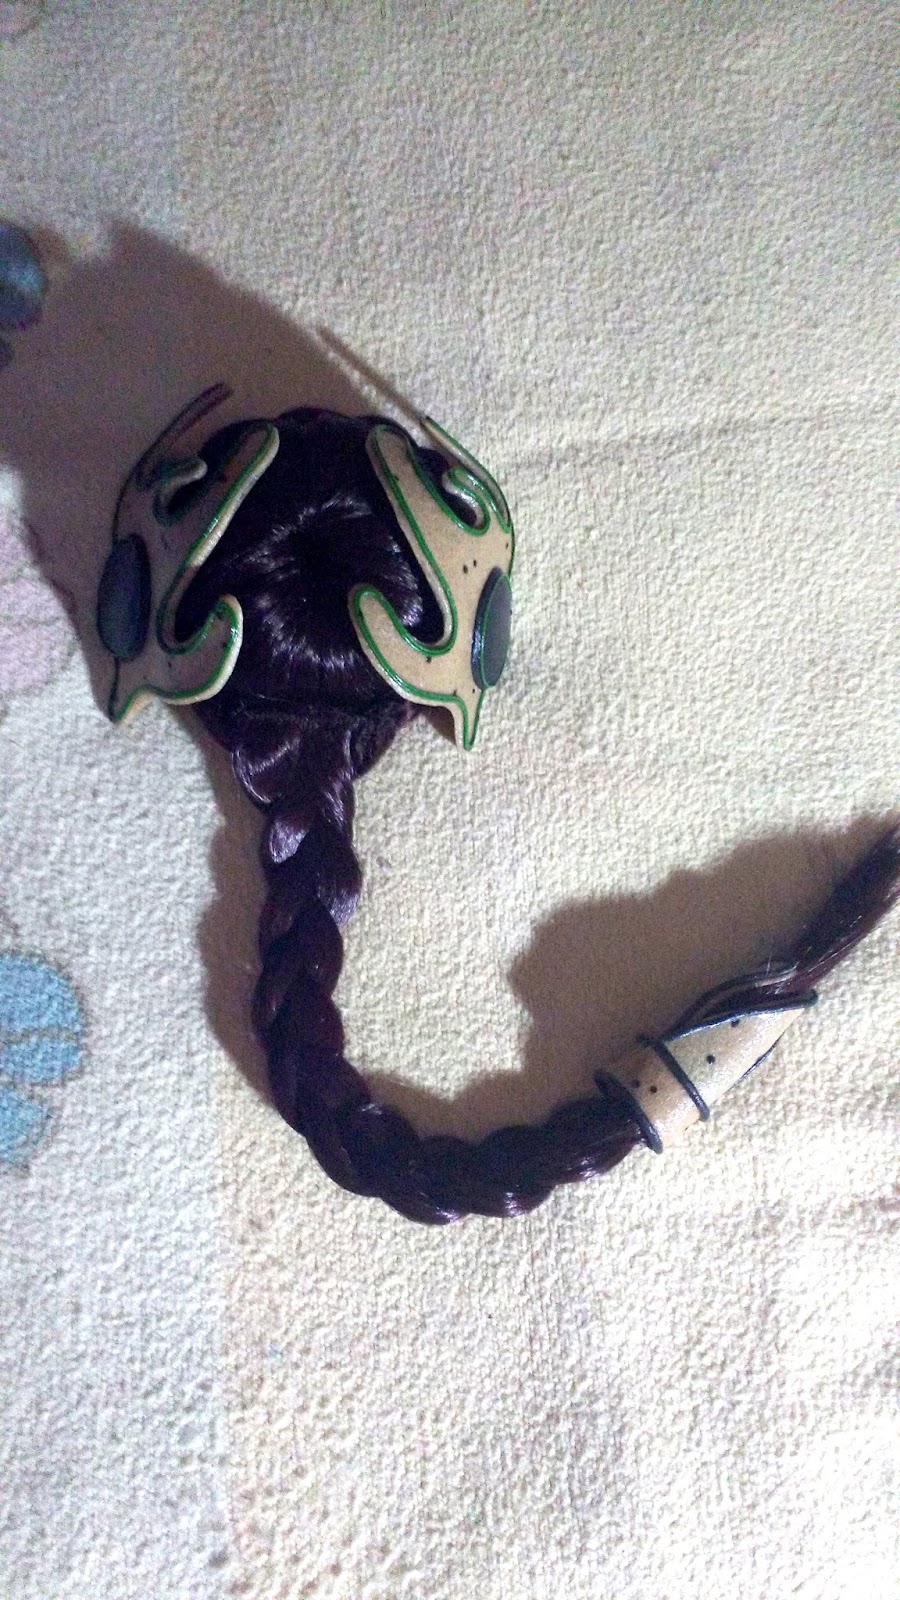
This part follows the same process, just adding the detail with rolled black worbla this time. To hold the braid inside I put some extra 5mm foam so the braid was tighter on the inside. The foam is springy so it holds it secure and you can remove it if needed.
Hair extensions
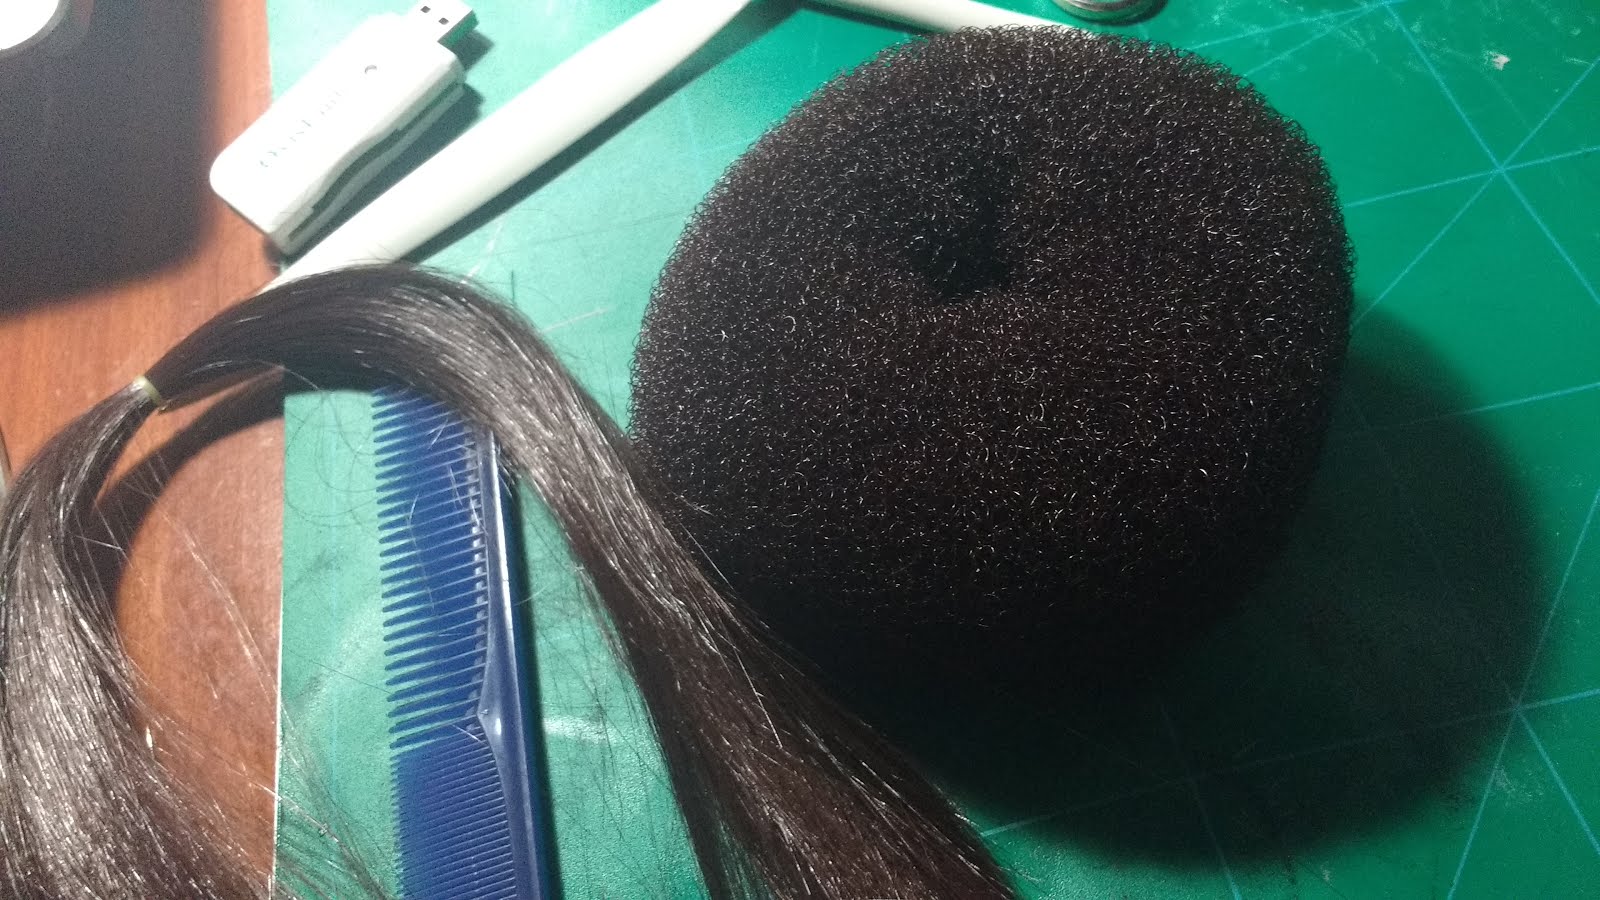
I had to do the hairstyle using several hair extensions. The base was one of those cheating doughnuts to make the bun. I placed the hair around the bun and I glued the excess at the bottom. I also used tons of hairspray to keep it there. Later, I covered the bottom with felt to secure it and I put a couple of clips at the back. It still needs bobby pins to attach it properly and safely. Finally, I glued a very long braid (or effectively two) around the bun.
Bracelets
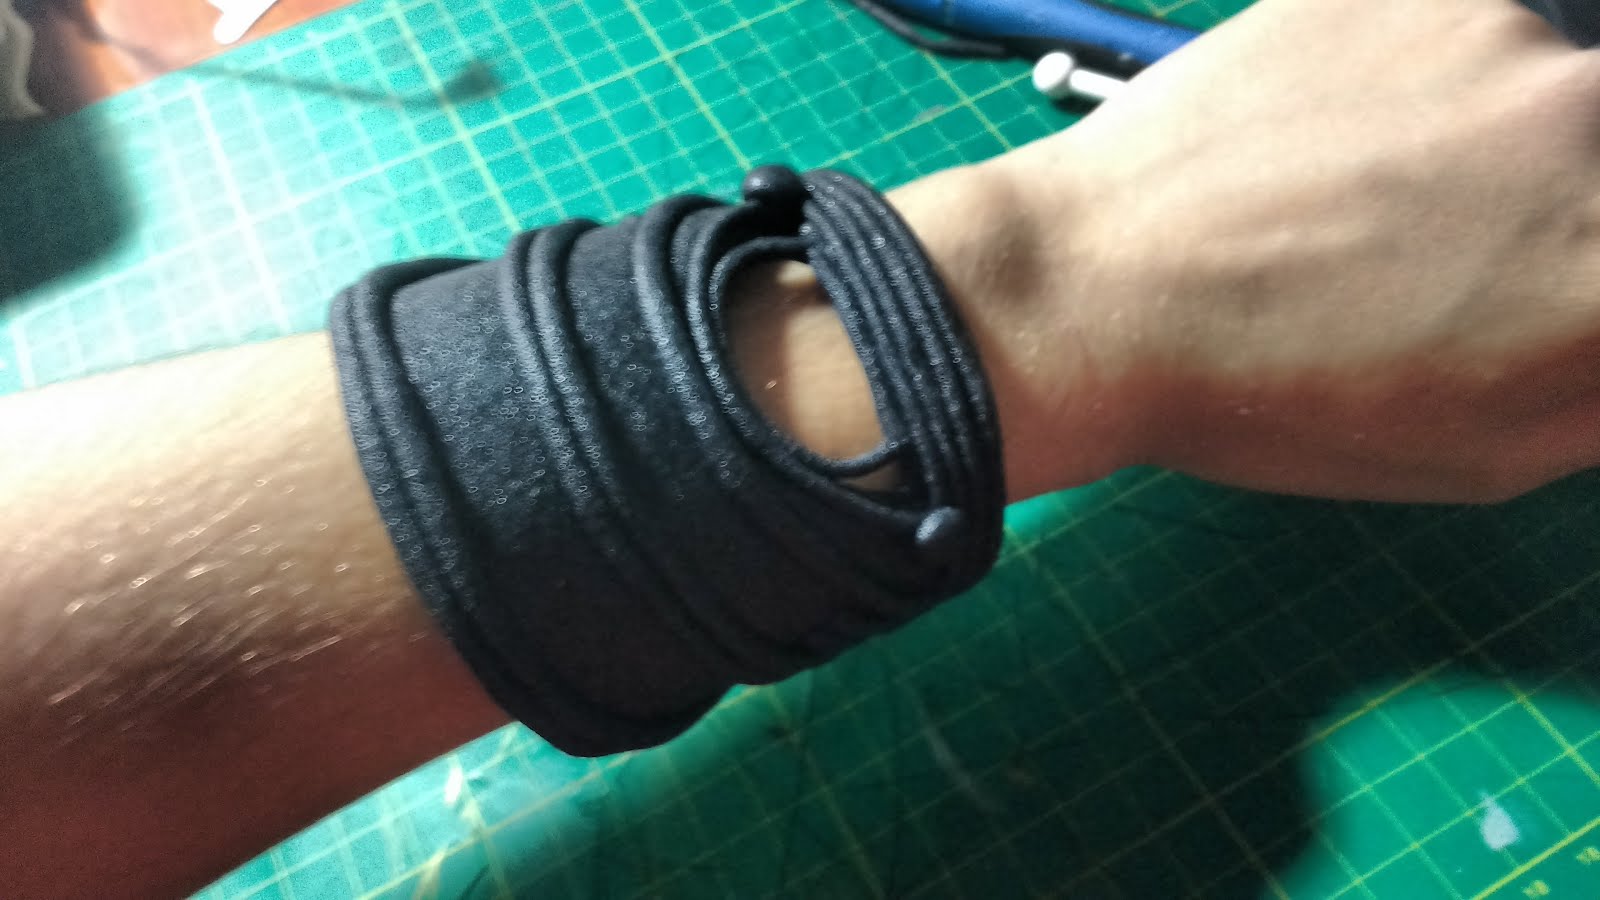
I totally forgot to take pictures of the snake like bracelet, but it was basically a long stripe of 5mm foam with rounded edges covered again in black worbla. The wrist one is basically more of the same process, foam core, sandwich, rolled details.
Boots
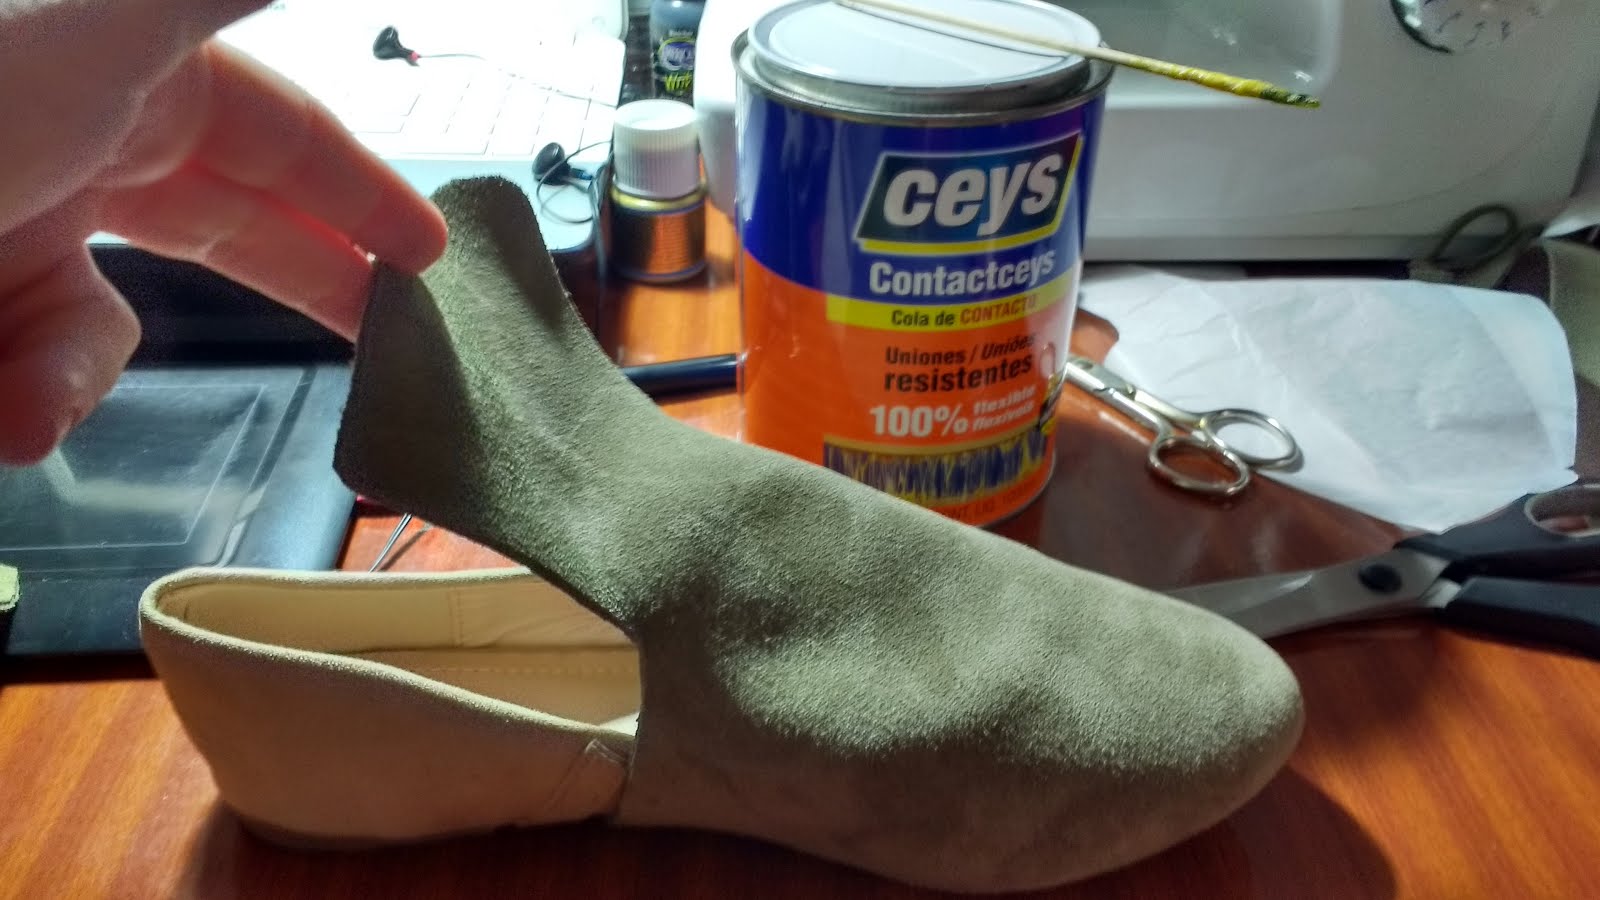
Oh yes, this was hell. Wearing the shoes that I was going to use I taped my leg with paper tape and drew the shape as I wanted it. Later on I cut it on split leather getting a pattern like the one above. You need a bit of trial and error to do this and I recommend you to try first on scrap fabric.
Then I used contact glue to attach the leather to the shoe. Make sure you have enough space to introduce your feet later on.
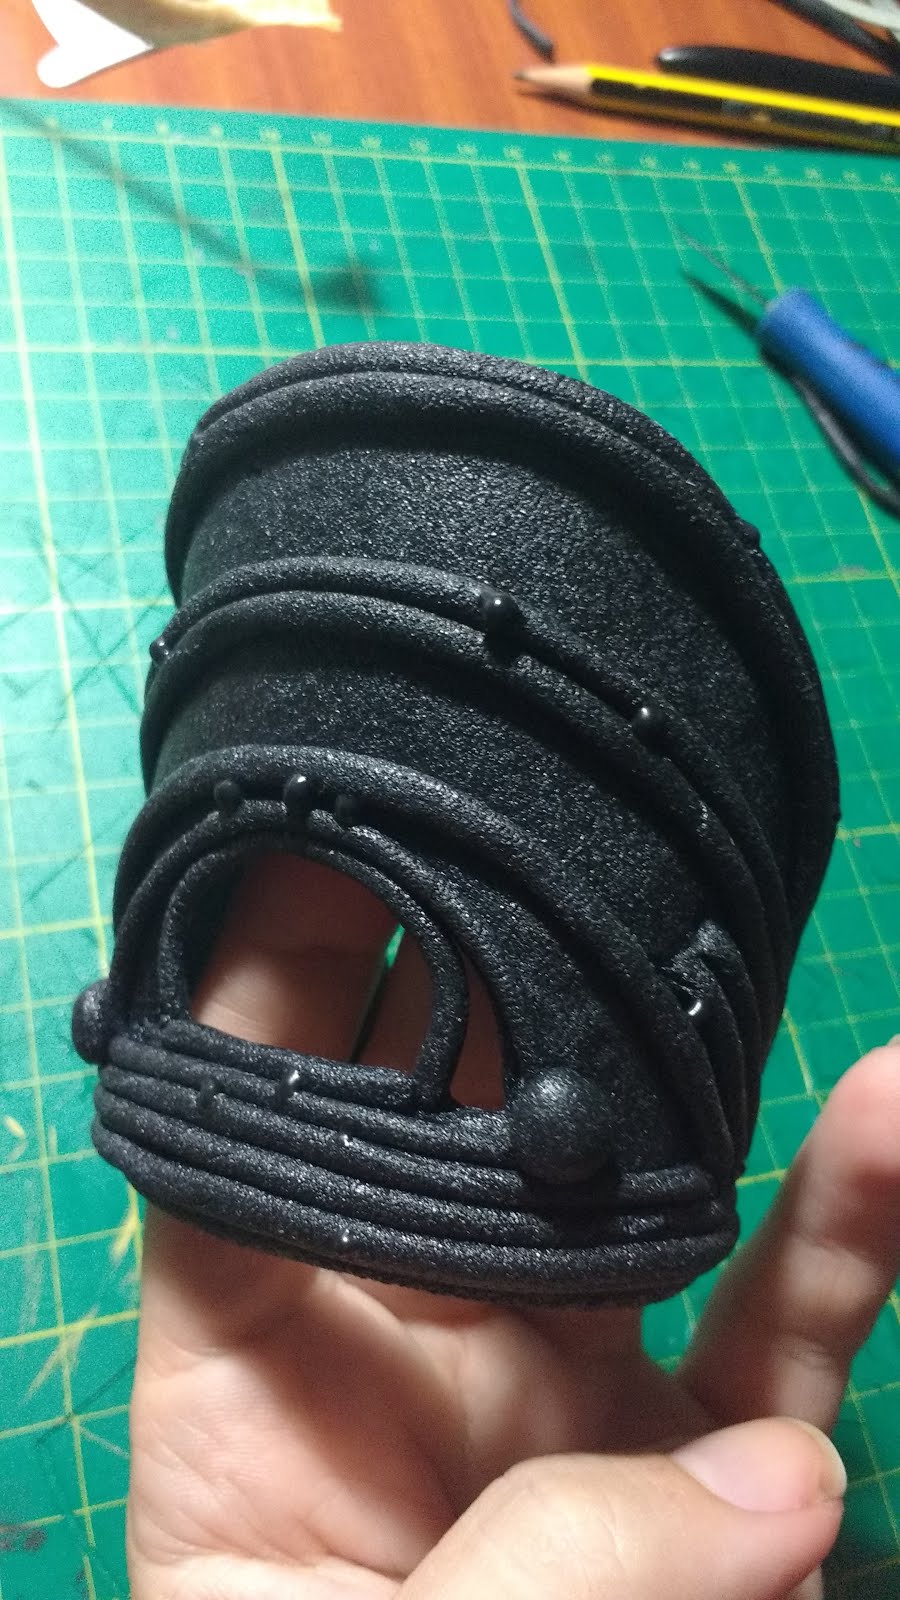
The embellishment was done in two parts. I carved the 5mm foam to shape it as I wanted plus a strip that would go around my leg. Then, I added extra details with more black worbla. I had to drill holes on the embellishment and the leather with a rotatory tool in order to sew it later. The bottom part is attached with cord and not sewn.
Painting process
And last but not least I painted the it all with a brass colour using my airbrush. Then, I added shadows to the recess with watered black paint to give it more depth.
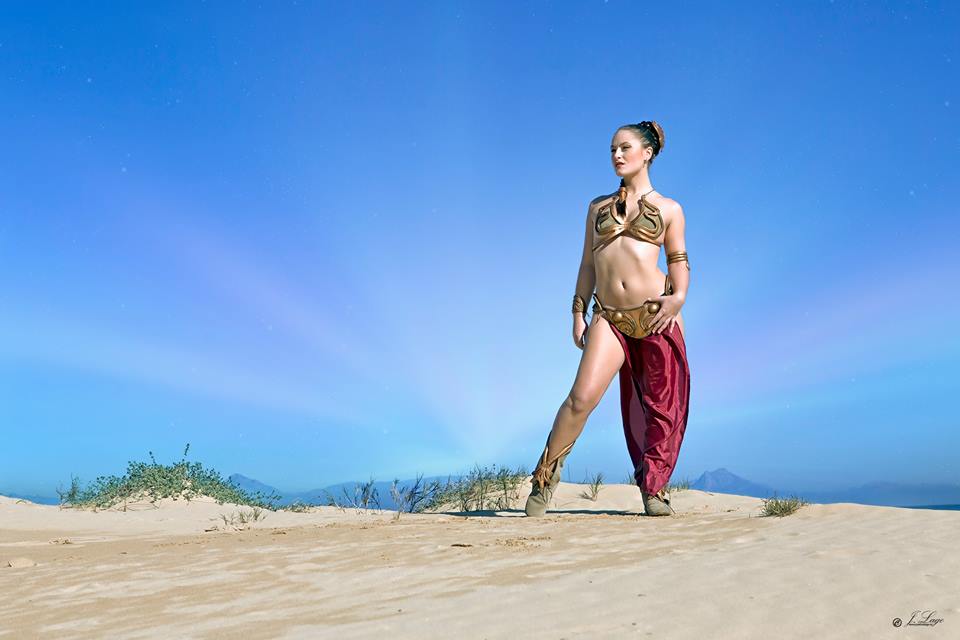
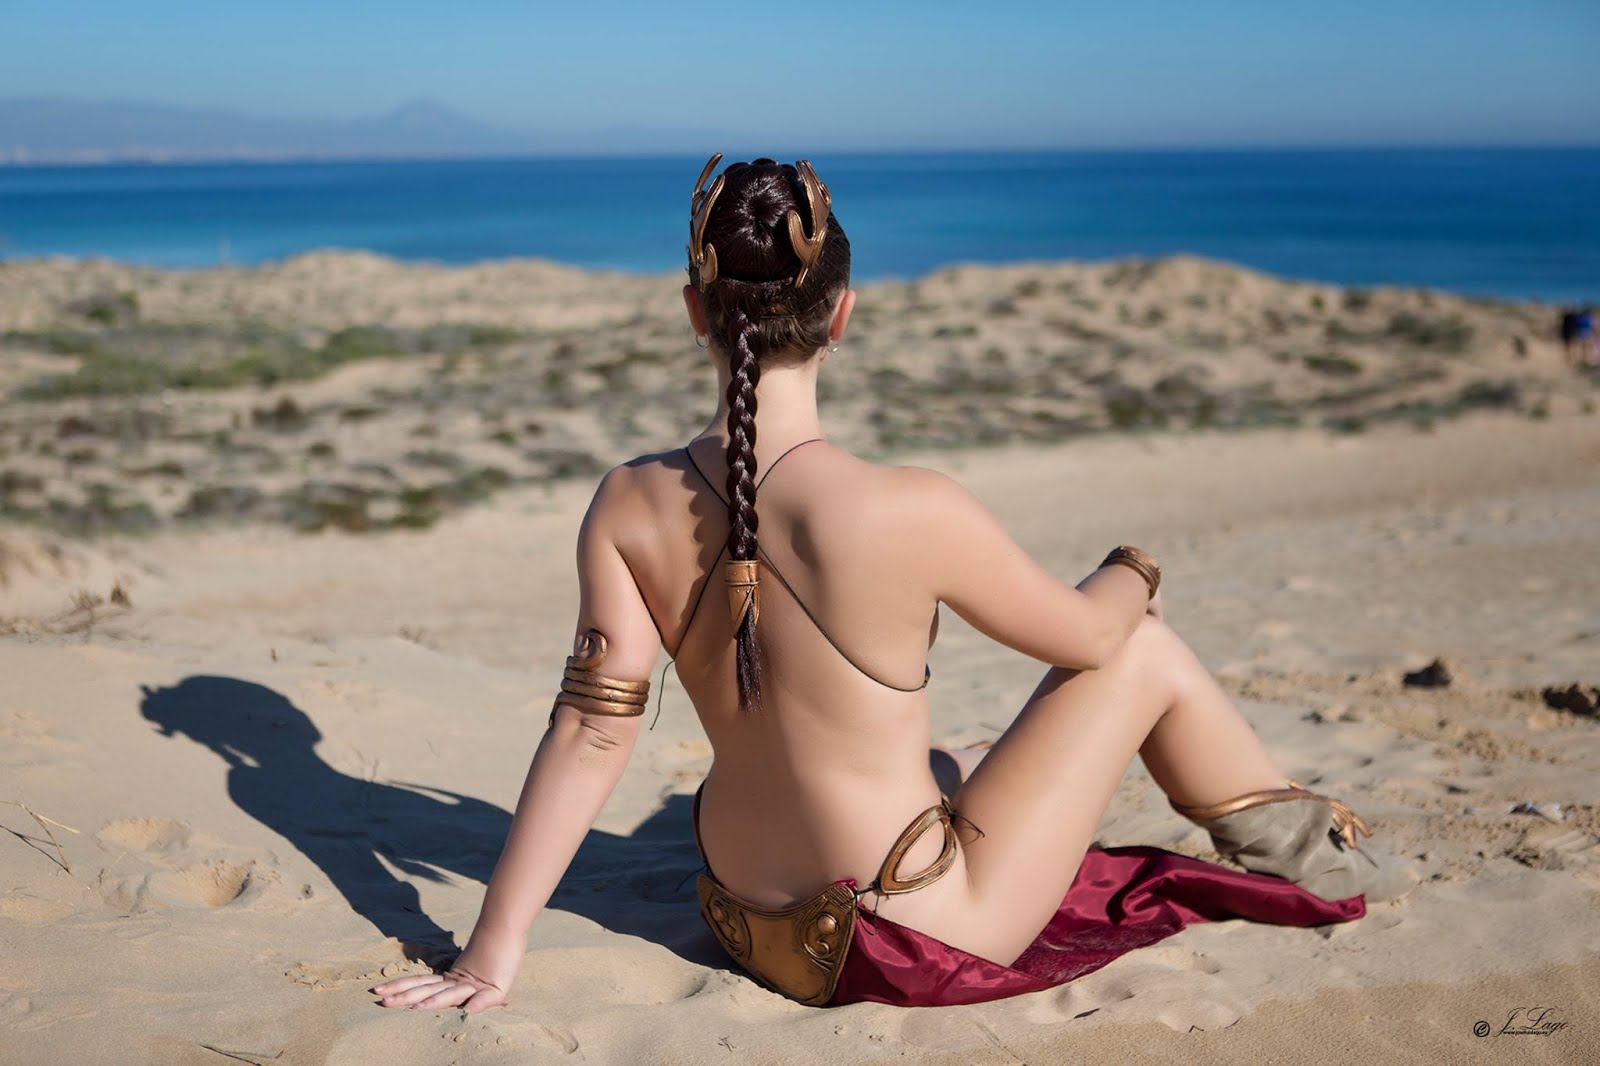
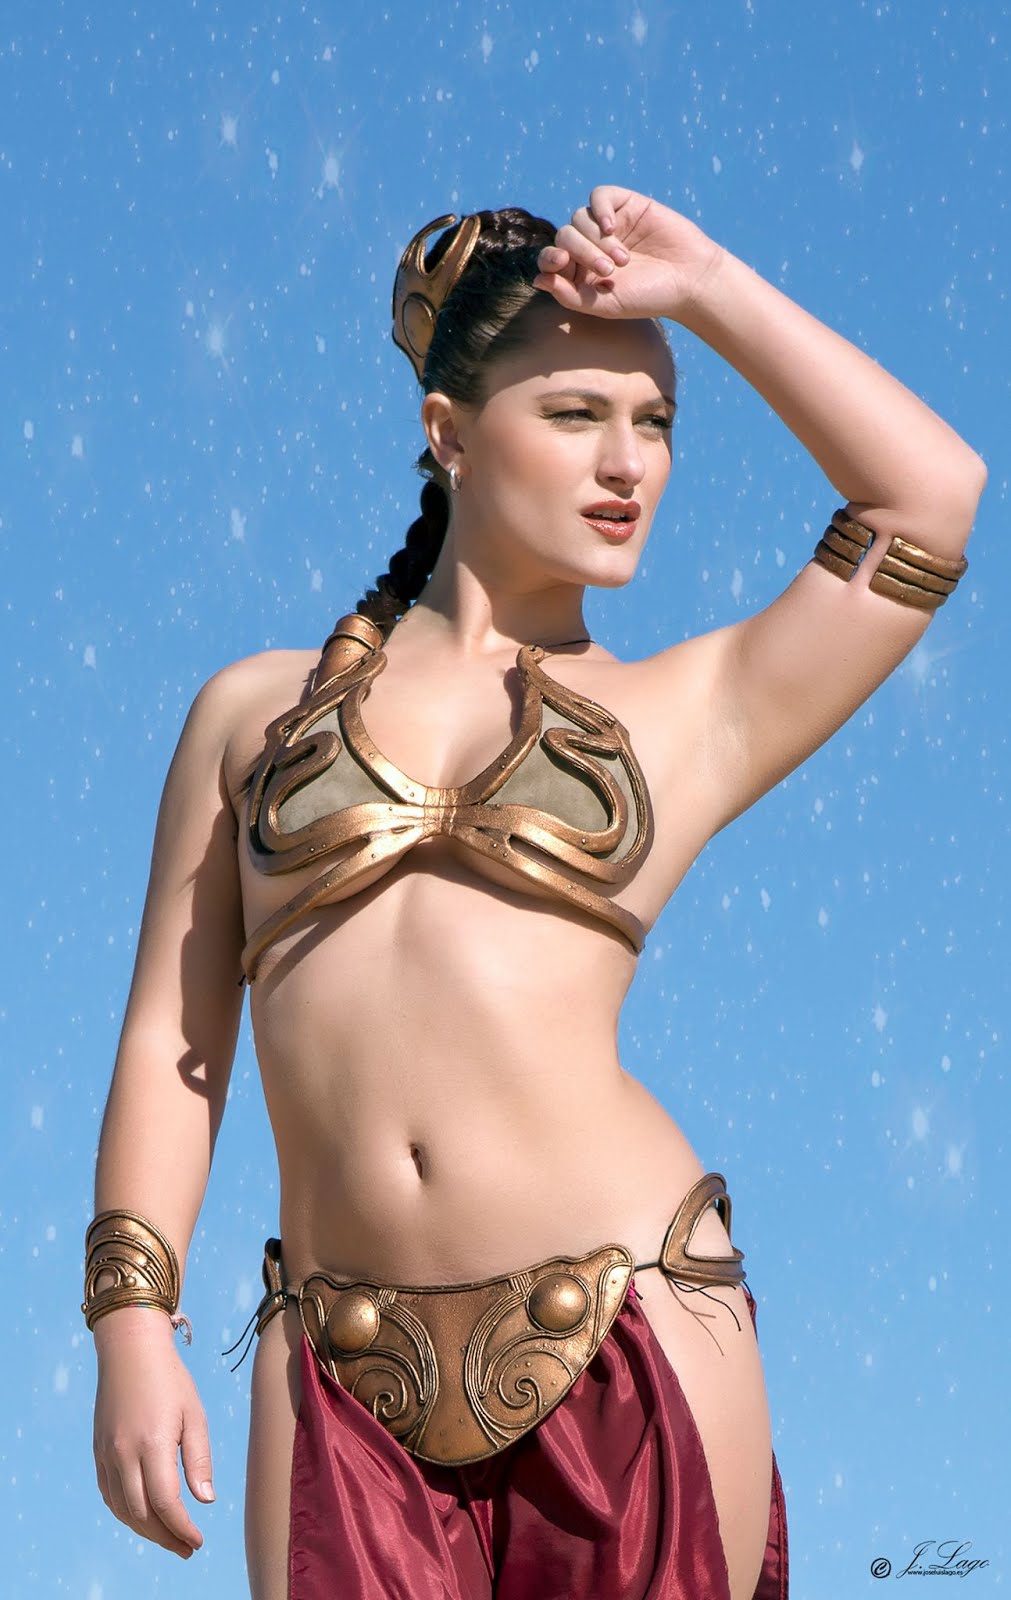
And this is the cosplay worn by Sara H. Pictures taken by Jose Luis Lago and make up by Lorena Cortés. The sandy beaches of my city were a perfect background for it.
Do you like my posts? Remember you can support my blog in many ways, using my affiliate links, buying me a Ko-fi, or visiting my Cosplay Store! Following me on my Social Media and sharing my posts helps too! With your help I can create more cosplays, articles and tutorials to share with you!

