Very recently I decided to make a devil cosplay. I made this foam bat wings tutorial and pattern to download to help you with your projects. They are very easy to make and comfortable to wear. Keep reading or scroll down to get the bat wings pattern.
How I made the wings
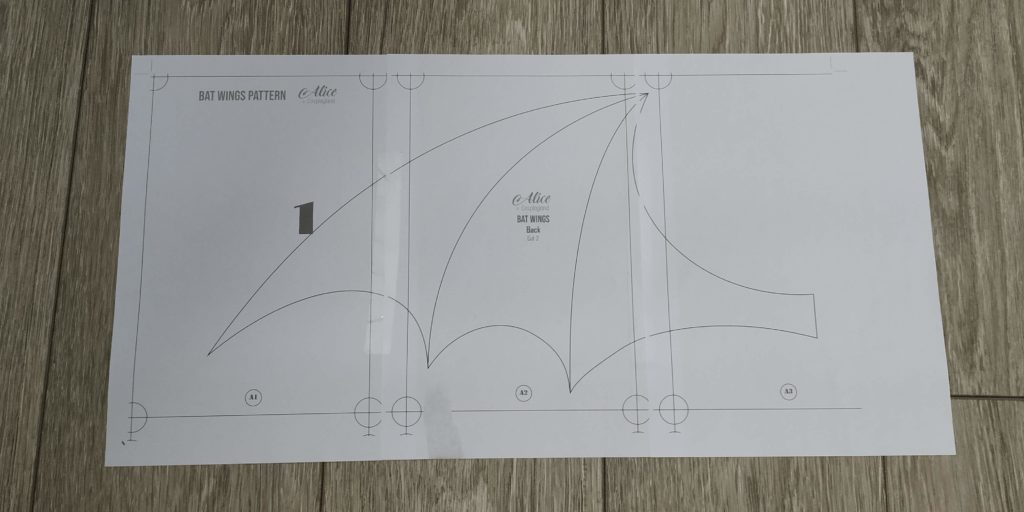
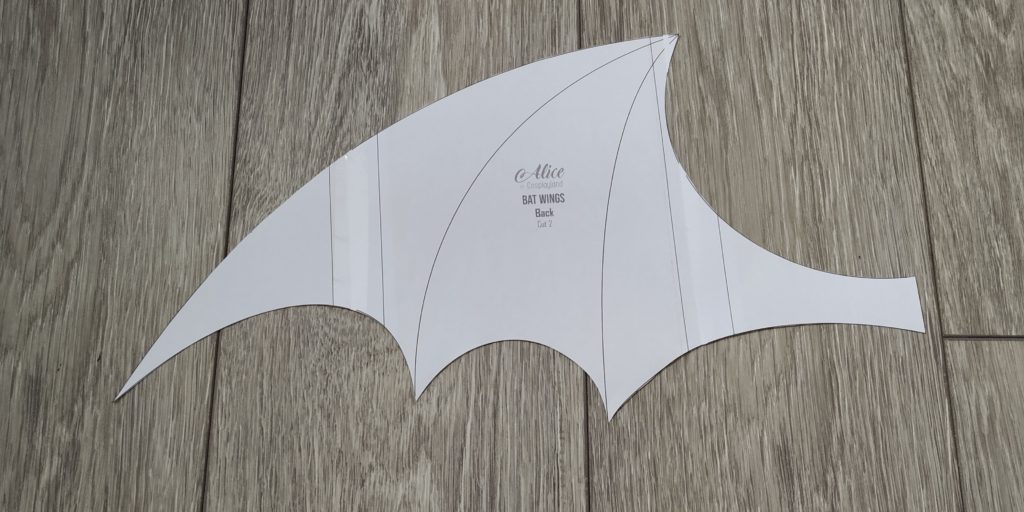
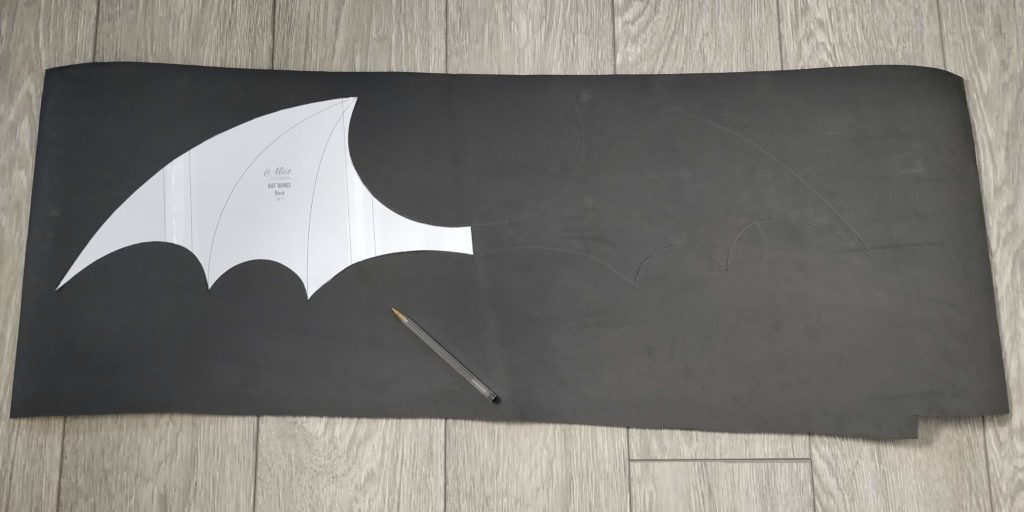
Making bat wings is very easy. You can draft your own pattern but if you don’t want to you can download my pattern below. Once you print the pages, assemble the pieces and cut the pattern. Then, use a pen to transfer the pattern to 5mm foam. I bought my foam at Poly-Props but there are many other shops where you can buy craft foam. Remember that you will have to draft the wings twice symmetrically so you will need a big sheet.
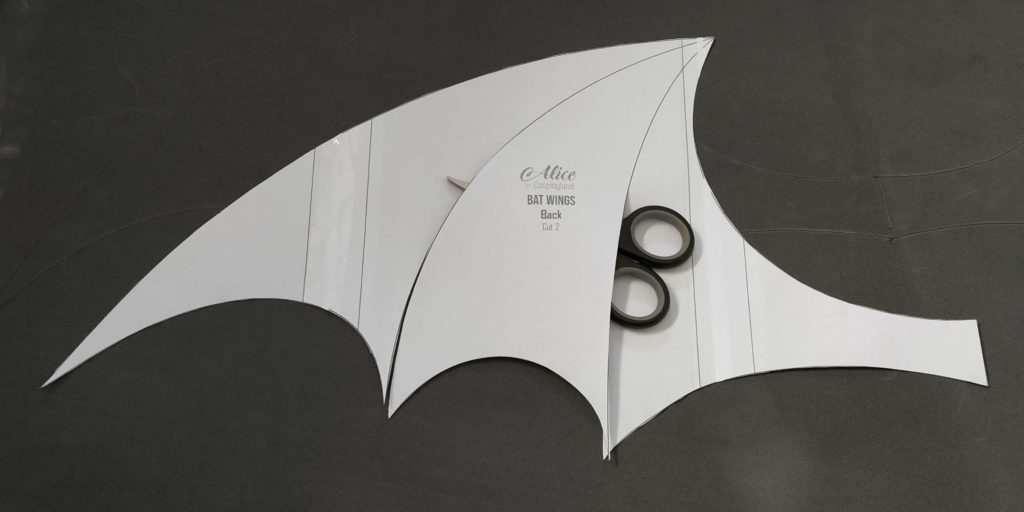
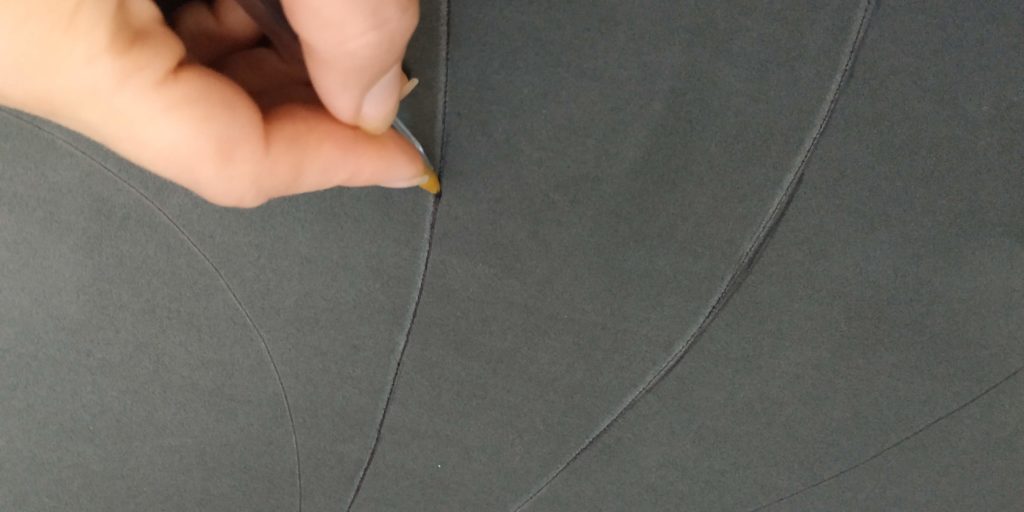

To get a more defined look, you can mark the ridges of the pattern with a ball pen or a pencil. Then, you just need to cut your wings with scissors or a craft knife. Don’t forget to use a cutting mat if you decide to go for the craft knife!
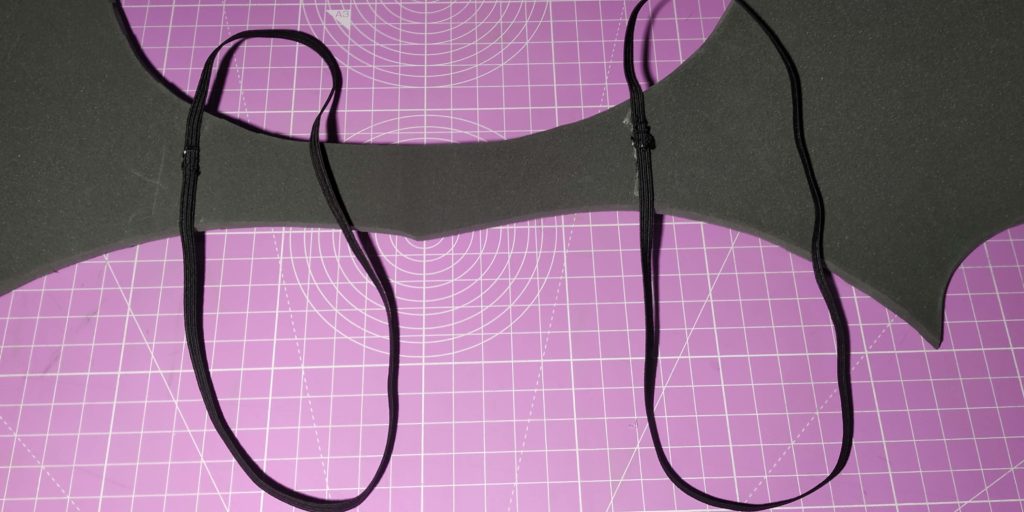
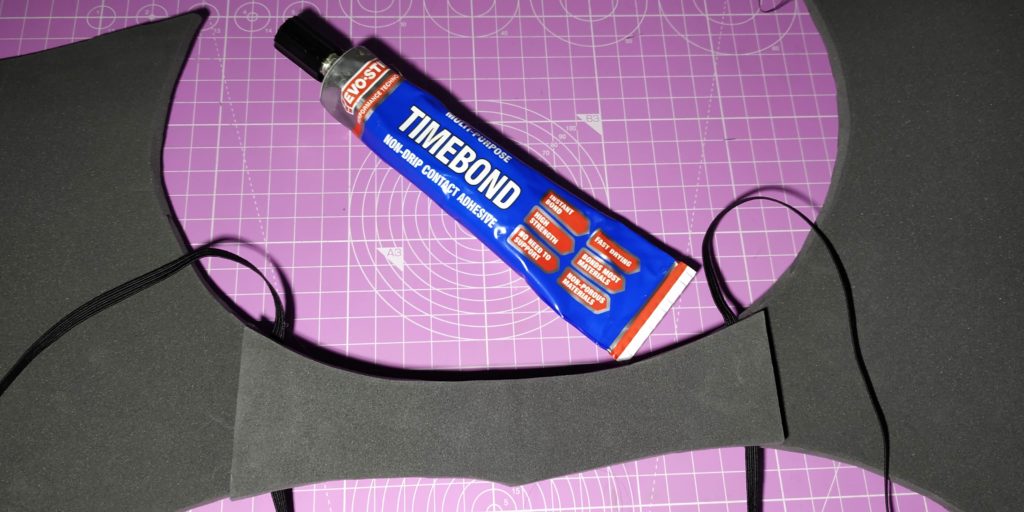
Next, I used two elastic bands to wear the wings. Also, in order to reinforce the structure, I added a second layer of foam to the back part.

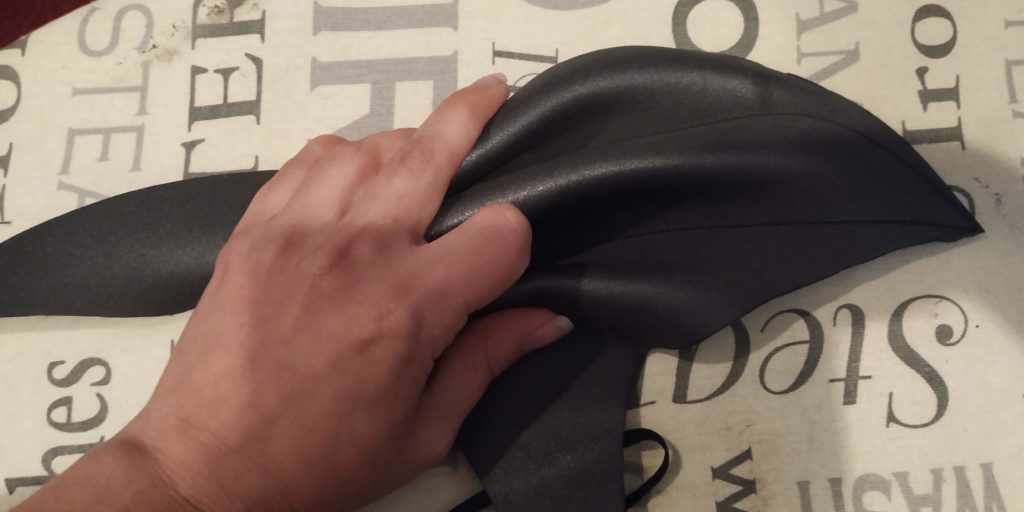
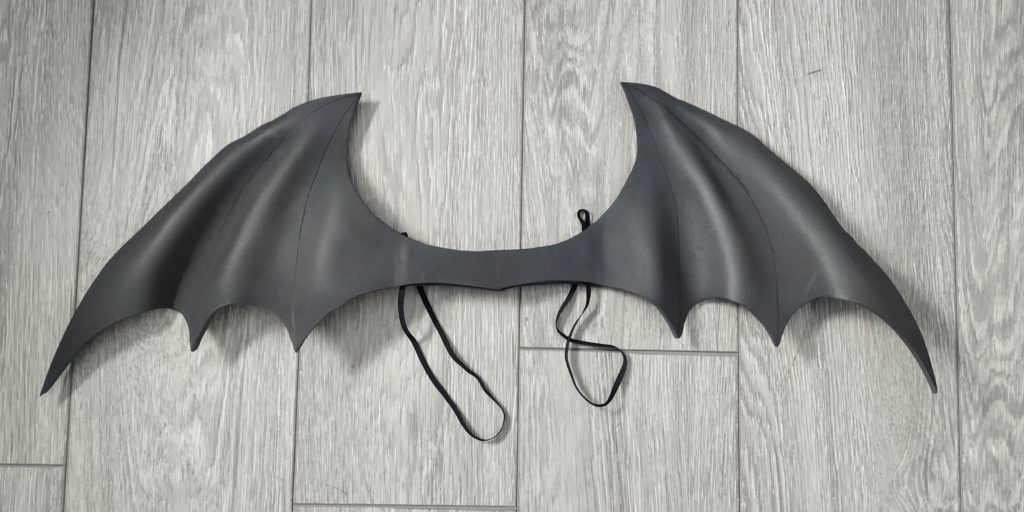
Finally, I used a heatgun to shape the ridges of the wings. If you don’t have a heatgun you can use a heater or a stove. However, it may take longer and it may not give you the same results. Remember to hold the ridges together when you heat them to keep the shape.

I forgot to take pictures of my wings while I was wearing them. In the end I gave them to my niece because she wanted to be a vampire. Having a cosplayer auntie is actually cool. The wings are comfortable to wear and very easy to build. If you use skin coloured fabric they will be virtually invisible! Here is the download link:

Remember to print the pages at 100% settings for adults or reduce the percentage for kids. Play with the patterns as much as you need. Also, remember that you can paint the wings any colour you like. Be creative.