I know this question may look silly but believe me, I have been there. When I first started sewing I didn’t know anything about sewing. If someone hadn’t pointed me on the right direction I would still be playing tetris with my patterns and probably I wouldn’t be the seamstress I am today.
This post is a quick guide on how to assemble your patterns with ease and in the least amount of time. It used to take me hours to cut and assemble a pattern because I was taking lots of unnecessary steps. Now I can get all cut and sewn in no time.

Step 1. Trace, cut and don’t forget your notches
The first thing you need to do is transfer your pattern to the fabric. Remember that your patterns are symmetric so you can fold your fabric and cut them in one go!
Difficult patterns will have notches, little markings that help you match up your pieces, they are specially useful sewing curved areas, make sure you match them whenever you find them. In my case, I used none as all my seams were pretty straight forward.

Step 2. Close your darts, all of them!
I used to close the darts one by one. I pinned a dart, sew it, looked at it, pinned the next one, sew it, … no! Close them all and sew them all. If you close all the darts at the same time you will save a lot of time.
Some patterns won’t have darts but will have several pieces instead, again, pin together as many pieces as you can to make a block and sew them, no hesitation, just keep sewing.

Step 3. Don’t be lazy, add the zipper, now
I hate zippers, everybody hates zippers, I used to leave them last. In fact, I constructed my whole piece, tried it, realised that it didn’t work because I couldn’t close it, spend a whole half an hour just trying to pin something that would have closed straight away if I had sewn the zipper first, give up and go back to my sewing machine to guess what, sew the zipper.
I know you hate them, I do too, just do it, and be happy that it is done.
If you are adding buttons or snaps you don’t need to add them now, as you can pin the item while you try them, but make sure the rest of the pattern is well sewn so the garment is true when you fit it
NOTE: Are you adding a neck? If you are, you may want to postpone the zipper depending on the style

Step 4. Secure the zipper, don’t get stuck
You may as well. After all, you have already changed your foot to fit that zipper in place, let’s use it so you can get rid of that infernal thing as soon as possible. Plus, you don’t want your zipper stuck because you didn’t attach it properly, do you?

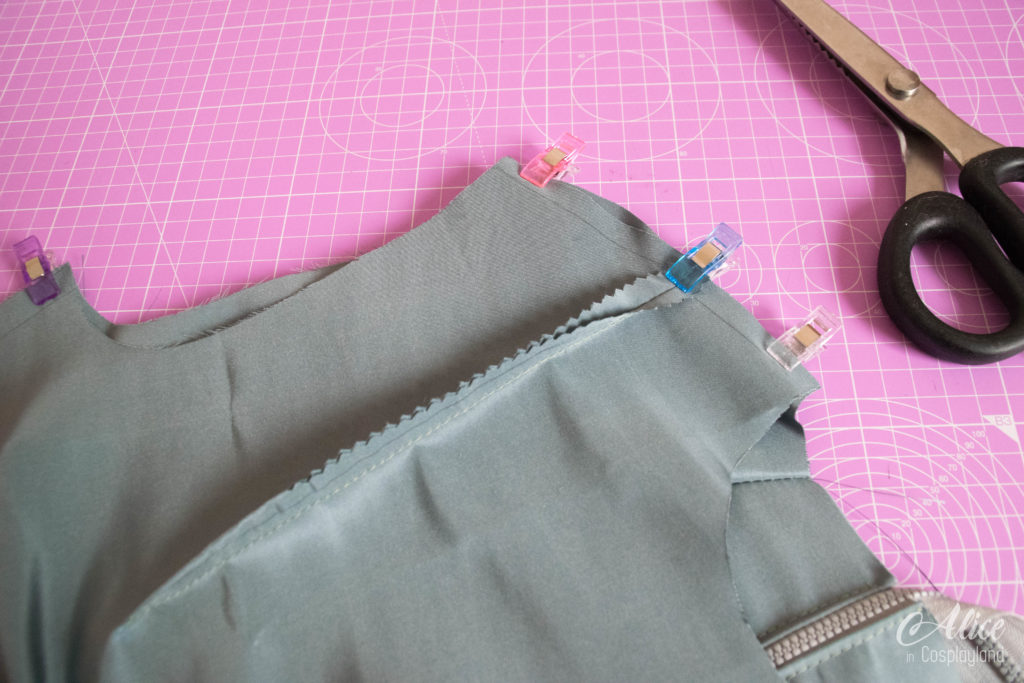
Step 5. Open the seams, keep it flat
You will get to a point in which seams get stitched over previous seams, you want to open those seams or at least keep them as flat as you can. There is nothing worse than trying to sew over bulky seams with folded fabric, saying your prayers so the needle doesn’t snap and hit your eye (I have nightmares with this ok?)
If you have the time use your iron, if not (pfff, please), you can flatten the tip with a ruler just enough to pin it in place.

Step 6. Sew whatever is left and say your prayers
That’s it, you have managed to finish your base pattern, and you didn’t have to get up from your chair once! Now is the time to say your prayers and see how good your pattern fits, you may want to bast your sides if you are unsure of the fit. In my case I find that 90% of the time any adjustments are done on the sides.
Step 7. Adjust and finish
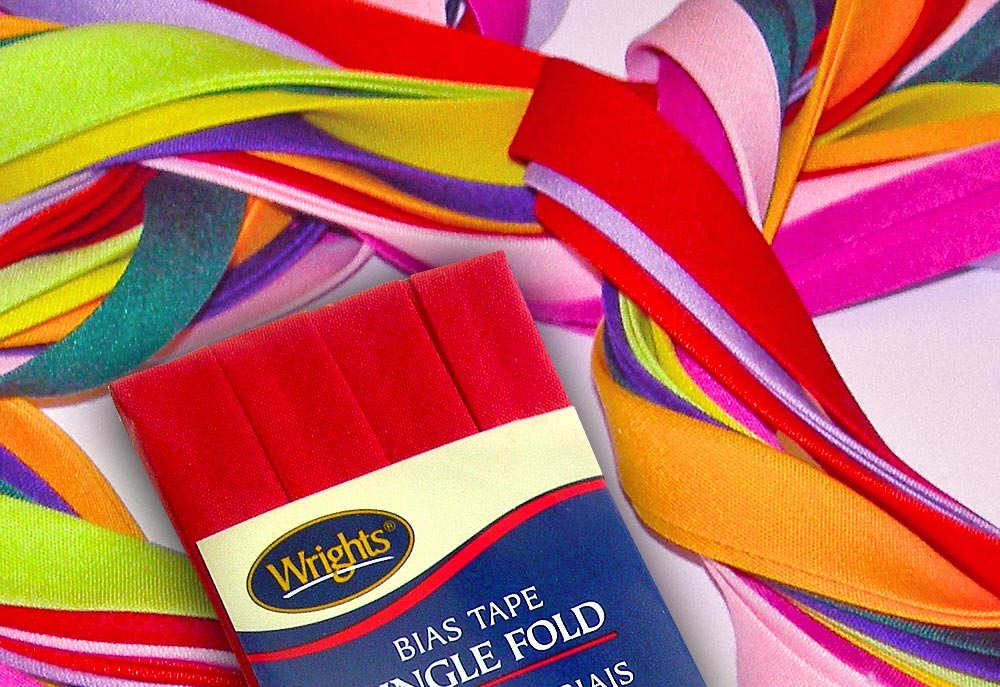
Now you are left with that wonderful step of trying, adjusting and trying again until you are happy with your pattern. When you are happy with your masterpiece you can finish your hems, add bias tape, lining or vistas and make all those other things that make your cosplays look awesome and I will explain to you another time