Foam is one of the most basic materials used in cosplay. Thanks to its properties it is very easy to cut, shape and make it become anything you can imagine. This material is also cheaper and easier to use than other materials like worbla. Today I will show you how to make armour pieces with foam.
Also, if you are a complete cosplay beginner make sure to check my article on Cosplay for beginners and familiarise yourself with some techniques and terms before you commit and buy lots of meters of foam for your cosplay. Remember that as well as armour, your cosplay will need fabric pieces, make up, probably a wig and many other bits.
This material is easy to work with but you will still need to practice with it to get the best results. If you are pretty new to foam you may want to check first my Introduction to craft foam for cosplay. The article itself is a bit outdated and I will be remaking it soon. However, it still makes a good start if you are new to the hobby, and it is both in English and Spanish (for a limited time).
The pattern
I always start all my cosplays with a pattern on paper. I usually begin drafting with a pencil to get my proportions right. Also, I keep testing it with the part of my body I want to cover to make sure it is right. Here I am making armour for my arms . Remember that if your pattern is symmetrical you only need to do half of it and fold a piece of paper in half to get the other side perfectly even.
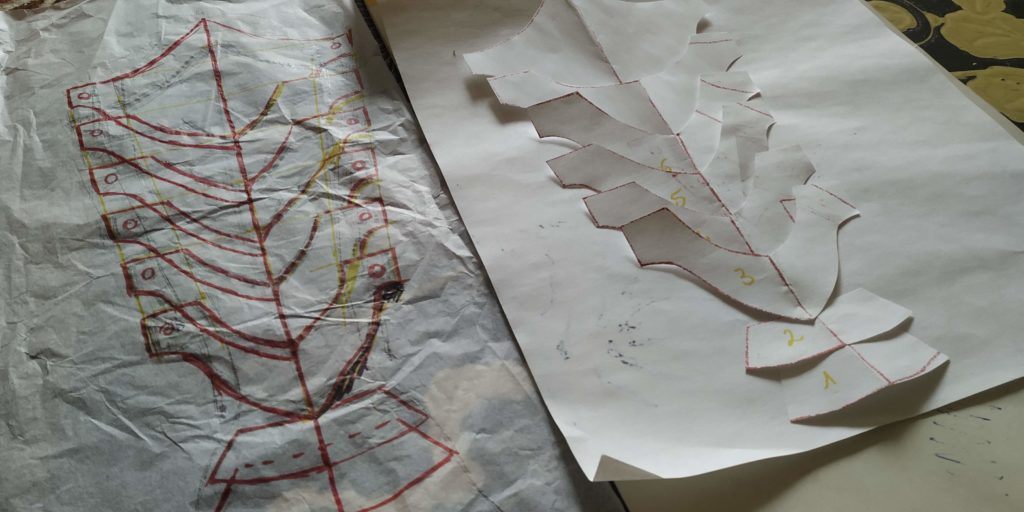
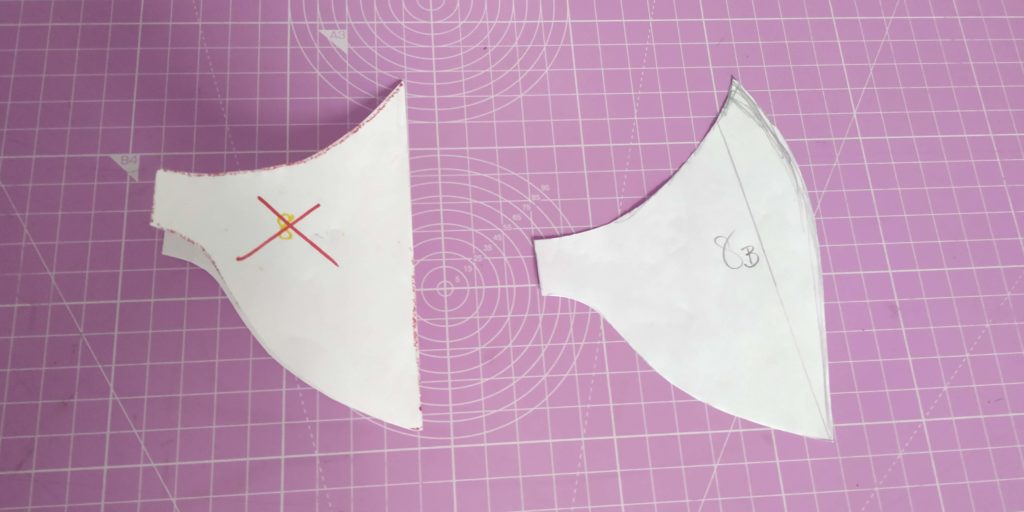
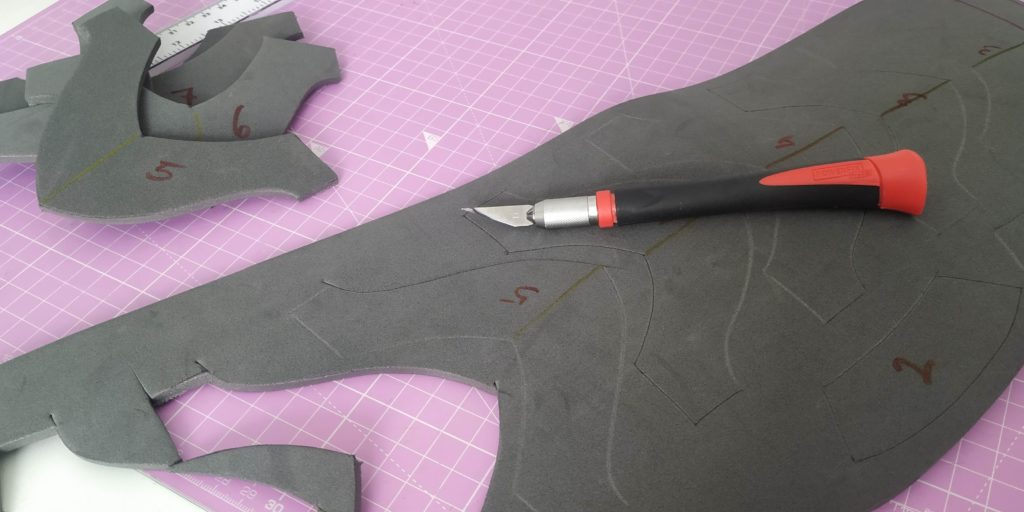
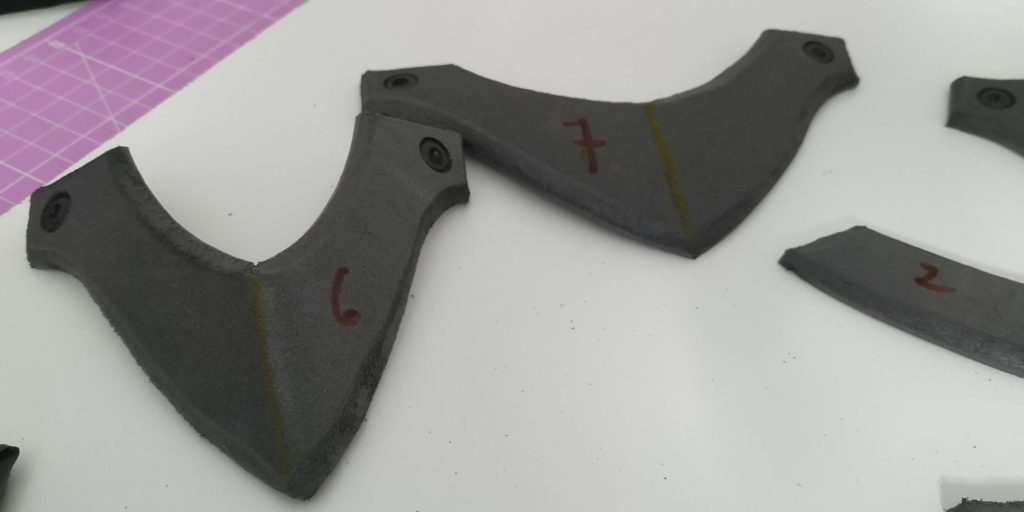
Making the pattern takes some trial and error and several prototypes. Not all your patterns will be flat and straight forwards, some of them will need extra volume. Start by adding a few centimeters to the pieces that need the volume and adjust. Once you are happy with it go ahead, trace your pieces on your foam, including markings, and use a sharp craft knife or a box cutter to cut it. Don’t forget to name or number your pieces to make them easier to assemble. My favourite width is 5mm foam as it is both thin and sturdy but there are many thicknesses that you can choose depending on you project.
Glueing pieces and fixing gaps
Very often, you will need to glue pieces together to create a specific shape. This is where your markings come in handy, specially for bigger pieces. My preferred method to glue foam is with contact adhesive. It is fast and clean and has the best bonding results. Remember to cut your pieces at an angle if your joints are very sharp. Also, test how your pieces fit before you glue them so you can modify them accordingly.


Once your piece is glued cut any excess and get ready to smooth any sharp edges on the next step. Also, if there is any gaps or holes you need to fix, you can use a flexible filler to make them perfect. Here I am using Flexi Filler but there are many other options to do this.
Sanding and bevelling
Many people think that using the pieces as they are is enough. Don’t get me wrong, it is enough, but for a better finish you may want to sand the edges of your foam. I use a rotary tool to do this. I first start with a harsher sanding paper and then move to a finer one. You could even go ahead and finish with wet sanding for a perfectly smooth surface, but very often this won’t be necessary.


Adding details
There are many ways of adding details, they deserve a full article just to talk about them. A typical trick is to glue extra pieces on top of your base layer. Here, I added round indents with the rotary tool to simulate screws. I also used my pirographer to create creases on the back which help you get a crisp pointy finish at the front. You can also use it for decorations if you prefer.


Shaping foam
Foam is very flexible and will easily adapt to your body or any shape you need. However, if you want it to keep the shape you chose for it, you are going to need heat. A heatgun is probably the best solution. You can use plastic domes or jars to give them a curved look, if you don’t have one handy feel free to use your knees, legs or anything else you have around. Foam gets cold very quickly and you can handle it without getting burnt after just a few seconds.


Furthermore, when you use the heatgun on top of your foam you are slightly melting its surface. This makes the surface smooth and much easier to paint later on. Do not skip this step if you want good results. If your piece didn’t go according to plan feel free to reheat as many times as you need, but remember that you may also flatten any previous shape you created beforehand.
Final results
Of course, how well your armour pieces look will depend on several factors like how much time you spent working on your piece, how much experience you have, how crafty you are or how good your foam is. Do not despair if your first armour doesn’t look right, it takes time to improve. Once you are happy with all your pieces you can go to the next stages of priming, painting and weathering, but that is a story for another tutorial!

If you are really into cosplay why don’t you check my Cosplay Planner. It has lots of useful pages to plan your cosplays, conventions and photoshoots, as well as several agendas. Furthermore, visit my pattern downloadables if you need some help with your cosplay patterns and full instructions on how to sew your patterns.

Also, if you really liked this article on how to make armour pieces with foam you can say thanks visiting my Ko-Fi page. There are no subscriptions and it helps me work on more tutorials and articles for you. You can also write a comment here and show your support, that is fine with me too. Let me know what you think and don’t forget to share. Happy crafting!