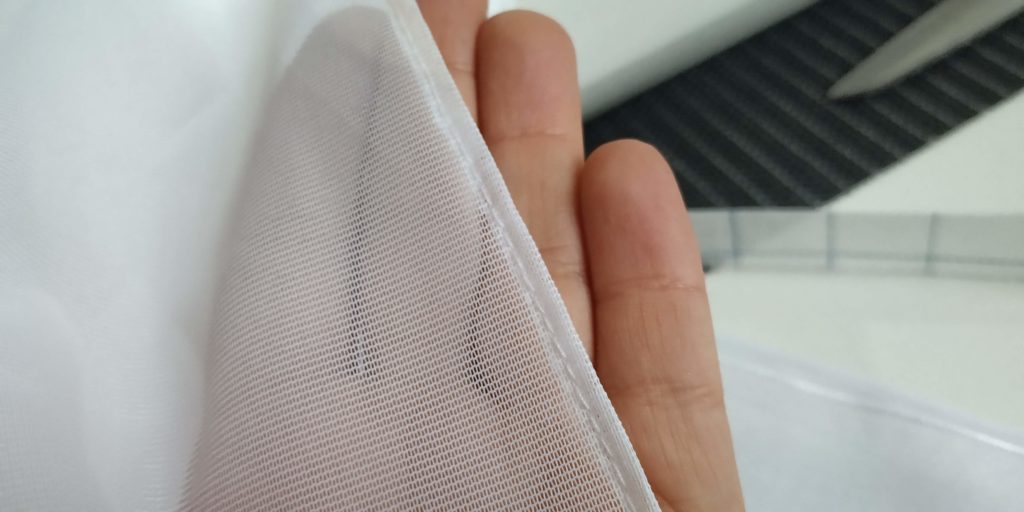
There are fabrics easy to sew for beginners and other fabrics that may be a little bit more complicated. Some of these fabrics are slippery, they fray and they totally don’t like being sewn by a sewing machine. If you also have to sew a narrow baby hem on them the task may seem impossible! So far, I had only handsewn the edges of these fabrics with a lot of patience and pain but not long ago I had a revelation.
I had heard about this product called ban rol on forums and blogs. It was the perfect thing to make your hems perfect. You could sew your fabric to it and you would miracously get a perfect edge. I searched for it but I couldn’t find it anywhere on physical stores nor online. Noone knew what it was. That’s when I realised I had seen that type of fabric before.
When I was little I liked crosstitching, my mum used to get me a premade canvas with a printed drawing and I only had to fill the holes of this very stiff canvas that was almost like paper. She would also get this material in rolls to make even bigger designs. It was great, because you could actually sew on top of another fabric and take away the threads one by one so you would never know you had used a guide to begin with. That is what gave me the idea.
Steps to sew a narrow baby hem
To follow this tutorial you will need to buy needlework fabric. It is a very stiff canvas used for crosstitch. I am sure you can find it in rolls and it is a good idea to get several meters if available. I was testing this method and I only bought about half a meter. It was easy enough to find it online and it wasn’t expensive. I would say this tutorial works very well with sheer fabric and flimsy fabrics like organza, crepe or georgette.
1. Prepare your fabric
Go ahead and trim one the edges of your fabrics to make sure your border is completely straight. Make sure to guide yourself with one of the threads to make your cut perfectly straight. Do the same with your chosen fabric where you will be making your hem.


2. Remove some threads
Remove several threads from the edge of your fabric. The number of threads will depend on the width you want for your hem. I decided to remove a total of three threads, which created a very tiny hem but it was still easy enough to position the fabric under your presser foot.
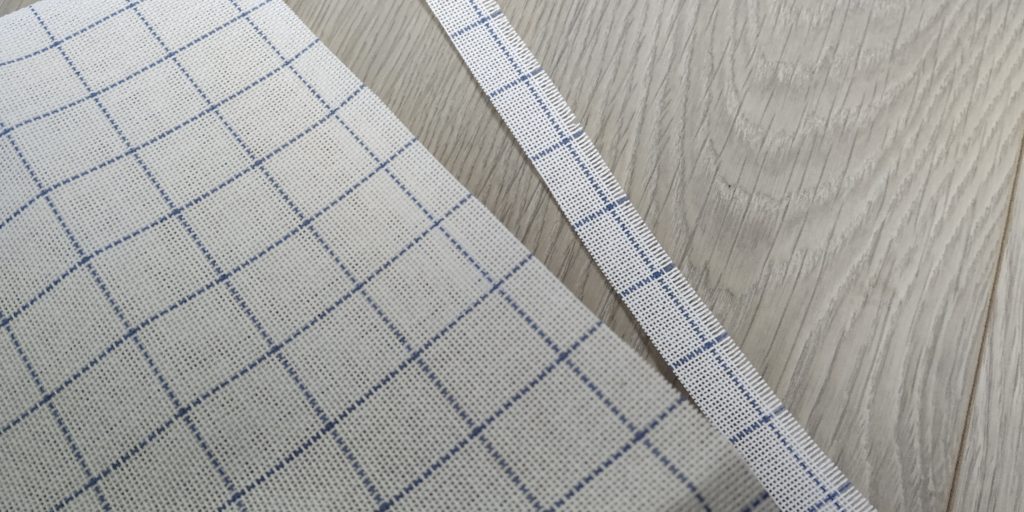
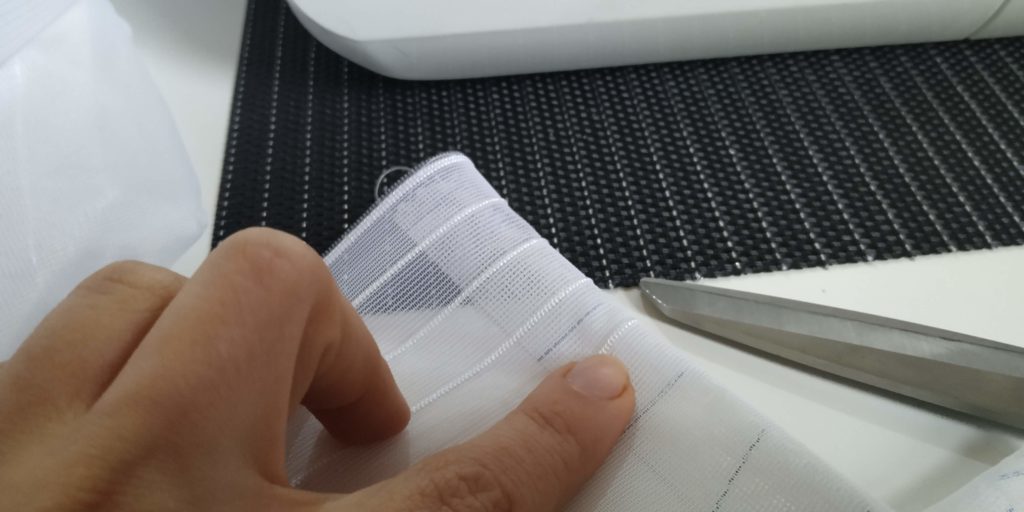
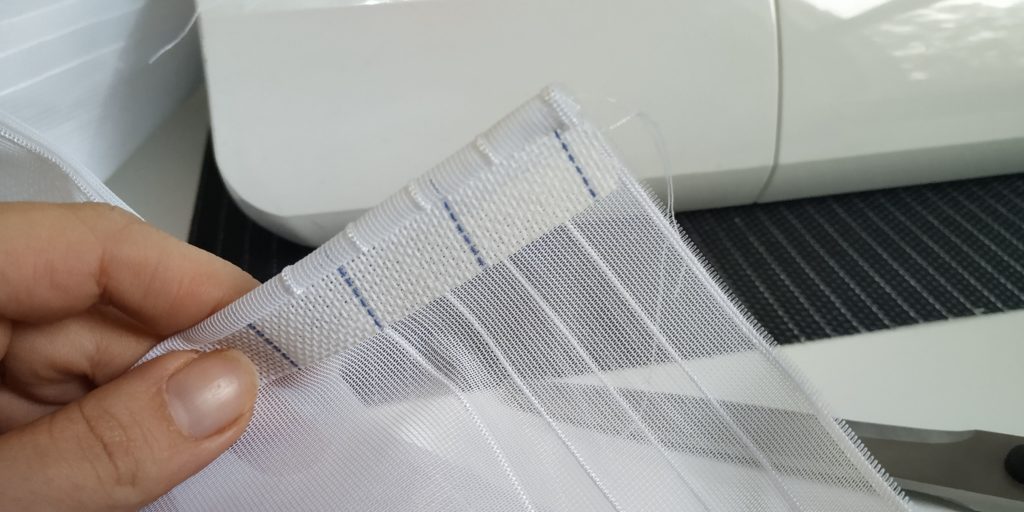
3. Position your fabric
As it woudl have been very difficult to work with the full piece of canvas I decided to cut strips. If you manage to find ribbon for crosstitching with these characteristics, like the ban rol mentioned above, you could skip this step. Once I had my strips, I pinned my needlework fabric to the fabric i wanted to use. It is very important to pin it to the right side of the fabric. Also, if you are an experienced sewer you can easily align both fabrics as you sew them together without the pins.
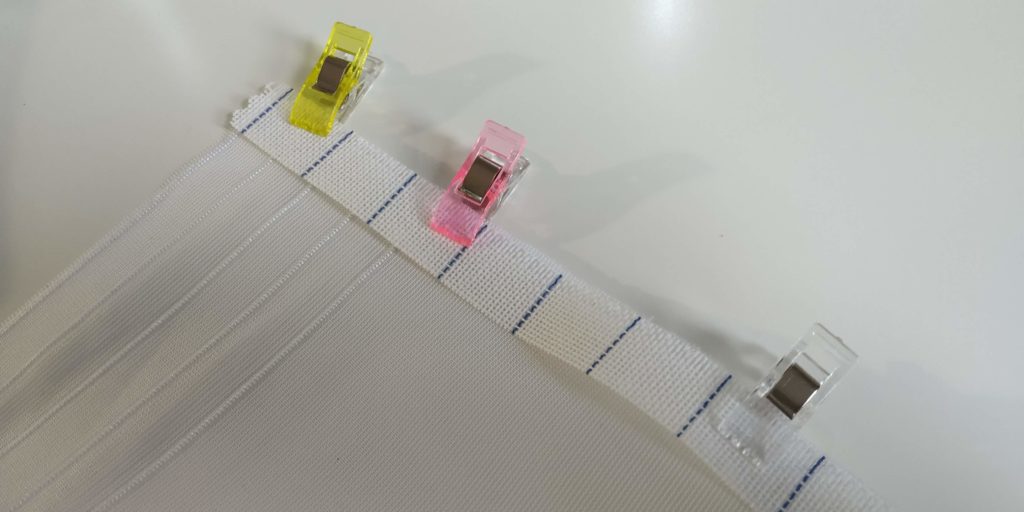
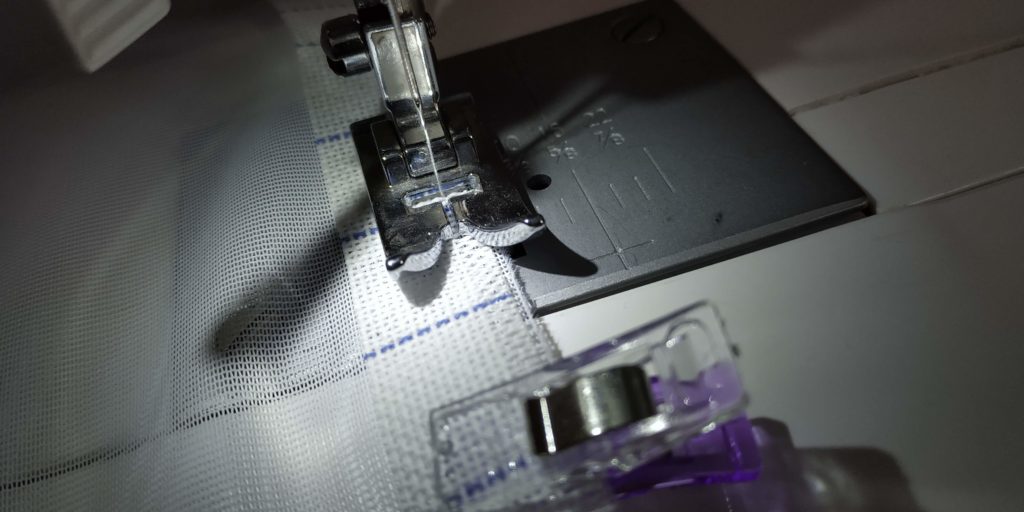
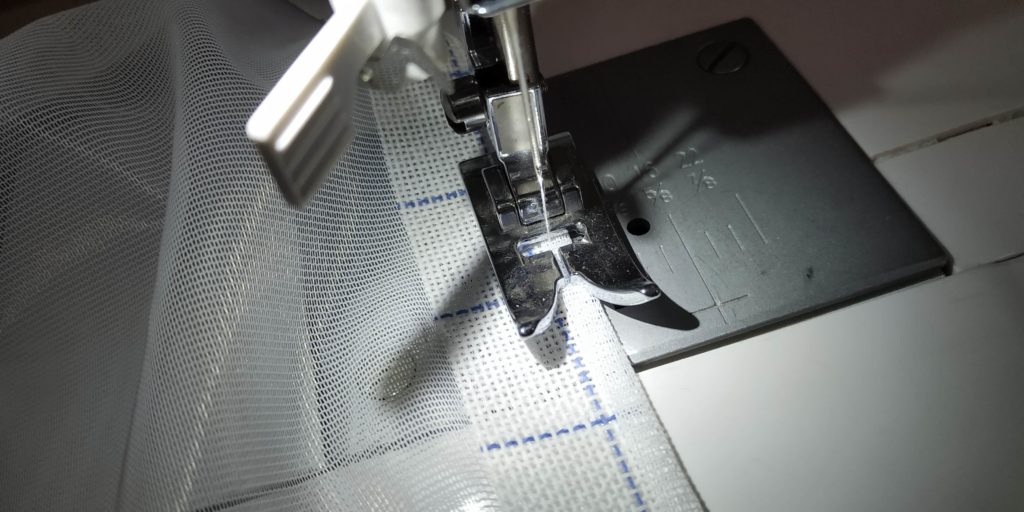
4. Sew them together
The next step consisted on sewing our stiff canvas to our flimsy fabric. Place the needle as close to the vertical threads as you can but making sure you never stitch those. You will be sewing only along the horizontal threads of your stiff fabric. If your fabric frails a lot, place your canvas half an inch away from the edge and trim it later. Also, if you run out of canvas you can always make more strips and place them inmediately after the previous one.
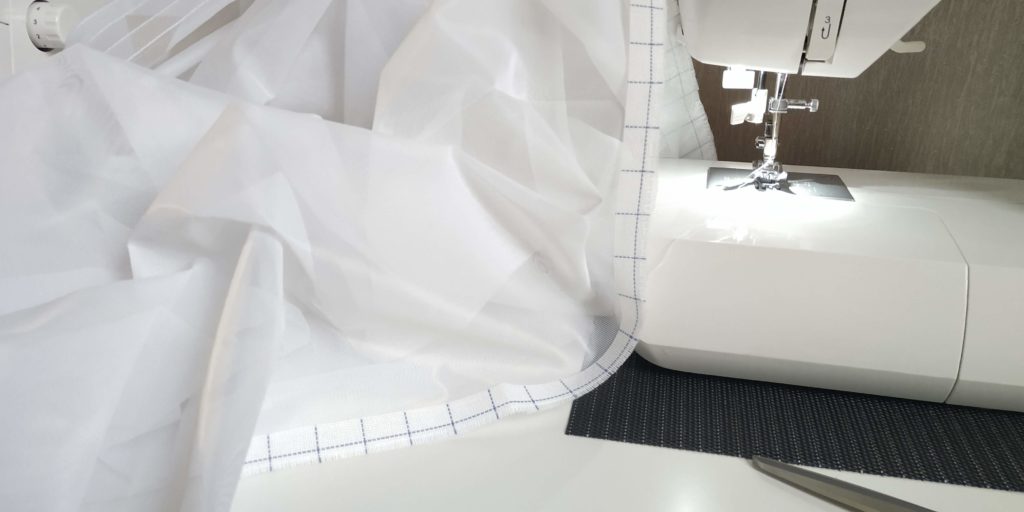
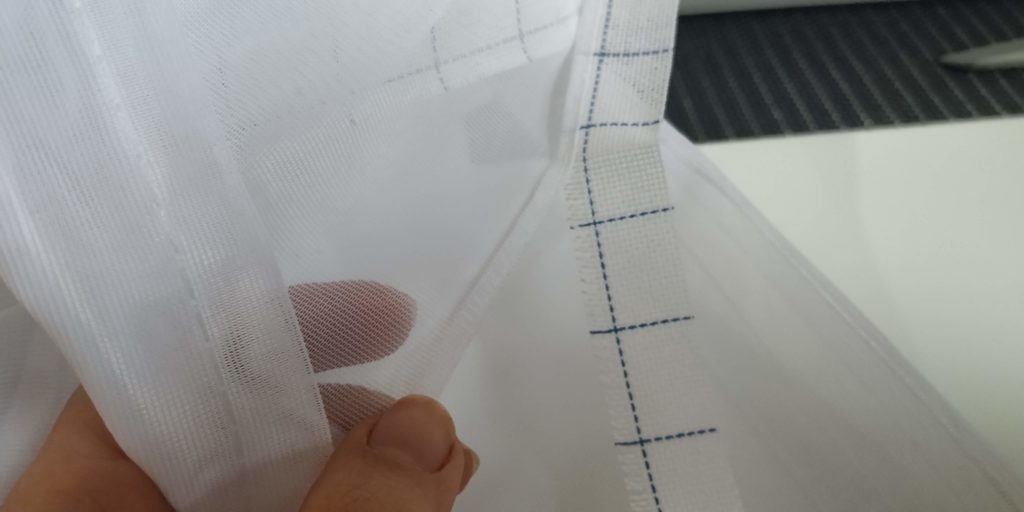
5. Turn the hem
It is time to turn your hem. Once you have sewn the entire edge, you want to turn your canvas inwards twice. You need to make sure your canvas is now completely towards the back of your fabric. It should look like the pictures below.
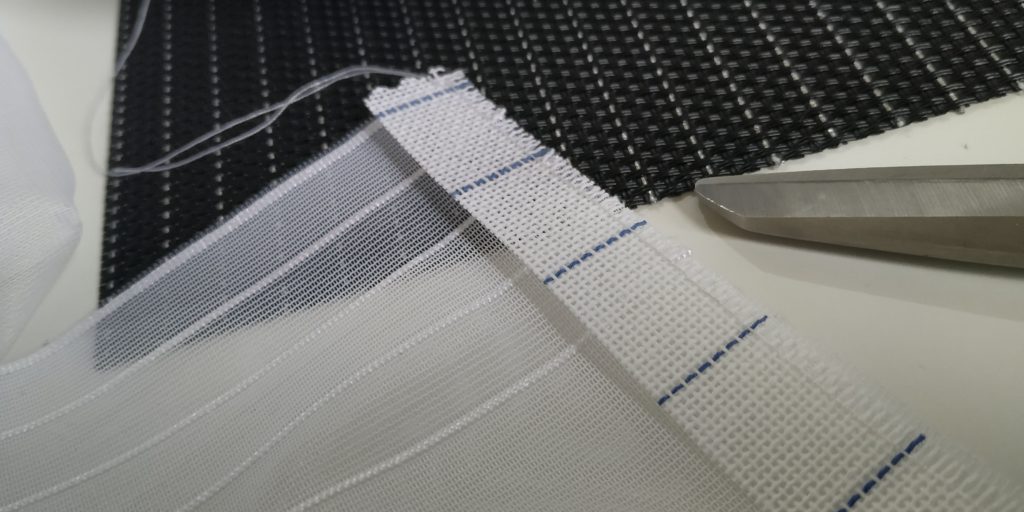
6. Top-stitch your hem
This is how the back of your fabric should look now. You can go ahead and pin it in place or as before, if you are experienced without pins. Go ahead and overstitch the border as you would do with a normal hem. As this hem is very narrow you can stitch towards the middle of it or further away from the edge, if you prefer.
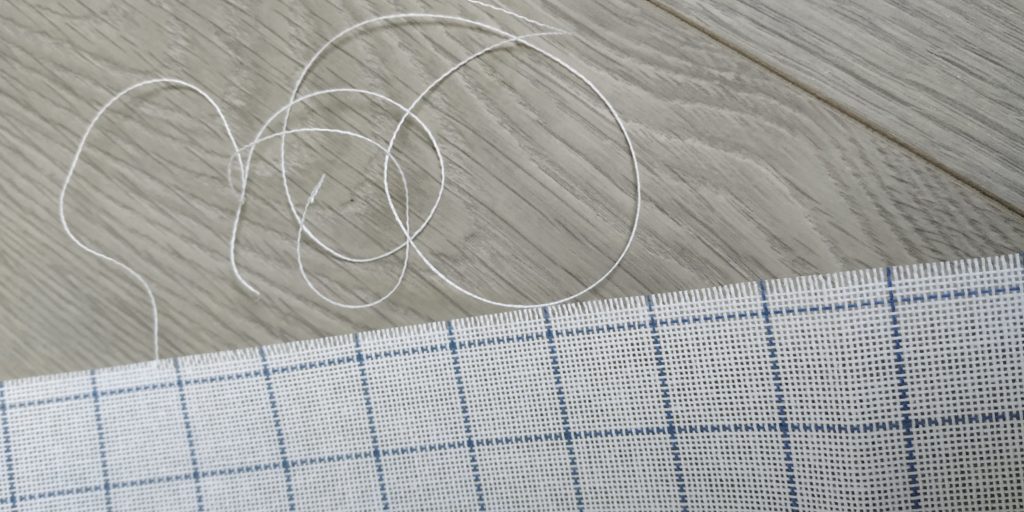
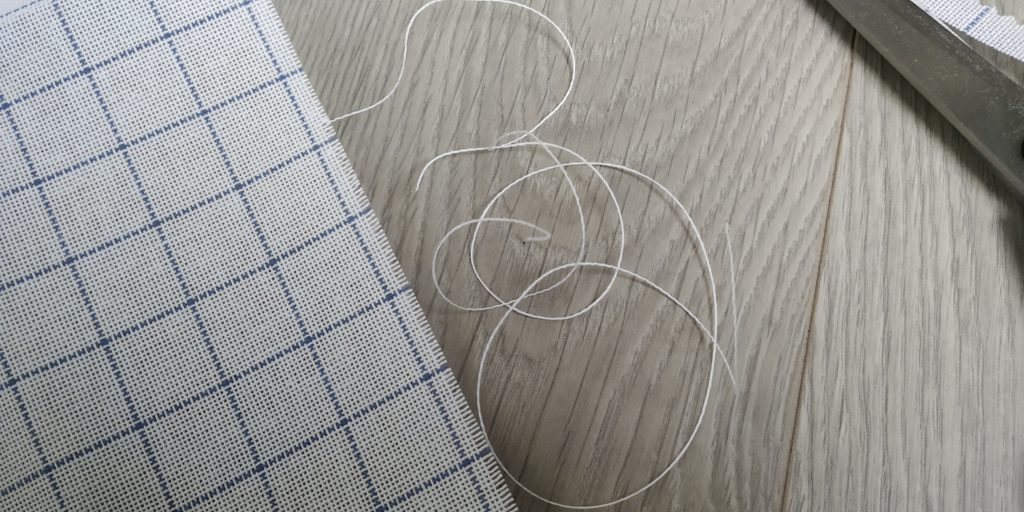
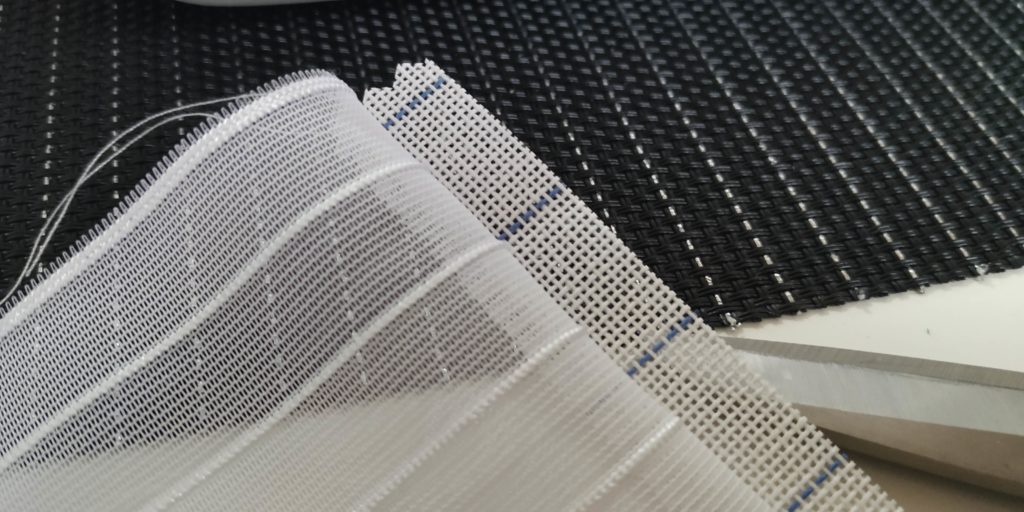
7. Remove the canvas
Finally, gently pull your canvas away. If you sew it well it should easily glide out. Every so often you may get a stubborn thread stuck to your fabric, just hold your fabric firmly and pull carefully. A longer stitch will make this task easier for you. And if your fabric allows it, don’t forget to iron the edge for a perfect finish on your narrow baby hem. And do remember to check the temperature and make sure that your iron is clean.
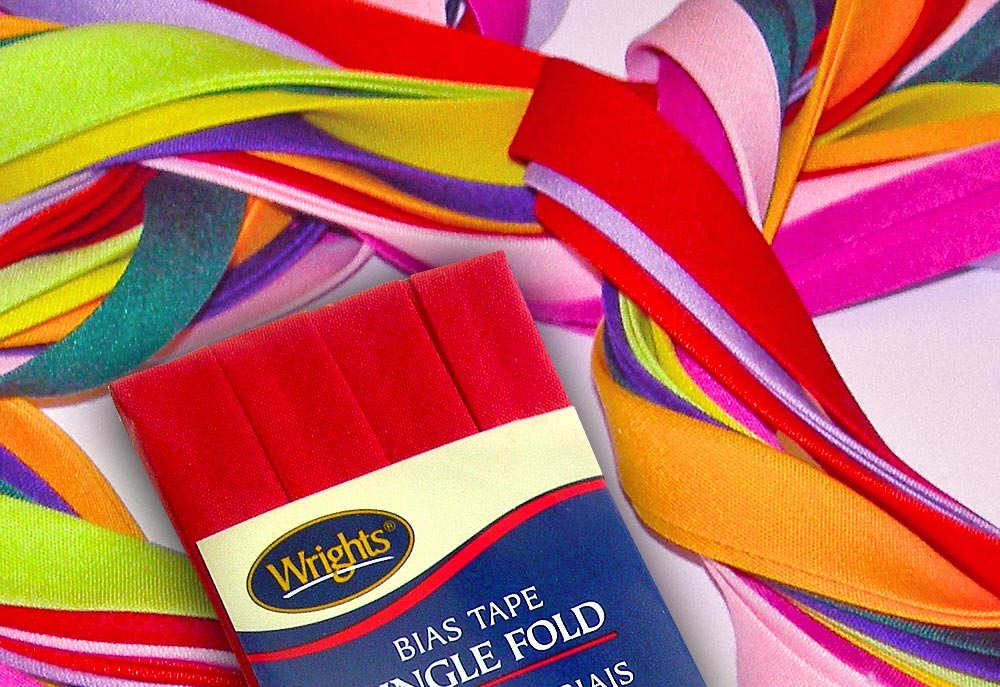
If you are struggling to find the perfect fabric for your project make sure you read where to buy fabric for cosplay and where to buy frabric in the UK. Also, for a different touch to your garments you may also want to sew bias tape to the edge instead.

Have you got any other amazing tricks to share? Let me know in the comments and share this tutorial with someone who may need it. And if you are stuck for new ideas to sew, make sure you check my pattern collection. Also, if you liked this tutorial and want to give you support to keep me going consider supporting me on Ko-fi, no subscription needed!